|
|
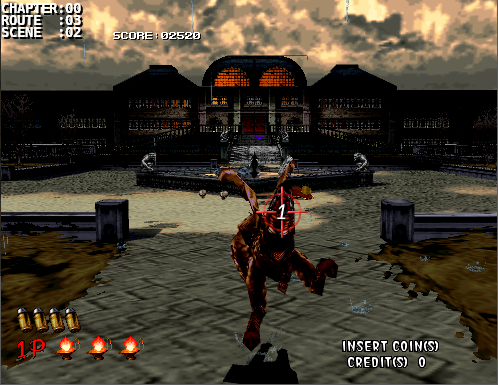
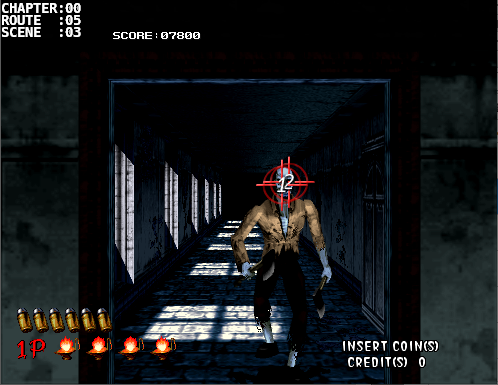
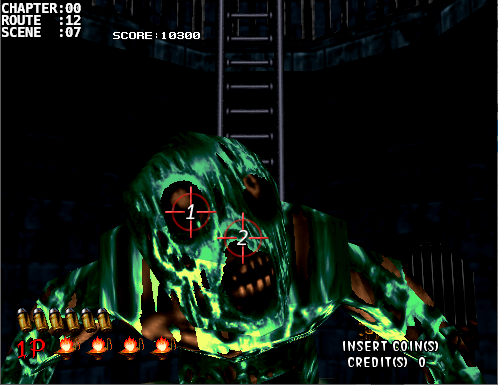
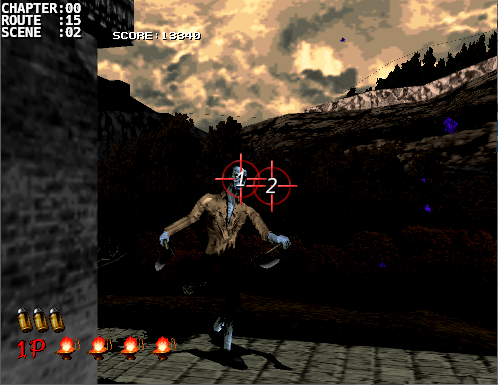
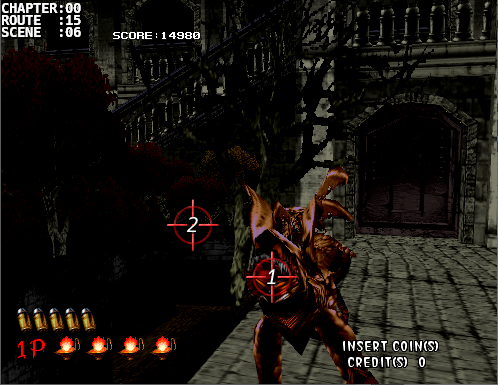
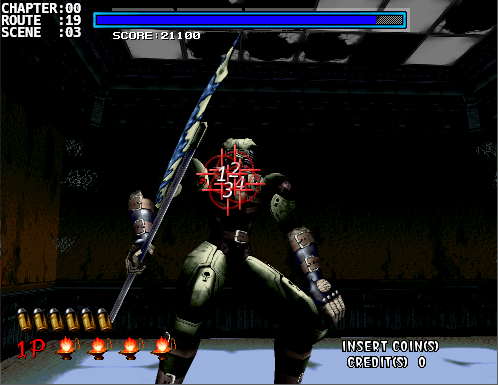
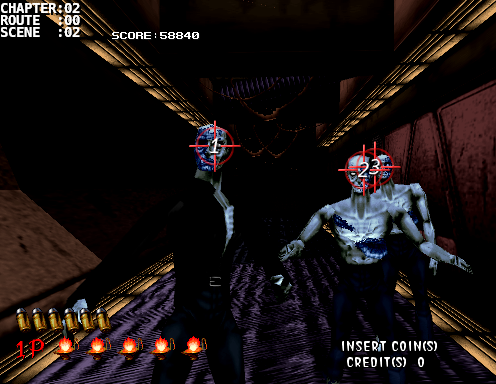
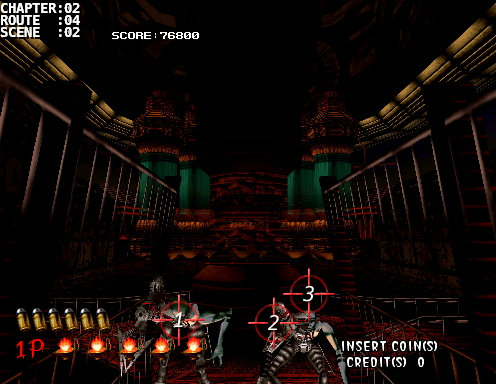
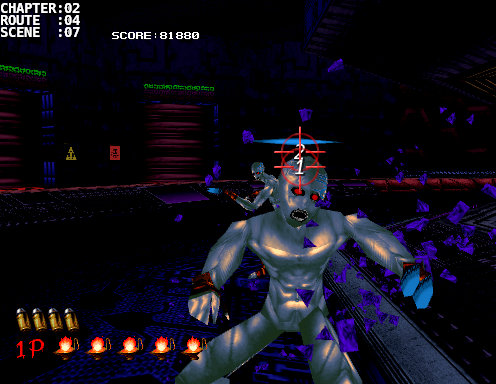
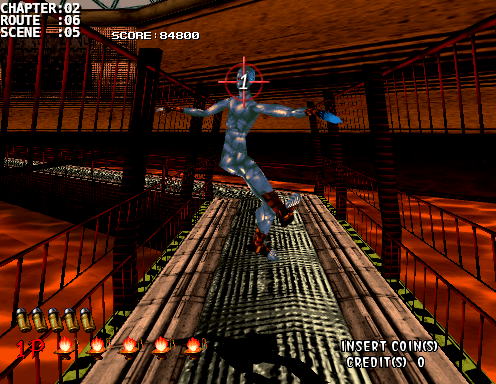
Scene: [02:00:02]
Difficulty: C
Number of Creatures: 3
Number of Headshots: 3/3
Scene Score: 600/ 600
Running Score: 52400/59440
Bonus:
Notes:
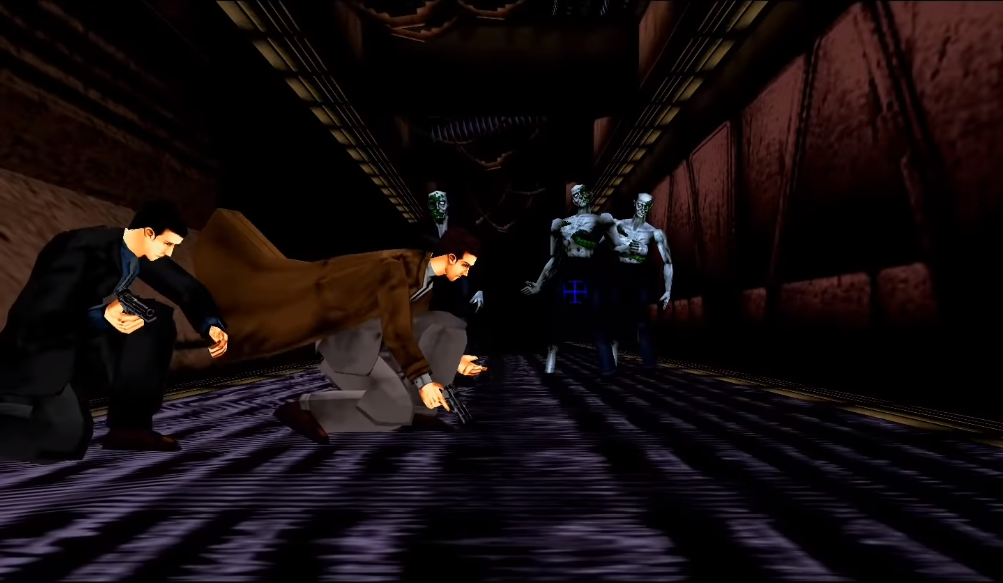
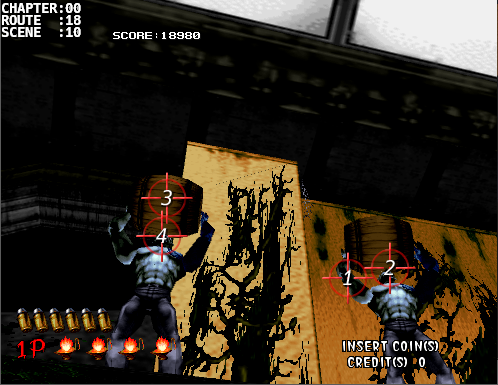
Three freebies. Tag the left one first then you can actually kill both of the right ones quickly if you take two quick shots at [2] & [3].
|
|
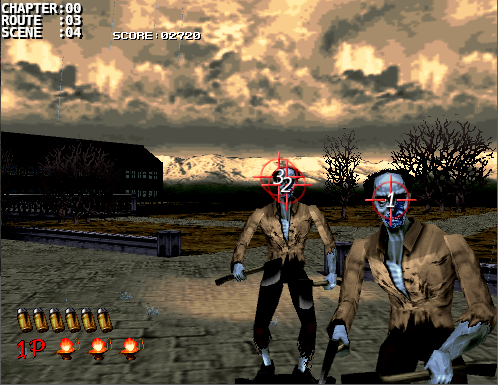
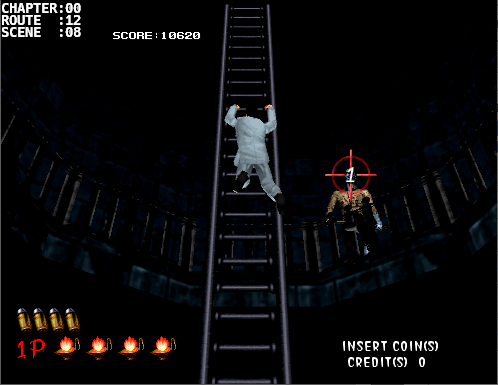
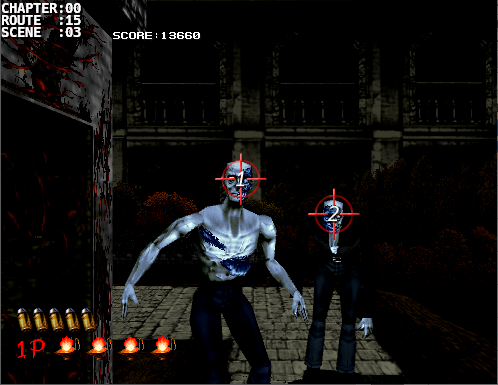
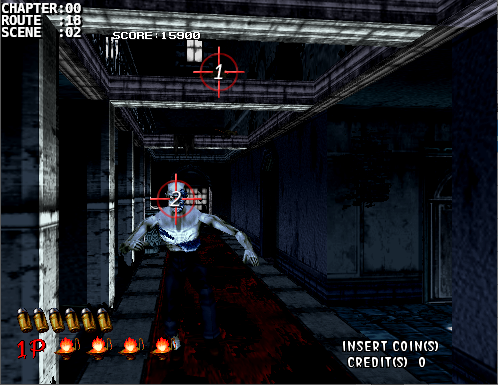
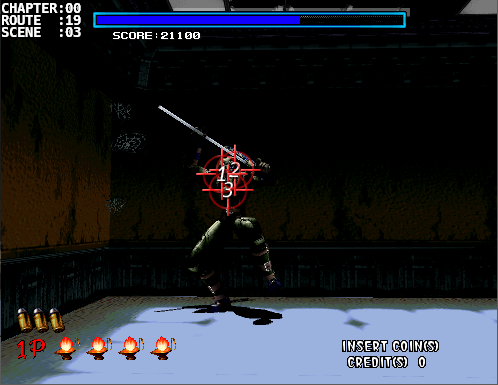
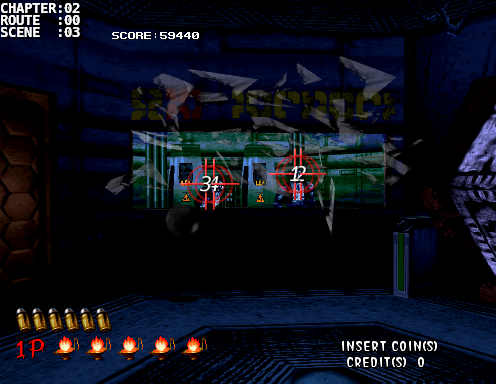
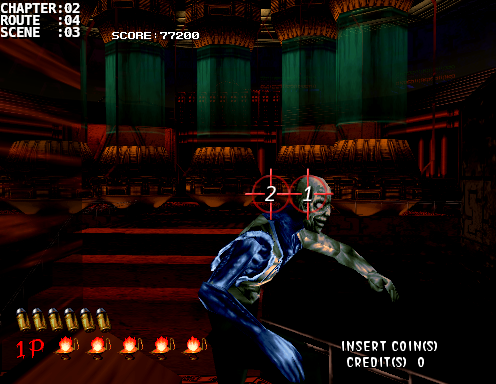
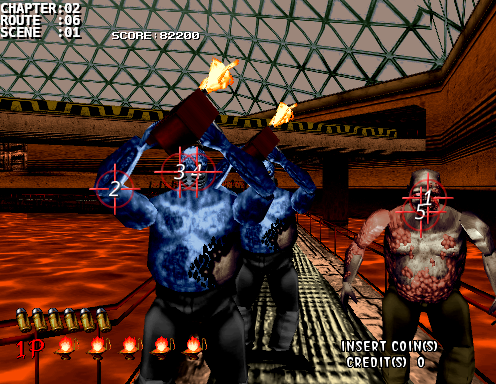
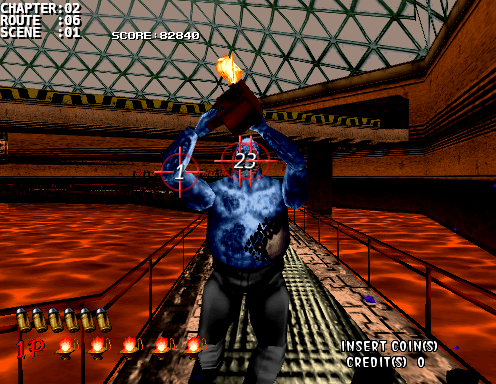
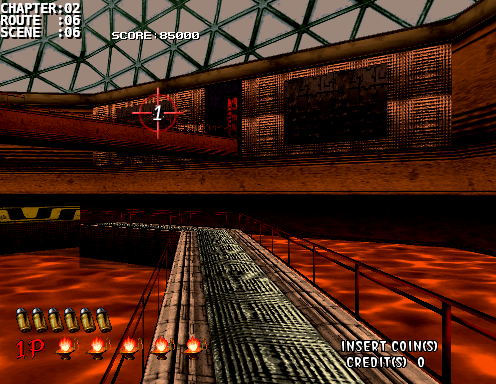
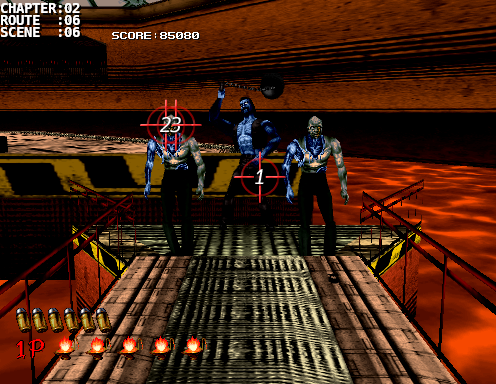
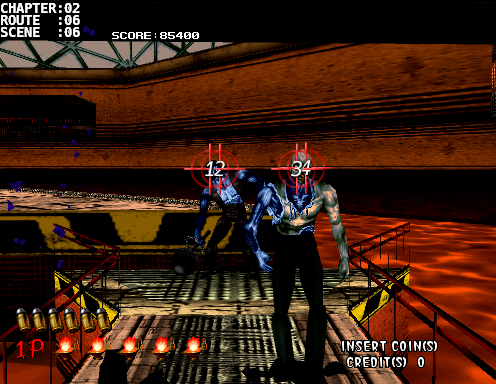
Scene: [02:00:03]
Difficulty: B
Number of Creatures: 2
Number of Headshots: 4/4
Scene Score: 640/ 640
Running Score: 53040/60080
Bonus:
Notes:
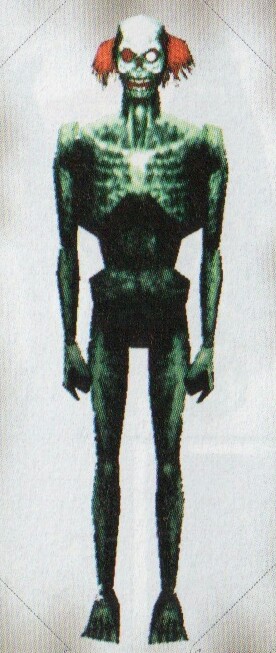
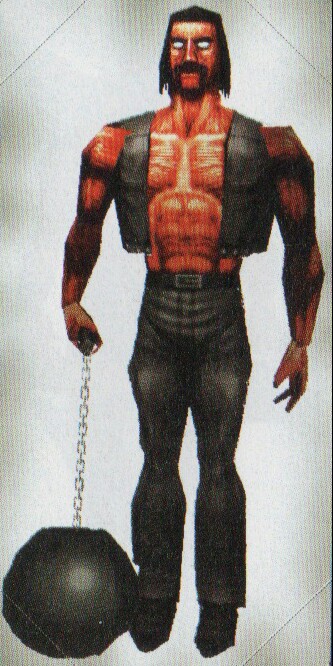
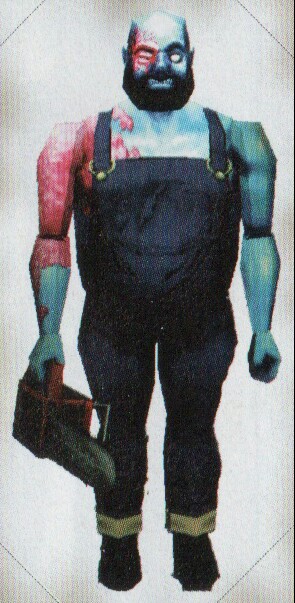
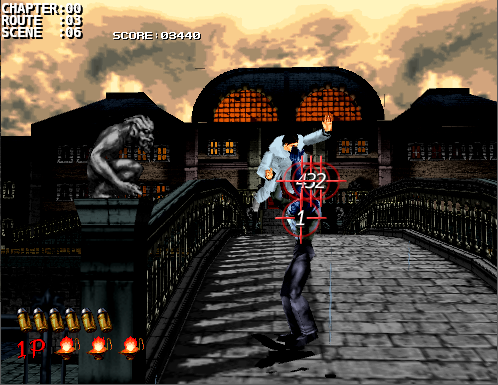
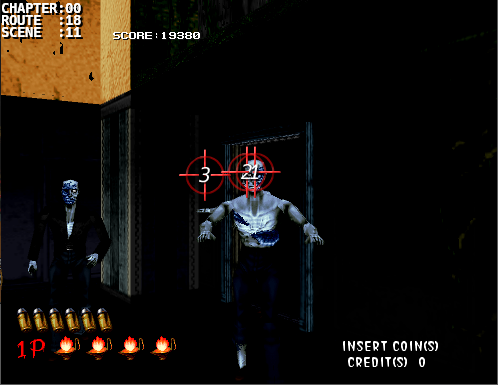
A ball and chain creature (Harris) will shatter the glass in front of you. Just as the glass shatters take two shots to the right one (with a slight pause in between shots) then quickly tag the left one twice while the ball and chain is still being pulled back as it won't deflect any bullets.
If your precision isn't quite there yet I suggest you go for the left one first and then the right as you'll have more time for shots.
|
Clawshot Attack
Charge Attack
|
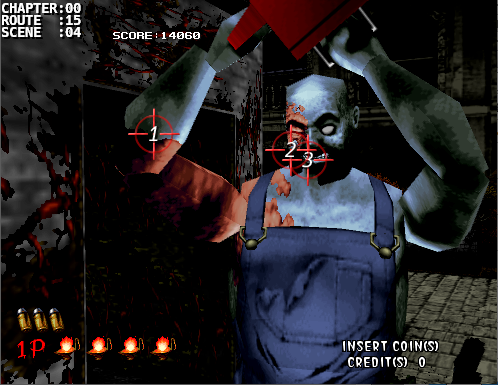
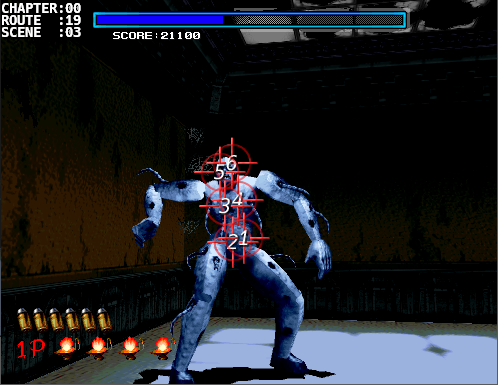
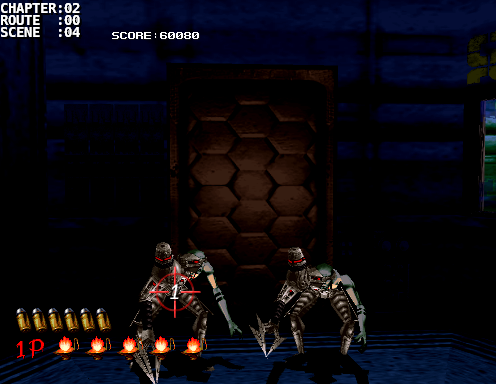
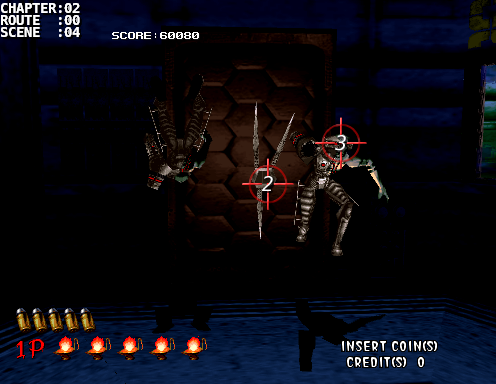
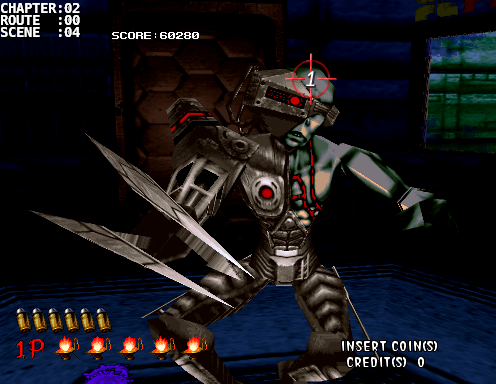
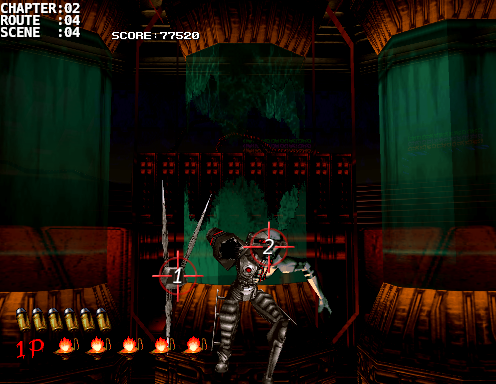
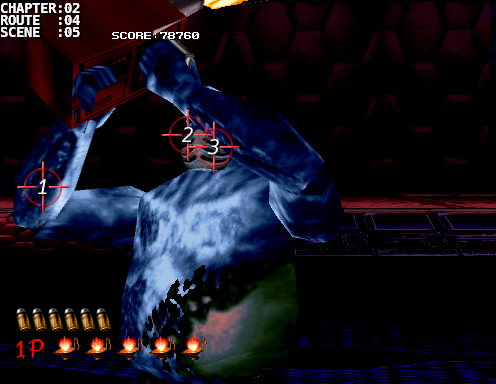
Scene: [02:00:04]
Difficulty: C
Number of Creatures: 2
Number of Headshots: 2/2
Scene Score: 400/ 400
Running Score: 53440/60480
Bonus:
Notes:
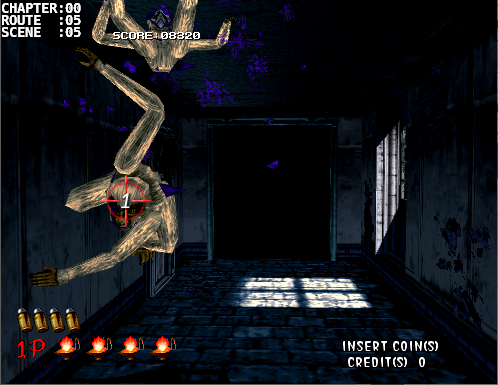
A pair of clawshot creatures (Moody) will drop from the ceiling. Just like any of the previous encounters of creature pairs, the best strat is to offset their attack patterns. They have 3 different types of attacks, two of which you've seen before. The infamous backflip, the charge and leap attack, and now an aerial clawshot.
As they land, shoot the left one immediately. This should send it back and leave the right one in an attack stance. If it does a backflip then give it a headshot as it lands like usual. Same basic strat goes if it does the charge and leap attack. If it shoots its clawshot at you then shoot the claw [2] and then the head [3] immediately after. Afterwards, take out the left one using the related strat for which ever attack it does.
|
|
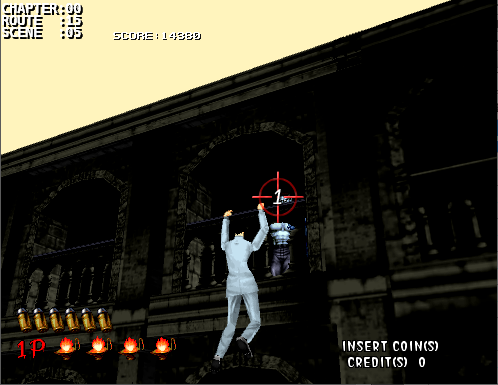
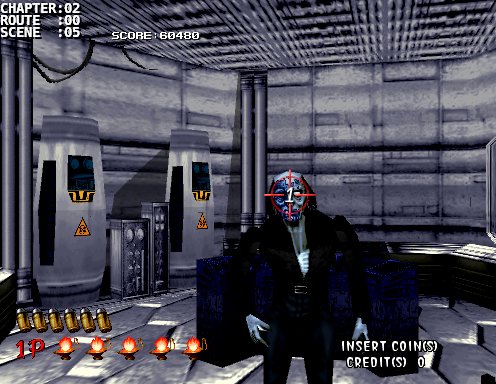
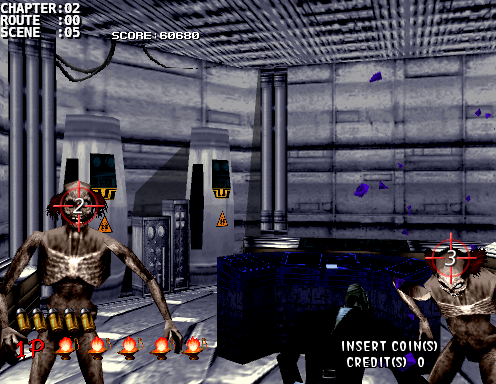
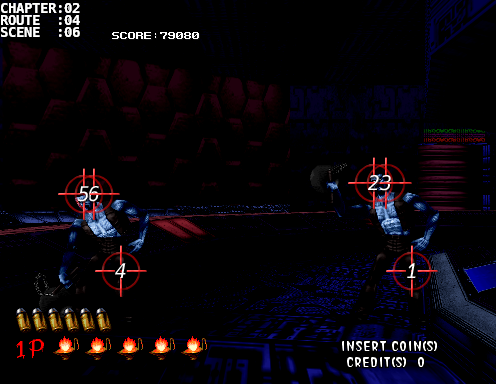
Scene: [02:00:05]
Difficulty: C
Number of Creatures: 3
Number of Headshots: 3/3
Scene Score:      600/  600
Running Score:  54040/61080
Bonus:

Notes:
Straightforward.  One shot in the face.

Then two Kageos will get up from the floor.  Take out the left one and then the right one before they completely stand up.
|
|
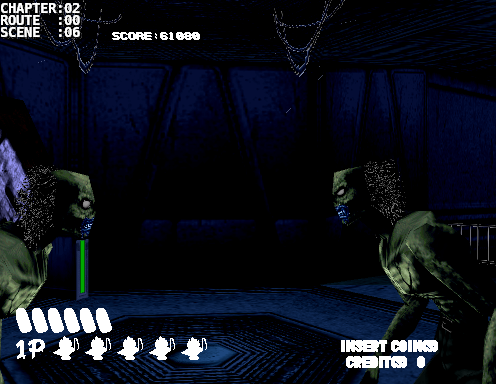
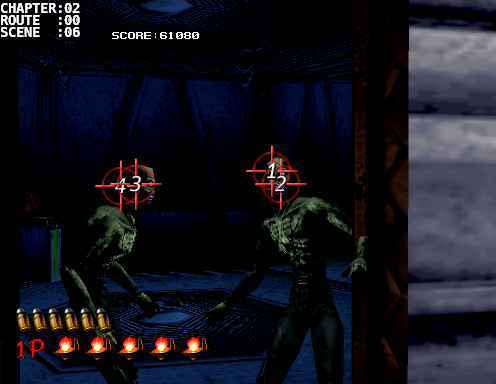
Scene: [02:00:06]
Difficulty: B
Number of Creatures: 2
Number of Headshots: 3/4
Scene Score: 520/ 640
Running Score: 54560/61720
Bonus:
Notes:
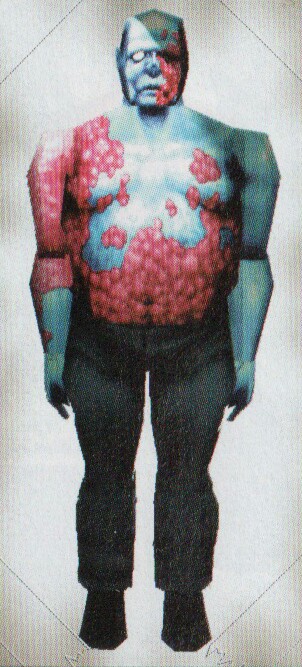
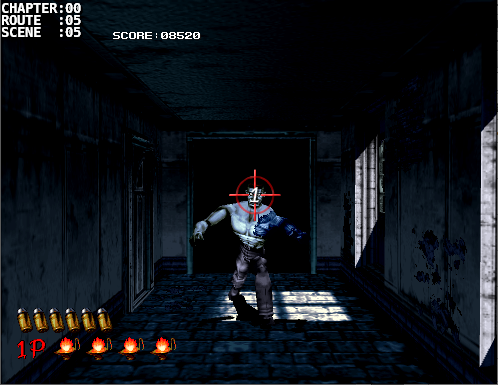
As you grab the security card you turn back and a couple of Bourbons will come from each side of the door openings and they both take two shots each. The right one will attack first. This is one of the few scenes I don't get fancy with 2 bullet kills because the attack comes so fast. Use an entire clip on the right one and then another full clip on the left one. It's better to play it safe here as you'll want to pick up the 300 max life bonus points in the next room.
|
|
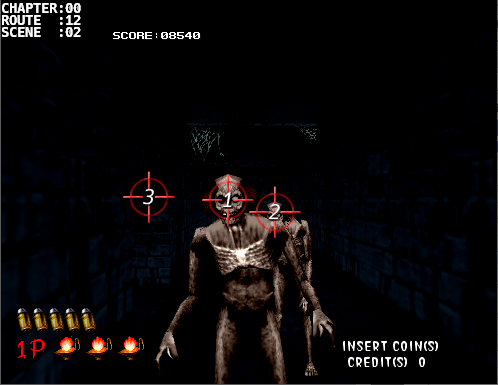
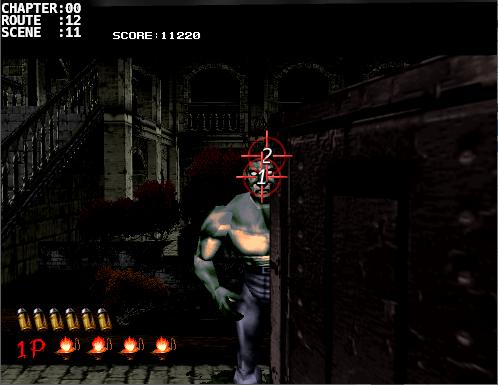
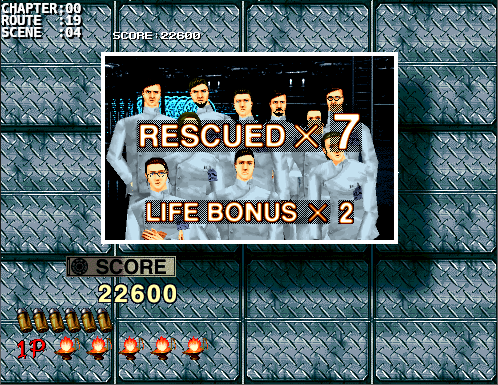
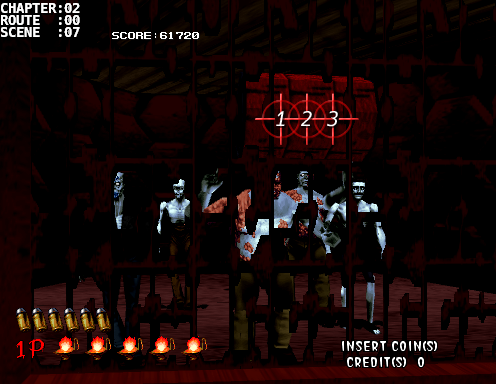
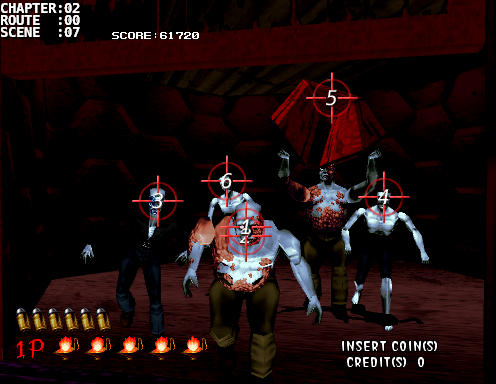
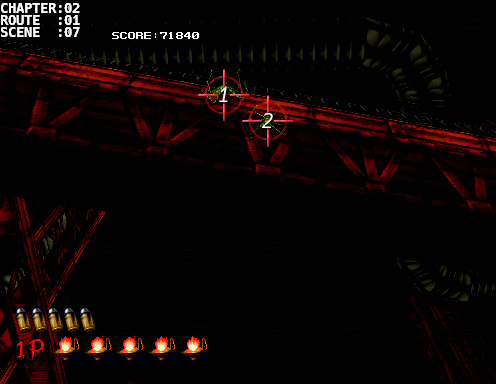
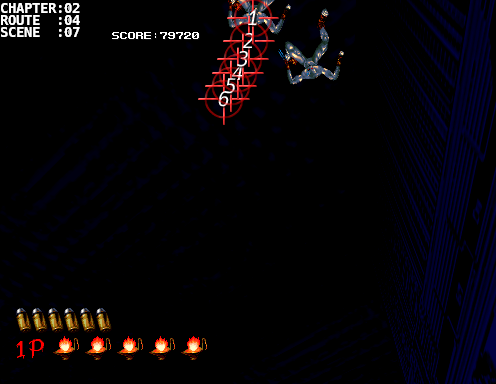
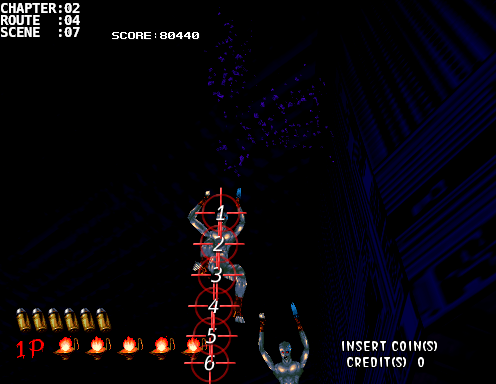
Scene: [02:00:07]
Difficulty: C
Number of Creatures: 5
Number of Headshots: 7/7
Scene Score: 1240/ 1240
Running Score: 55800/62960
Bonus:
Notes:
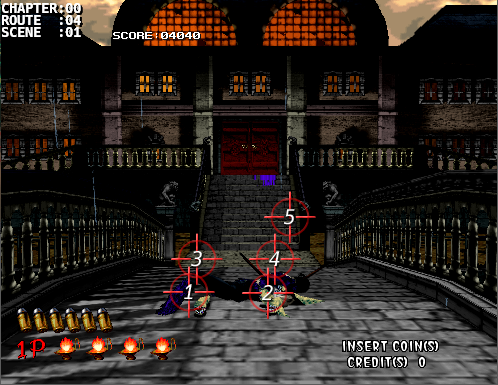
As you enter the next room you'll see a crowd of creatures locked away. Before the cage opens you'll want to shoot the oil drum 3 times (no more and no less).
When the gate opens follow the shots in order, you should be able to do this without reloading. Two shots at Bentley [1][2], then Nail [3], then the creature to the right [4], then the oil drum [5] (this will put Bentley into a recovery animation state) then the last creature [6].
After all the other creatures are taken out, Bentley will come charging at you. Take it out with two shots to the head.
|
|
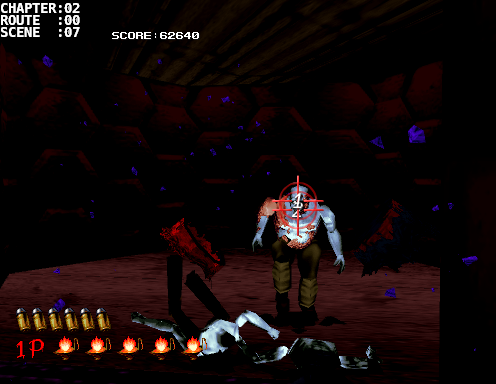
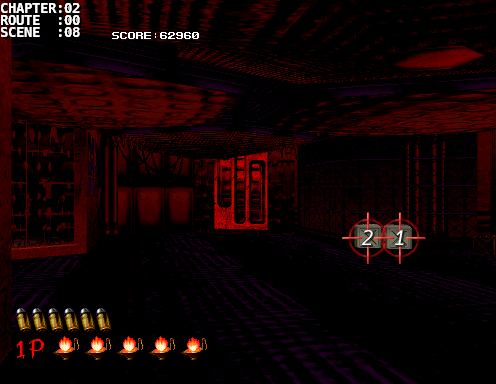
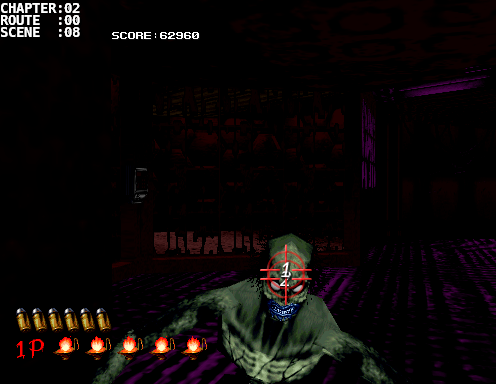
Scene: [02:00:08]
Difficulty: C
Number of Creatures: 1
Number of Headshots: 2/2
Scene Score:      320/  320
Running Score:  56120/63280
Bonus:

Notes:
As you turn back you'll see two gray storage bins.  Shoot each of them once as one of them will reveal a life up.  You can get it now or later, it's up to you.  I always prefer to get it later.


Then you'll turn slightly to the left and a Bourbon will rush you.  Take 2 quick shots to the head before it can attack.
|
|
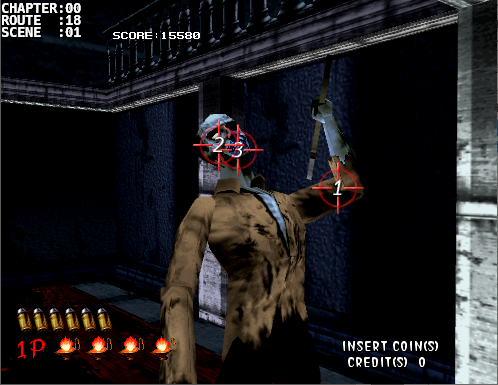
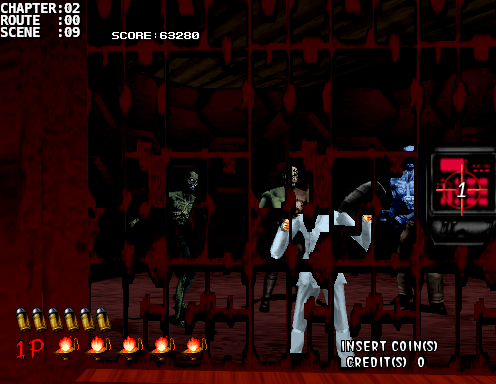
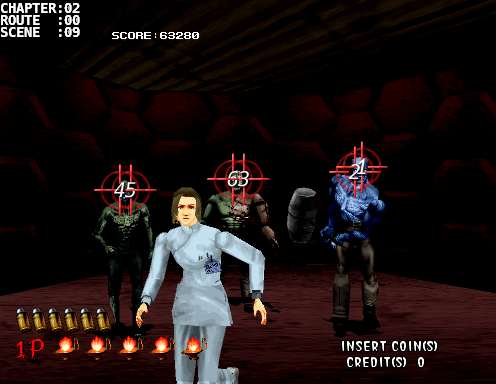
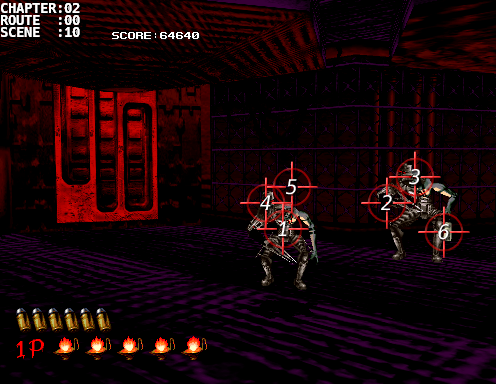
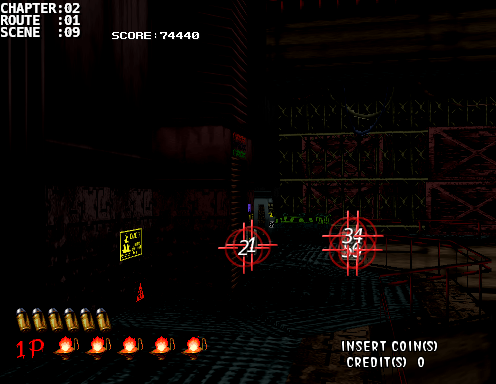
Scene: [02:00:09]
Difficulty: C
Number of Creatures: 3
Number of Headshots: 6/6
Scene Score:     1360/ 1360
Running Score:  57480/64640
Bonus: 400 (Researcher)

Notes:
Shoot the lock to save the researcher then reload. Then follow the shots in order. Right twice [1][2], then middle once [3] (this creature "Robert" will cover its face with its hand for a bit after it takes a shot in the face so we'll go for the creature to the left while it recovers), so then left twice [4][5], and lastly the middle one once again [6] as it should have recovered already.
|
Backflip
|
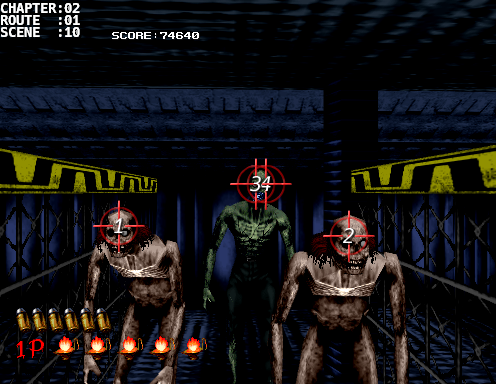
Scene: [02:00:10]
Difficulty: C
Number of Creatures: 2
Number of Headshots: 2/2
Scene Score:      700/  700
Running Score:  58180/65340
Bonus: 300 (Max Life Bonus)

Notes:
Same strat as in the beginning of the chapter.  Shoot the left one once to offset the attack pattern.  The right one will mostly likely do a clawshot attack but not always.  Take a shot to its head then take out the left one.  If you didn't grab the life up earlier then pick it up now.
|
|
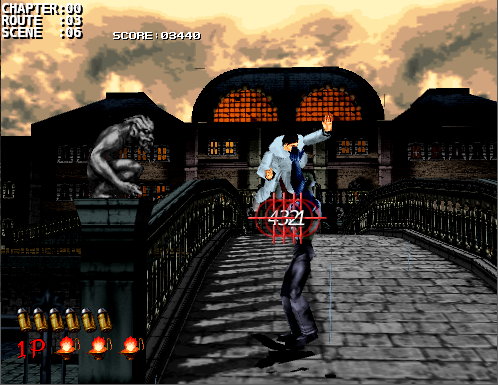
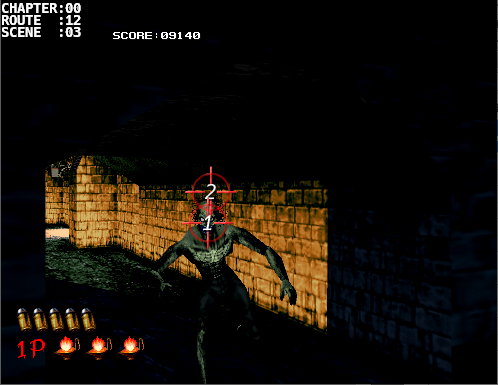
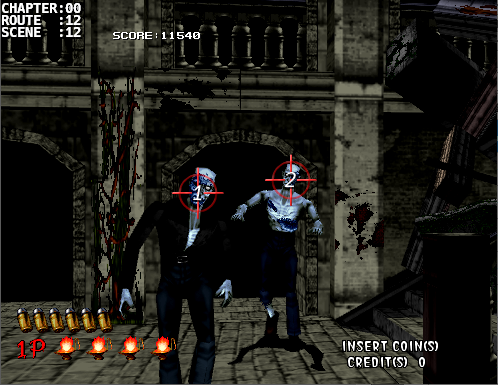
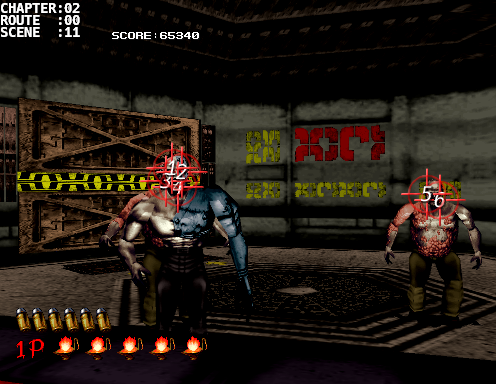
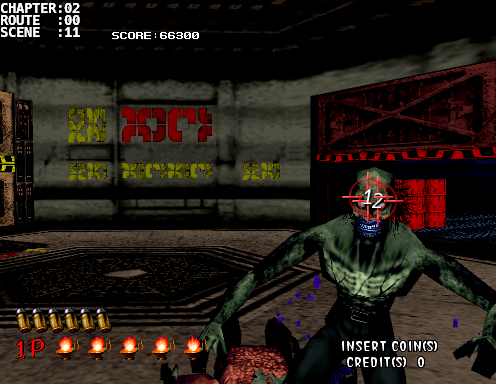
Scene: [02:00:11]
Difficulty: C
Number of Creatures: 3
Number of Headshots: 6/6
Scene Score:      960/  960
Running Score:  59140/66300
Bonus:

Notes:
The door will open and you'll see a Robert and 2 Bentleys.  Take the first shot on Robert, pause a bit, then finish it off with another shot.  Afterwards take out the left Bentley and then the right one.  This scene can be done without reloading if you're confident.  Now quickly reload for the next scene.
|
|
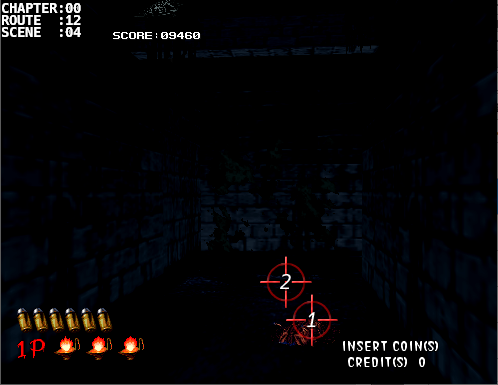
Scene: [02:00:11]
Difficulty: C
Number of Creatures: 1
Number of Headshots: 2/2
Scene Score:      320/  320
Running Score:  59460/66620
Bonus:

Notes:
A Bourbon will pop out from the right.  No time to get fancy here again.  Use a full clip to grab the two headshots.

Just a little FYI, the oil drums in the back don't contain anything.
|
Charge Attack
|
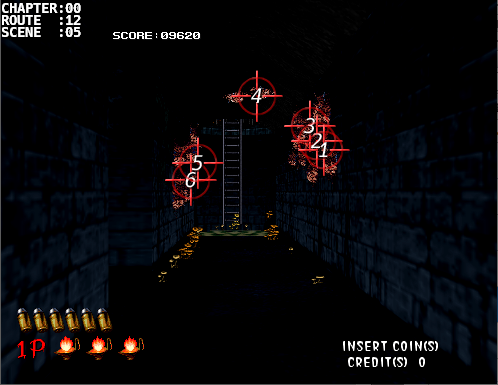
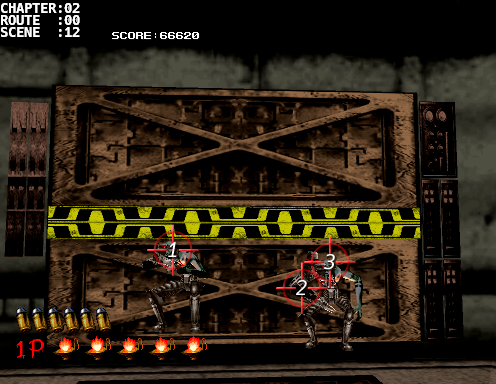
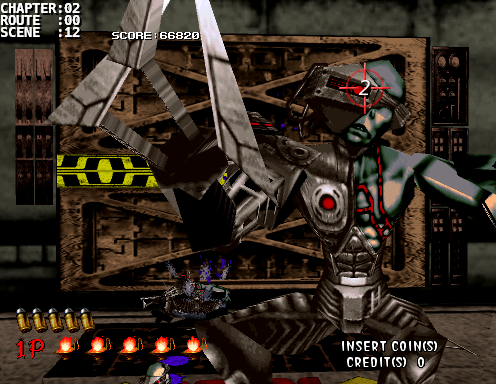
Scene: [02:00:12]
Difficulty: C
Number of Creatures: 2
Number of Headshots: 2/2
Scene Score:      400/  400
Running Score:  59860/67020
Bonus:

Notes:
Same strat as before.  Don't shoot their heads off while they're falling because you can't guarantee the 80 kill points.
|
|
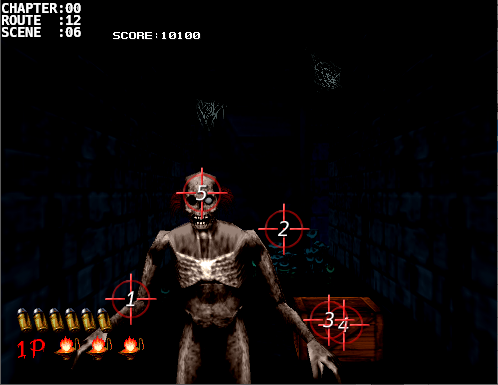
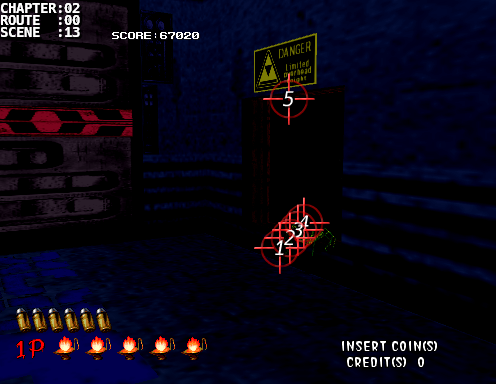
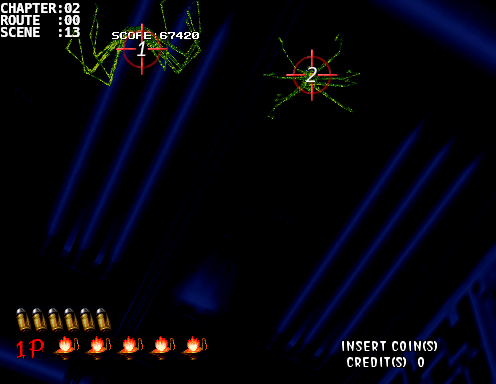
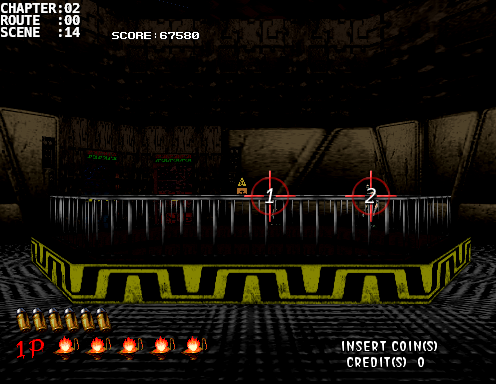
Scene: [02:00:13]
Difficulty: C
Number of Creatures: 7
Number of Headshots: 0/0
Scene Score:      560/  560
Running Score:  60420/67580
Bonus:

Notes:
Take the shots in order as they come out the door but don't shoot too fast.


Don't forget out the 2 on the ceiling.
|
|
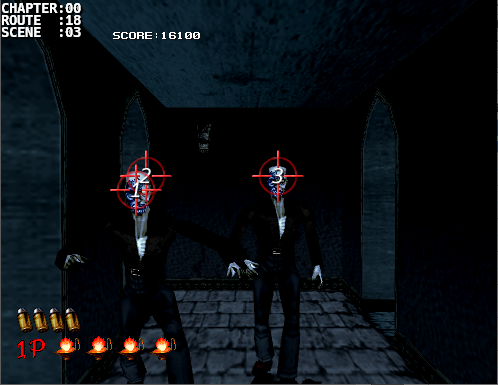
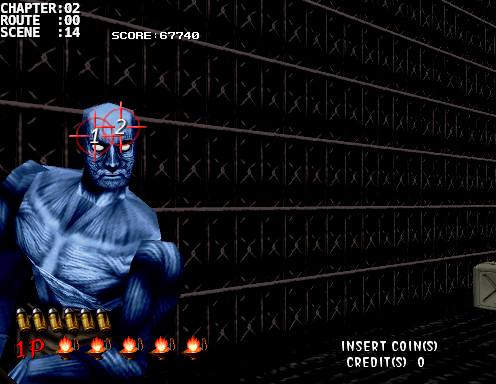
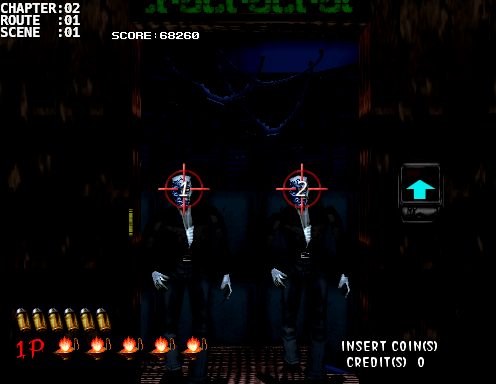
Scene: [02:00:14]
Difficulty: B
Number of Creatures: 2
Number of Headshots: 0/0
Scene Score:      160/  160
Running Score:  60580/67740
Bonus:

Notes:
Take a couple of shots each to take down the two creatures in the back.  Now quickly reload.
|
|
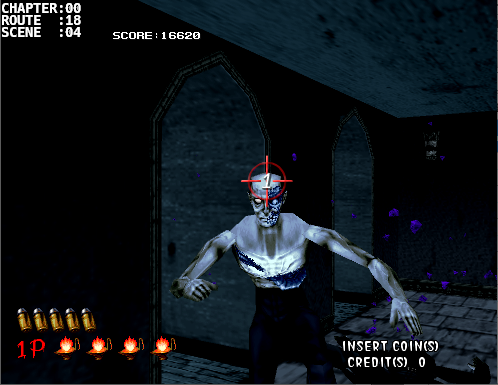
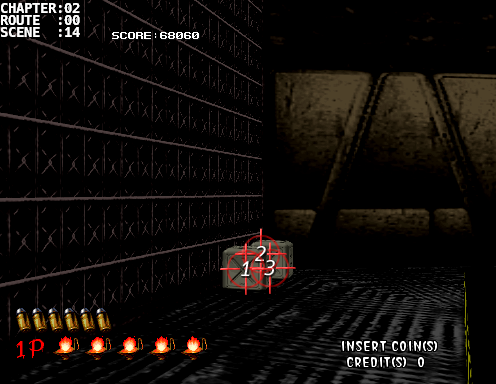
Scene: [02:00:14]
Difficulty: B
Number of Creatures: 1
Number of Headshots: 2/2
Scene Score:      520/  520
Running Score:  61100/68260
Bonus:

Notes:
A Gilmore will come from the left of the screen.  As soon as you see its head, unload a full clip immediately.  There are times when I end up taking damage here because I either starting shooting a tad late or I was slightly off the mark.


Don't lose focus yet, there'll be two storage bins as you're walking.  There's a coin inside one of them so unload a full clip to break apart the bins and snag the coin.
|
|
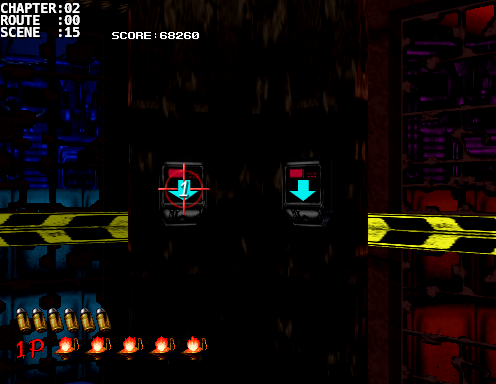
Scene: [02:00:15]
Difficulty:
Number of Creatures: 0
Number of Headshots: 0/0
Scene Score:        0/0
Running Score:  61100/68260
Bonus:

Notes:
I always take the left elevator route because that's the route I'm comfortable with.  There's nothing wrong with the right elevator route but I'll discuss that route in the Alternate Paths section.  So for the sake of this guide, shoot the left arrow once to bring the left elevator up.
|
|
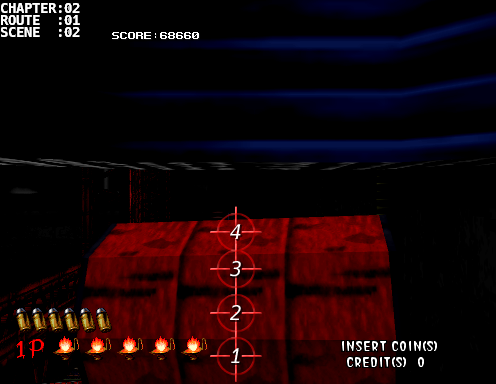
Scene: [02:01:01]
Difficulty: C
Number of Creatures: 2
Number of Headshots: 2/2
Scene Score:      400/  400
Running Score:  61500/68660
Bonus:

Notes:
If you're quick on the trigger you can kill these two almost instantaneously.
|
|
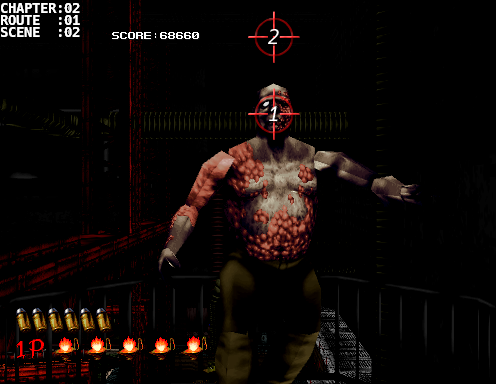
Scene: [02:01:02]
Difficulty: B
Number of Creatures: 1
Number of Headshots: 2/2
Scene Score:      320/  320
Running Score:  61820/68980
Bonus:

Notes:
Down.

Keep reloading.  Nothing will happen during the mini cutscene of a voice saying "Down" but as soon as you see the screen flash that's your cue to pay attention to the bottom of the screen as an oil drum will be in your face.  Take 4 quick shots (aiming upwards as the elevator goes down) then when Bentley appears take 2 shots with the second shot being higher up on the screen.
|
|
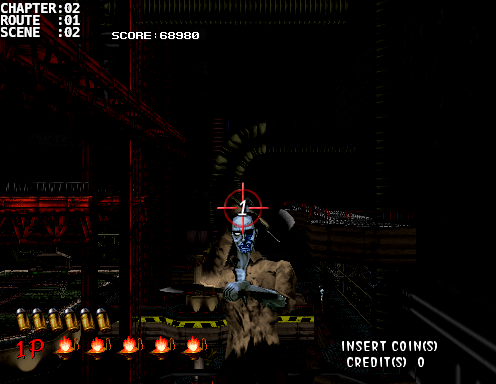
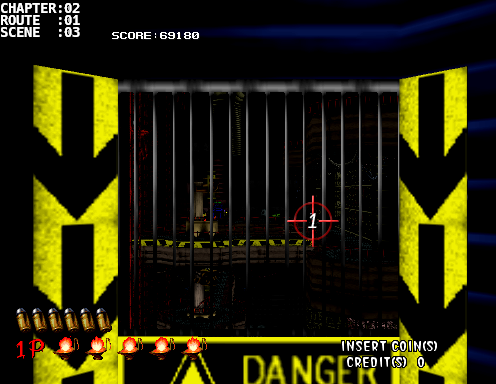
Scene: [02:01:02]
Difficulty: C
Number of Creatures: 1
Number of Headshots: 1/1
Scene Score:      200/  200
Running Score:  62020/69180
Bonus:

Notes:
In the next opening, if you're fast enough you can get the headshot before Cyril throws the hatchet.  Otherwise shoot the arm that's throwing the hatchet and then aim high on the screen for the headshot.
|
|
Scene: [02:01:03]
Difficulty: C
Number of Creatures: 1
Number of Headshots: 0/0
Scene Score:       80/   80
Running Score:  62100/69260
Bonus:

Notes:
There'll be a creature way off in the distance.  Sometimes it could be walking towards the left, other times it could be standing still.  Gun it down.  (No headshot points on this one)
|
|
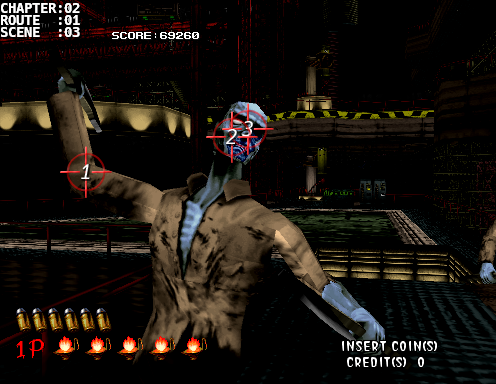
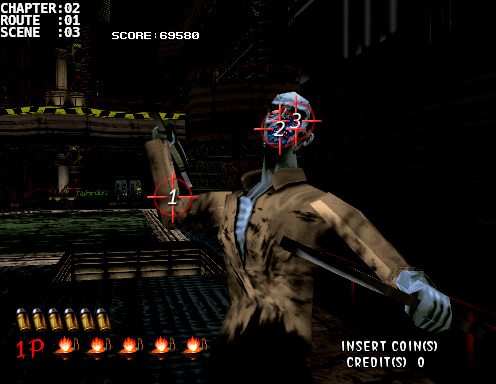
Scene: [02:01:03]
Difficulty: C
Number of Creatures: 2
Number of Headshots: 4/4
Scene Score:      640/  640
Running Score:  62740/69900
Bonus:

Notes:
Two Cyrils will greet you at the bottom of the elevator with one to the left and one to the right.  Take them down with either two straight headshots or an AHH combo.
|
|
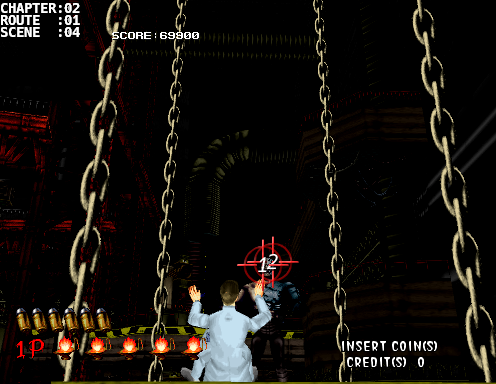
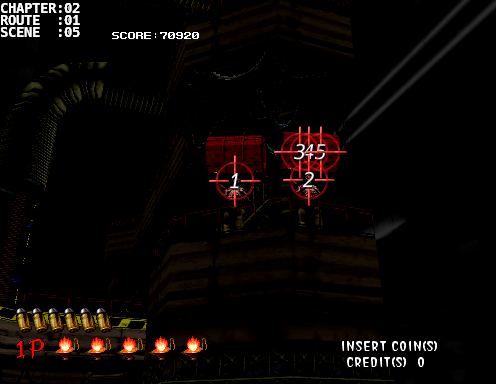
Scene: [02:01:04]
Difficulty: C
Number of Creatures: 1
Number of Headshots: 2/2
Scene Score:     1020/ 1020
Running Score:  63760/70920
Bonus: 400(Researcher) +
       300(Max Life Bonus)

Notes:
Just wait a bit until you get a clear line of sight and pull off two quick headshots.  If you're down a life then this will be the last one you'll get for the chapter.
|
|
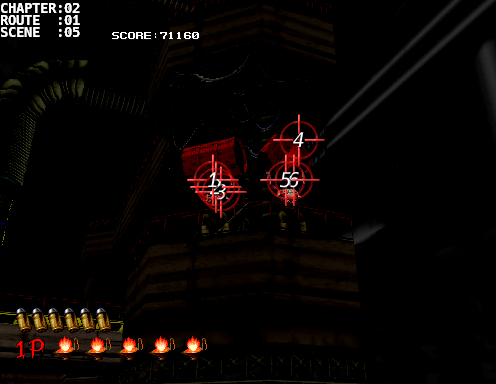
Scene: [02:01:05]
Difficulty: A
Number of Creatures: 2
Number of Headshots: 0/4
Scene Score:        0/  640
Running Score:  63760/71560
Bonus:

Notes:
This is probably the most difficult scene to score headshots on because of precision and timing as this scene will continue on if you wait too long.

The best strat is to tag 1 headshot on the left Bentley then another on the right one.  Then take three shots to the right oil drum and reload.

If you weren't able to do this then both Bentleys will most likely throw their oil drums at you so do your best at getting 4 shots each on the oil drums to save yourself from taking damage.

If you were able to stick that combo earlier then use 3 shots to try for a headshot on the left Bentley, use your 4th shot on the right oil drum, and use your last two shots to go for the headshot on the right Bentley.  If you miss the headshots then there won't be anytime for another reload as the scene will move on.

Getting these headshots won't be necessary for 100k as long as you play a good boss battle at the end of this chapter or grab enough headshots on the upcoming Parlors.
|
|
Scene: [02:01:06]
Difficulty: C
Number of Creatures: 1
Number of Headshots: 0/1
Scene Score:       80/  200
Running Score:  63840/71760
Bonus:

Notes:
Use all 6 shots if you have to.  Don't give Cyril a chance to start throwing those hatchets.
|
|
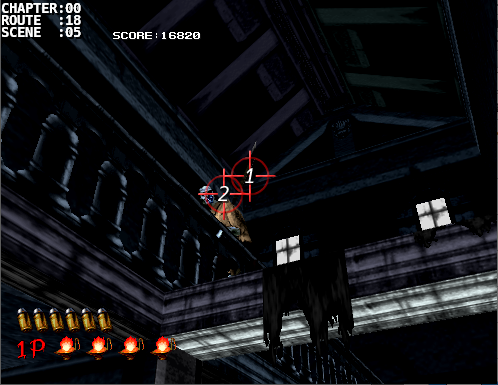
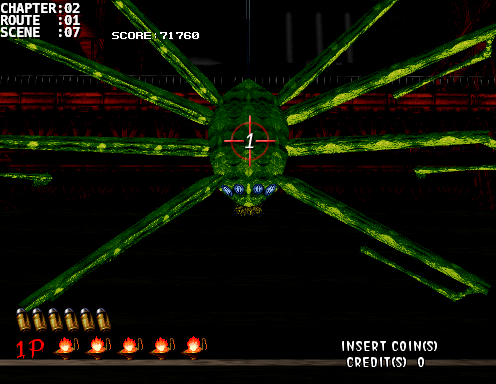
Scene: [02:01:07]
Difficulty: C
Number of Creatures: 3
Number of Headshots: 0/0
Scene Score: 240/ 240
Running Score: 64080/72000
Bonus:
Notes:
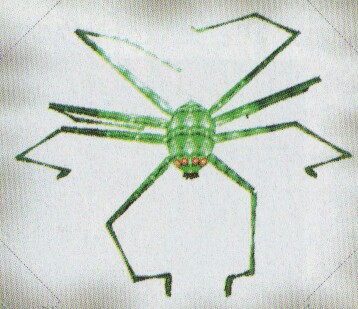
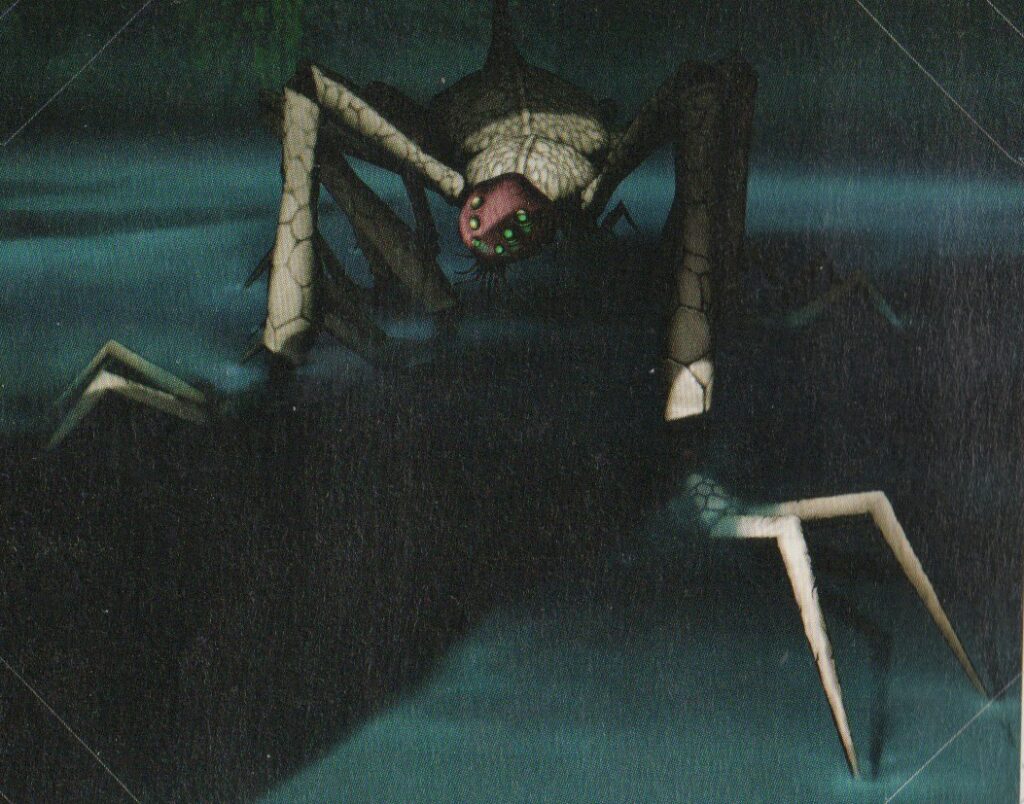
As you head up the stairs a spider creature will drop scare you. Quickly shoot it when it's in your face. There will be two more above so tag those before they reach you.
|
|
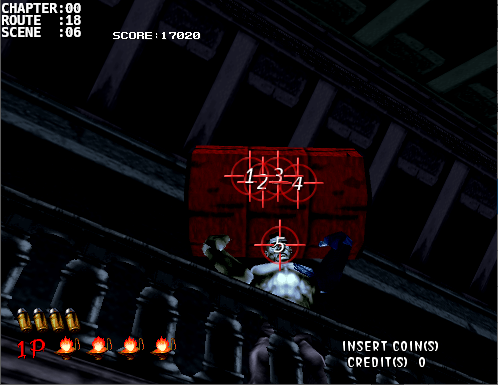
Scene: [02:01:08]
Difficulty: B
Number of Creatures: 1
Number of Headshots: 2/2
Scene Score:      320/  320
Running Score:  64400/72320
Bonus:

Notes:
As you finish walking up the stairs there'll be a group of 2 storage bins to the left and 3 to the right.  Focus your attention to the group on your right and use up a full round for good measure to destory the 3 bins as there's a gold frog inside one of them.  You don't need to get the gold frog just yet, just focus on breaking the bins because this goes by quickly.


Next, as you look up, a Bentley will be ready to throw an oil drum.  This section needs to be done really quick.  You need to take an immediate headshot and then shoot the oil drum 3 times.  Once it has recovered a bit finish it off with one last headshot.

If you missed the headshot, use a bullet for the oil drum (which should now be destroyed after a 4th shot), reload, then quickly try to spam bullets for the headshot as this is another scene that will continue without a kill.  If the scene shifts over and you see creatures flying down the conveyor then it's too late and there's no point in going for the kill since you won't be rewarded any points.
|
|
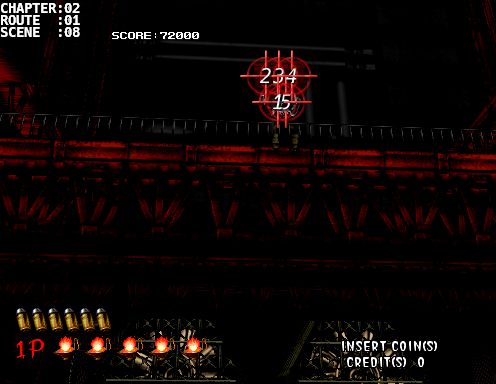
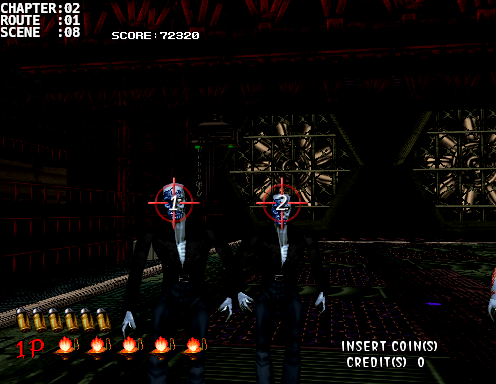
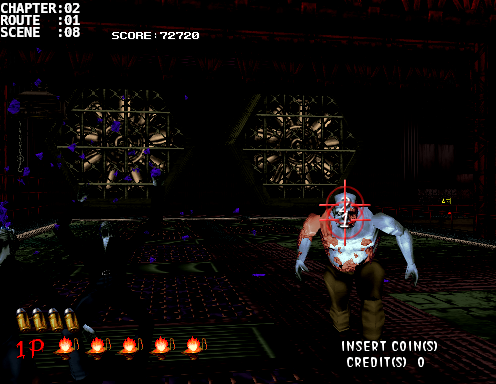
Scene: [02:01:08]
Difficulty: C
Number of Creatures: 3
Number of Headshots: 4/4
Scene Score: 720/ 720
Running Score: 65120/73040
Bonus:
Notes:
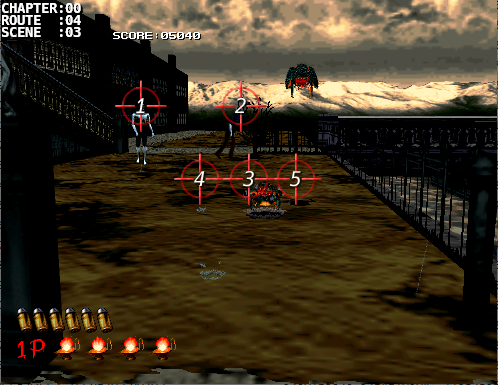
3 creatures will fly down from the conveyor. Let them land and take out the left one [1] then then middle one [2], one shot each.
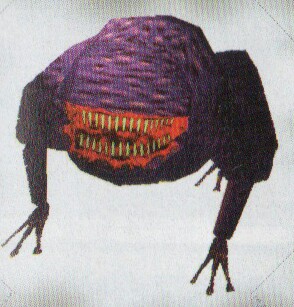
When the scene pans over to the Bentley on the right, take it out with a couple of headshots. Now focus your attention behind Bentley, if you destroyed all the bins then you should see a gold frog leaping up and down. If you don't then you just happened to pick it up by chance earlier.
|
|
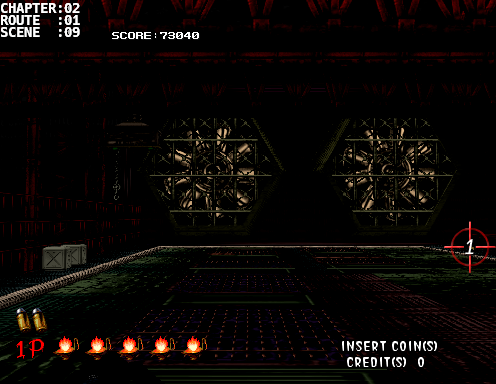
Scene: [02:01:09]
Difficulty: C
Number of Creatures: 2
Number of Headshots: 2/2
Scene Score:     1400/ 1400
Running Score:  66520/74440
Bonus:

Notes:
If you didn't destroy all the bins and don't see the gold frog then you better shoot fast to break them now.  Once you see the gold frog, shoot it to collect 1000 points.  If by some unknown reason you miss the frog then there is still one last chance but the window is very small.


A Sam will fall from above.  Take it out with one shot.


Soon after another one will fall.  Take that one out with a shot to the face.

Now if you didn't collect the gold frog earlier then this is your last chance.  Just after this scene and before the next you'll see the frog towards the bottom right of the screen for a split second.  Use a full clip and hope for the best.
|
|
Scene: [02:01:09]
Difficulty: B
Number of Creatures: 0
Number of Headshots: 0/0
Scene Score:      200/  200
Running Score:  66720/74640
Bonus:

Notes:
Another coin will either be in the left group of bins or the right.  Shoot the both bins on the left side first.  If the coin is there then grab it.  If it's not there then quickly shoot all the bins to the right and hopefully you'll collect the coin in the process.
|
|
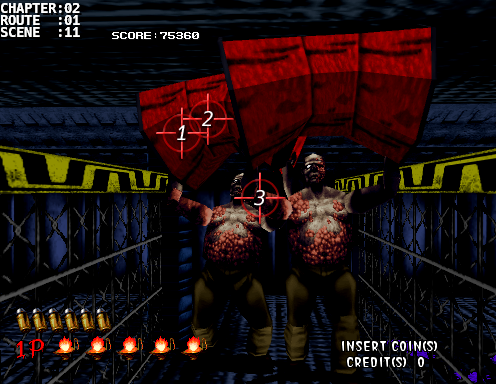
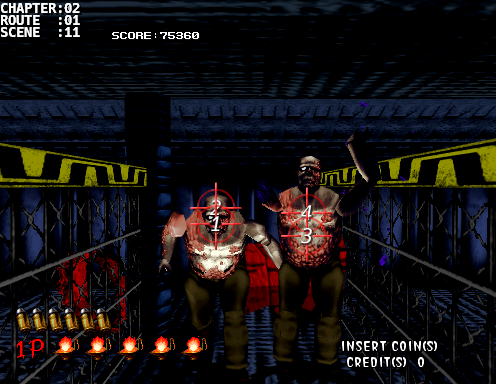
Scene: [02:01:10]
Difficulty: C
Number of Creatures: 3
Number of Headshots: 4/4
Scene Score:      720/  720
Running Score:  67440/75360
Bonus:

Notes:
Take a short breather while you take the elevator up.  You'll see 3 creatures behind the partition but you won't be able to shoot at them yet so wait a bit until you walk around the partition.

Shoot the left one once, then the right one once, then twice in the middle.

If your aim isn't precise yet, or you just want to be lazy, then use 3 shots each on left and right Kageos, reload, then take a full round on the center one.
|
|
Scene: [02:01:11]
Difficulty: C
Number of Creatures: 2
Number of Headshots: 4/4
Scene Score:      640/  640
Running Score:  68080/76000
Bonus:

Notes:
I used to hate this part because I would waste so many bullets, and even take damage occasionally, until I found this strat.

Shoot the left oil drum twice and then the right arm of the Bentley on the right [3] then reload.  This will stun the right Bentley and give you enough time to kill the left one without worrying.


While the right one is stunned, take two shots on the left Bentley as it comes charging in then two shots on the right one when that one comes charging in.
|
Aggressive Headshot Strategy
Safe Normal Strategy
|
Scene: [02:01:12]
Difficulty: A
Number of Creatures: 1
Number of Headshots: 0/1
Scene Score: 680/ 800
Running Score: 68760/76800
Bonus: 400 (Researcher)
Notes:
This is where the two elevator routes converge.
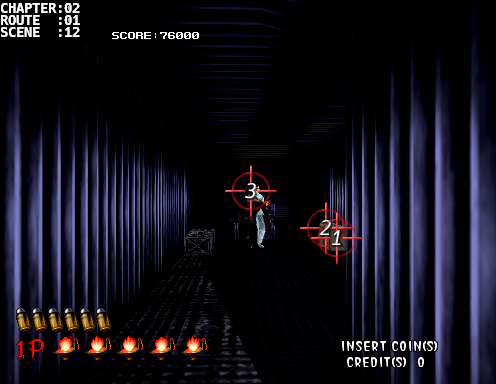
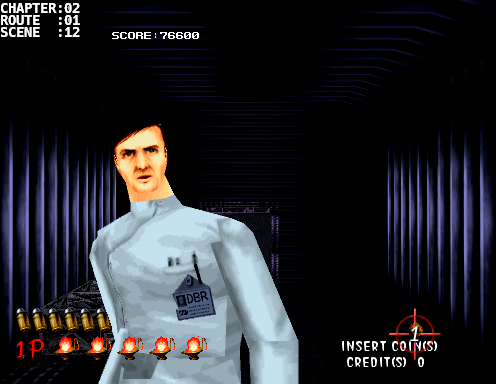
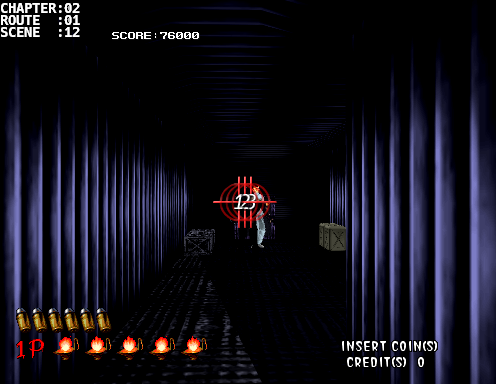
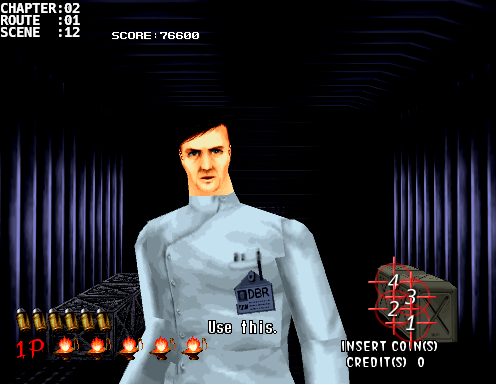
If you trust your aim then this is an aggressive strat that takes out the bins hiding the coin and then tagging the headshot. Just as you enter the corridor you have just enough time to shoot the two bins on the right hand side while leaving yourself just enough time to get the headshot. In the next scene you'll clearly see the coin for an easy 200 to collect.
The safe strat, and the one I always take, is to take three shots at the upper back/left shoulder (away from the researcher).
When the researcher gives you the security card, shoot the bins like crazy and hopefully you'll grab the coin before the scene moves on. Keep in mind that you're moving to the right as you do this so move your aim towards the left as the scene moves.
|
|
Scene: [02:04:02]
Difficulty: B
Number of Creatures: 2
Number of Headshots: 2/2
Scene Score:      400/  400
Running Score:  69160/77200
Bonus:

Notes:
Another pair of Moodys.  The only difference is that they can cling onto the railing on either side and might be slightly off screen when the camera focuses on them.  Don't try to go for the headshot while they're on the railing unless you have a clear shot.  Instead, while they're hanging on the railing, take one shot to their body before the clawshot goes off to get them centered on the bridge again and hope you'll get another chance at a clean shot.
|
|
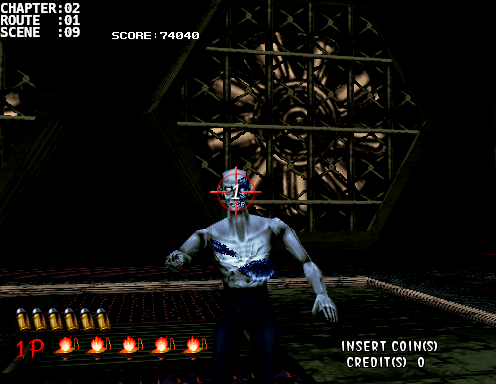
Scene: [02:04:03]
Difficulty: C
Number of Creatures: 1
Number of Headshots: 2/2
Scene Score: 320/ 320
Running Score: 69480/77520
Bonus:
Notes:
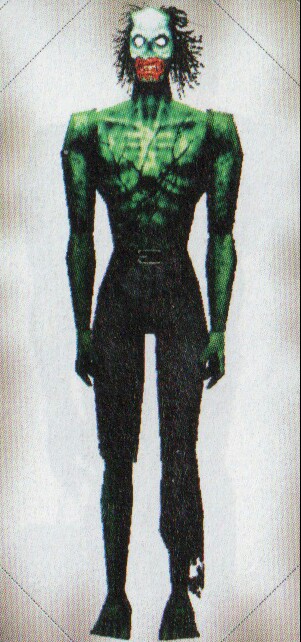
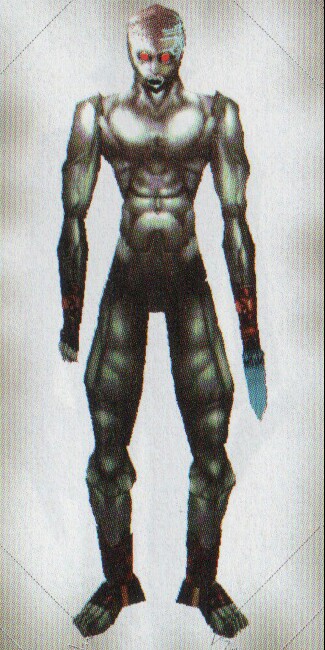
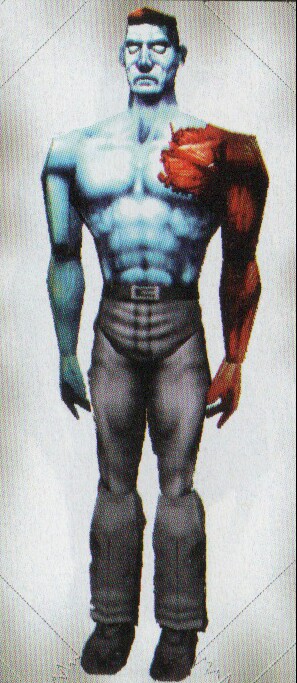
This next creature is similar to Bourbon (the greenish one that I usually use a full clip on). AHH and HAH doesn't work to get both headshots so you'll just have to spam a full clip to guarantee this one.
|
|
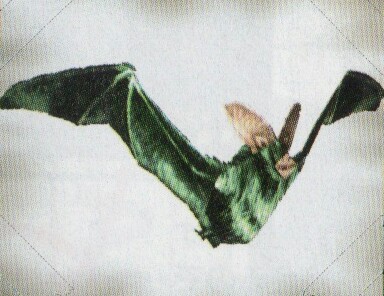
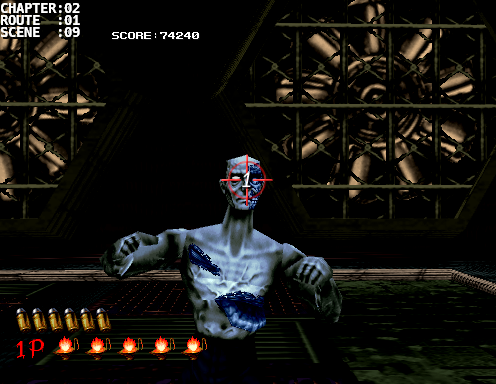
Scene: [02:04:04]
Difficulty: C
Number of Creatures: 1
Number of Headshots: 1/1
Scene Score:      200/  200
Running Score:  69680/77720
Bonus:

Notes:
A single Moody will jump out from the capsule, it can't get any easier.  Just don't behead it mid-air.  Now prepare yourself for the next scene though because it's gonna go quick and you can grab over 1000 points.
|

Charge Attack

Projectile Attack
|
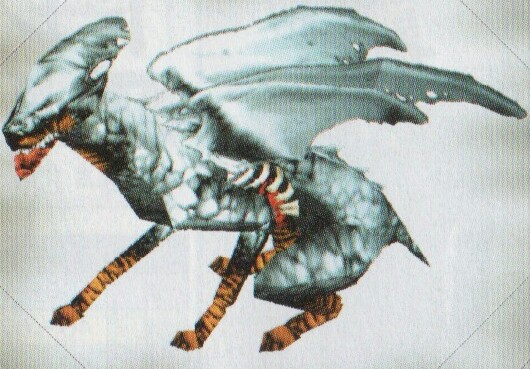
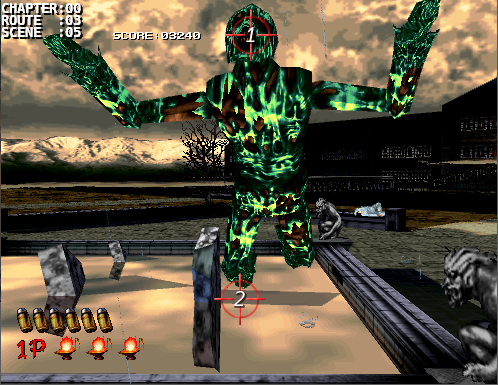
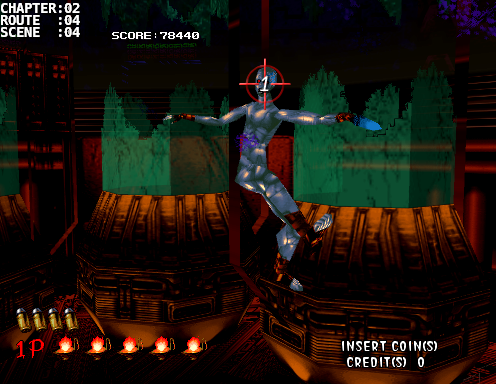
Scene: [02:04:04]
Difficulty: S
Number of Creatures: 1
Number of Headshots: 2/8
Scene Score: 320/ 1040
Running Score: 70000/78760
Bonus:
Notes:
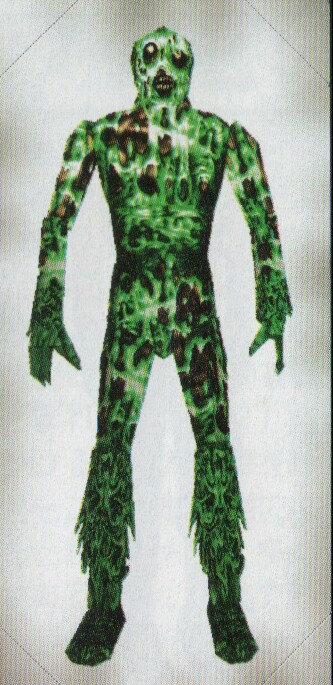
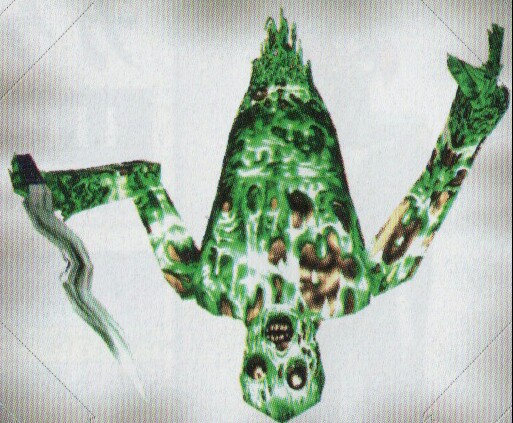
As soon as you defeat the Moody, a blueish-grayish creature (Parlor) will jump out from the capsule to the right. This is one of two places where you need to blast the heck out of its head while it's mid-air. Since this creature will NOT lose its head on a headshot, every shot to the head during the aerial start animation will give you bonus points. Try to rack up as many shots as possible before the landing animation ends. (I was only able to snag 6 shots during this guides run but it's definitely possible to get more).
Parlor has 3 attacks with 2 of them being the familiar backflip and charge attack. It's 3rd type of attack is a projectile attack similar to Drake but a bit slower.
After it lands don't kill it right away as you won't get the 80 kill points since you took the headshot while it was mid-air but it's a good trade off for 720 points. Just wait and use the typical strat for the backflip and charge attacks. For the projectile attack, instead of waiting for the projectile to be released, tag it in the face while its wide open. This will get you the headshot and stop the projectile from releasing. Be ready to gun the projectile down though if you miss the headshot.
|
|
Scene: [02:04:05]
Difficulty: C
Number of Creatures: 1
Number of Headshots: 2/2
Scene Score:      320/  320
Running Score:  70320/79080
Bonus:

Notes:
Burner is similar to Samson but uses a firesaw instead of a chainsaw.  Use the same rAHH strat.
|
|
Scene: [02:04:06]
Difficulty: B
Number of Creatures: 2
Number of Headshots: 4/4
Scene Score:      640/  640
Running Score:  70960/79720
Bonus:

Notes:
Another pair of Harris' except this time they mean business.  This one will be really technical and requires precise timing.  You'll want to go for the right one first and aim at its left thigh while the ball and chain is behind it (take more than one shot if you have to).  While it's stunned go for 2 quick headshots.  Repeat this for the one on the left and prepare yourself for another pair of Parlors in the next scene.
|

Two-Pronged Attack
|
Scene: [02:04:07]
Difficulty: C/S
Number of Creatures: 1
Number of Headshots: 5/20
Scene Score:      680/ 2480
Running Score:  71640/82200
Bonus:

Notes:
This scene isn't hard but racking up those headshots is.  If done right, you can walk away with 2000+ points after this scene.  Getting 5 or more total headshots during this scene is already good for the 100k but you'll want more to give you a good score buffer.

When you look up, take 6 shots in those exact placements. RELOAD!


As it falls, you have 6 frame perfect chances at 6 more headshots.  RELOAD again!


Finally when it lands, keep going at the headshots for another 6. RELOAD!!!


After the 18 shots, don't go for the headshot kill yet just like last time.  (The 80 points will not be rewarded so you want to guarantee you kill it off with another headshot)  It will most likely charge at you, so be ready for that, but keep your eye on the right one.  It might sneak a projectile attack behind the front one so don't get caught by the two-pronged attack.
|
|
Scene: [02:06:01]
Difficulty: C
Number of Creatures: 3
Number of Headshots: 6/6
Scene Score:      960/  960
Running Score:  72600/83160
Bonus:

Notes:
The easier route is the right hanger door.  You can enter it by not shooting at any of the doors.

The simple strat here is to take one headshot on Bentley [1] then rAHH the left Burner, go back and take one more shot on Bentley [5], reload, then rAHH the remaining Burner.

Or if you got the skill, double headshot Burner, double headshot Bentley, and double headshot Burner without reloading.
|
|
Scene: [02:06:02]
Difficulty: B
Number of Creatures: 2
Number of Headshots: 1/2
Scene Score:      280/  400
Running Score:  72880/83560
Bonus:

Notes:
Time for more pixel perfect shots.  Great if you can get them both but more importantly, great if you don't take damage.  Be sure to fend off any hatchets flying in the air if you miss those headshots.  The scene will continue on even if you don't kill them off.
|
|
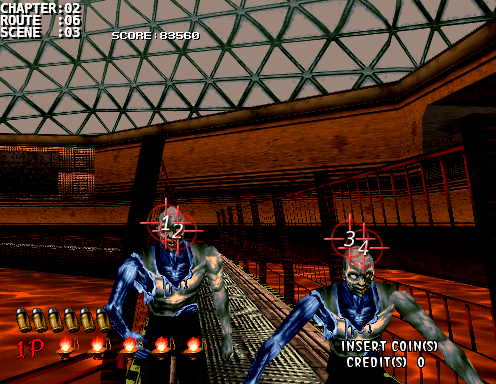
Scene: [02:06:03]
Difficulty: C
Number of Creatures: 2
Number of Headshots: 4/4
Scene Score:      640/  640
Running Score:  73520/84200
Bonus:

Notes:
No time to get fancy again.  Use a full clip to get two headshots each.  Go for the left one first, then the right.
|
|
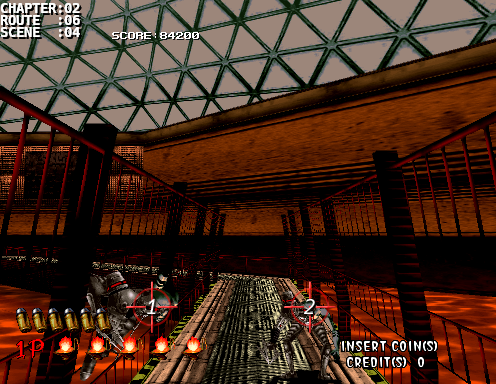
Scene: [02:06:04]
Difficulty: C
Number of Creatures: 2
Number of Headshots: 2/2
Scene Score:      400/  400
Running Score:  73920/84600
Bonus:

Notes:
A pair of Moodys again.  Just like the room earlier, these can cling on the railing so follow the same strat as before.
|
Charge Attack
Projectile Attack
|
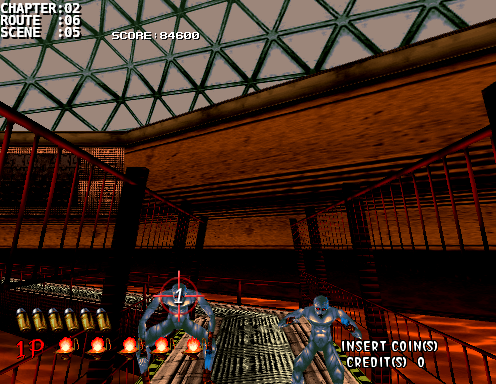
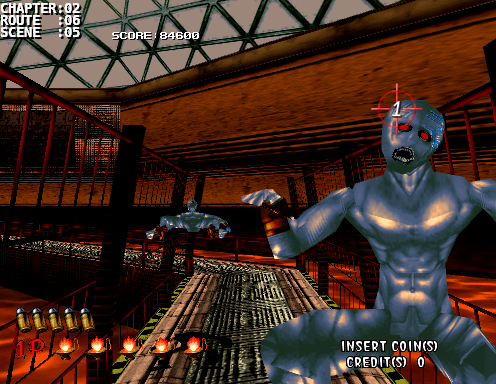
Scene: [02:06:05]
Difficulty: C
Number of Creatures: 2
Number of Headshots: 2/2
Scene Score:      400/  400
Running Score:  74320/85000
Bonus:

Notes:
A pair of Parlors will fall from above.  Don't try to go for the falling headshots because it won't connect.  Instead, try to offset their attack patterns when they land by shooting the left one straight away.  Do your best to recognize the type of attack coming up and get those headshots.
|
|
Scene: [02:06:06]
Difficulty: C
Number of Creatures: 1
Number of Headshots: 0/0
Scene Score:       80/80
Running Score:  74400/85080
Bonus:

Notes:
There's a straggler off in the distance, take a few shots to guarantee a hit (no headshot).
|
|
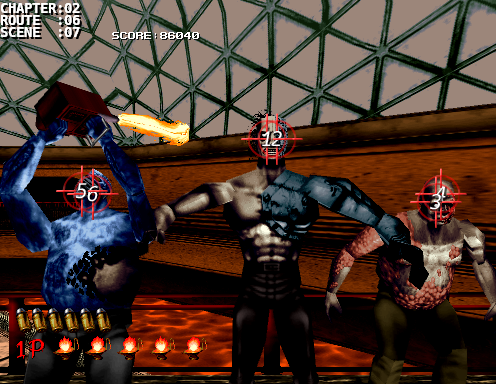
Scene: [02:06:06]
Difficulty: C
Number of Creatures: 3
Number of Headshots: 6/6
Scene Score:      960/  960
Running Score:  75360/86040
Bonus:

Notes:
Shoot at Harris' left thigh straight away, use as many bullets until it gets stunned.  Then take two quick shots on the left creature.  Reload.


Now take Harris out with 2 quick headshots before it recovers and starts swinging again and lastly two quick headshots on the remaining creature.
|
|
Scene: [02:06:07]
Difficulty: C
Number of Creatures: 3
Number of Headshots: 6/6
Scene Score:      960/  960
Running Score:  76320/87000
Bonus:

Notes:
Almost there.

Take out Robert with a HPH combo, then Bentley to the right and finally two quick shots at Burner to the left (or you can reload and HrAH or rAHH it) Just make sure you get passed this scene without taking damage.
|
Phase 1 - 1st Bullet
Phase 1 - 2nd/3rd Bullet
Phase 1 - Wait

Phase 1 - 4th/5th Bullet
Phase 2
Phase 3 - 1st/2nd/3rd Attack

Phase 3 - Last Attack
Ending Phase

|
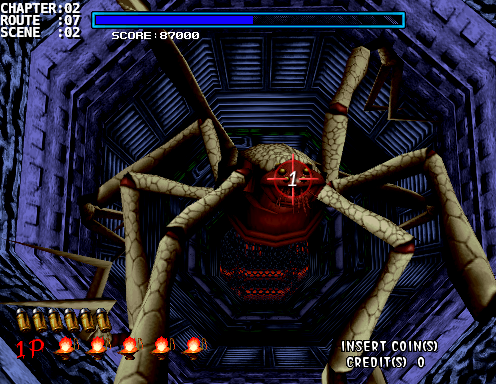
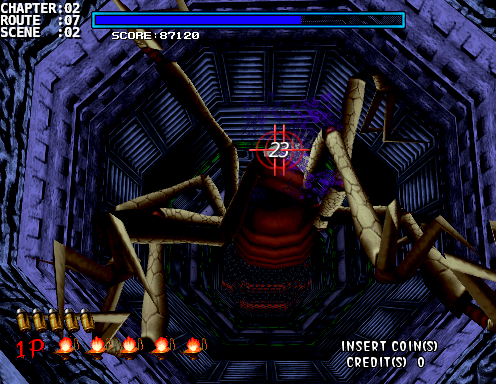
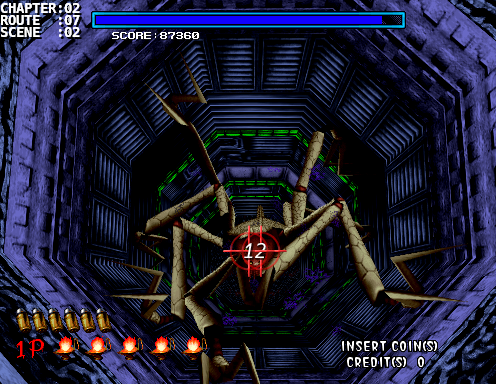
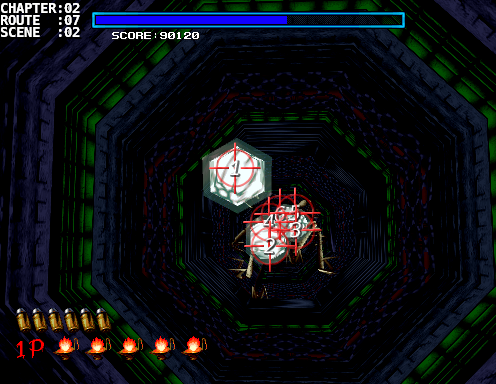
Scene: [02:07:02]
Difficulty: B
Number of Creatures: 1
Number of Headshots: 30/102
Scene Score: 5100/ 13740
Running Score: 81420/100740
Bonus: 1500 (Defeating Hermit)
Notes:
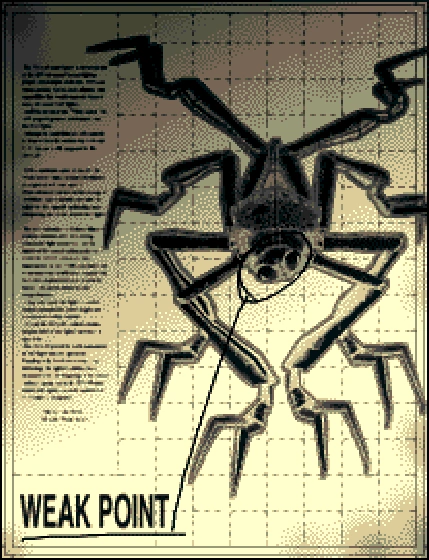
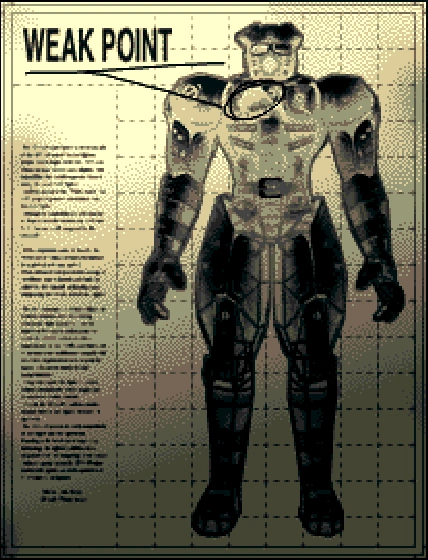
So Hermit is another boss that will reward you for headshots. You're guaranteed at least 1920 points regardless since its head is the only weak point and it takes 16 shots to defeat it. Timing and placement is key here because Hermit will use its legs to defend its head after an attack.
Phase 1:
During phase 1 Hermit will approach you, with its head wide open, and slash at you if its close enough.
Just as the scene starts take a quick headshot while its just standing there (1st Bullet). Now this is the crucial part, after you make contact, immediately take 2 shots just above where its head used to be (2nd/3rd bullet) You can actually sneak in a 4th shot during a critical hit.
Now wait a bit while it uses its legs to block its head. Use this time to reload.
Once its legs are out of the way quickly sneak in 2 more shots before the shot counts as damage. Now let it approach you again and follow the same steps. You'll do this for 6 damage attacks with 5 chances at 4 quick bonus headshots in between.
Phase 2 Projectile Attacks:
This time it will spew out web balls but don't worry, specialized AMS bullets will disintegrate these web balls like marshmellows. The webs will increase in numbers after each successful damage attack starting with 6 webs and going up to 11. Once you finished off the web it'll start approaching you like before. Follow the same bullet strategy for a total of 6 damage attacks.
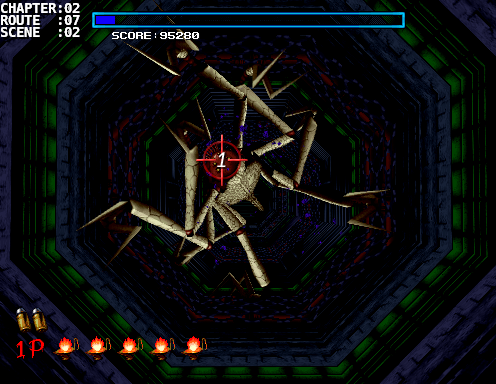
Phase 3 Positioned Attack:
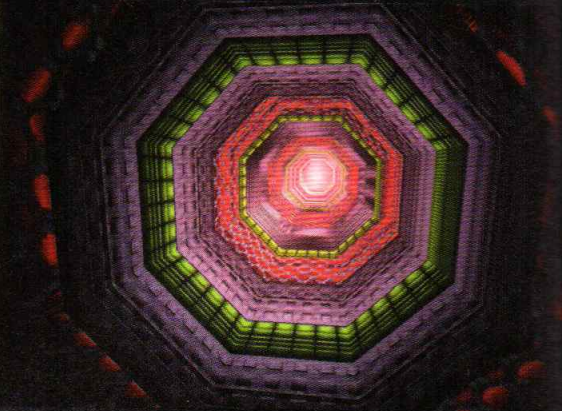
During this final attack phase, Hermit will choose to position itself and crawl along 1 of the 8 octagonal walls in the tunnel as it approaches. During the approach it will cover its head with its legs until it gets up close. Take note of which wall its on as its head will be offset from center going toward the opposite wall. For example, if it's crawling along the top left then it's head will be off center going bottom right [1]. Once it takes damage it'll recenter itself on the bottom use this time to try for 4 shots with the bullet strat. Let it recover and reposition itself so that you can also reload and ready yourself for the next attack. Do this for a total of 3 damaging shots.
After the 3rd damaging shot of this phase DO NOT LET IT RECOVER. At the end of the bullet strat keep shooting to kill it off. Why? Because you can still get headshot points while it's flailing around in defeat and this is the best position for Hermit to be at. Any closer and its head will be offscreen when its head hits the ground. Any further back and you lose precious head pixels that you could've shot at. Shoot fast and remember to reload!!! While Hermit is flailing around, its head will not be stationary in one position so you'll need to try and follow it around behind all the spewing "blood?" by using the angle of its body. Don't stop! Keep shooting until the black bars come down for the ending cutscene.
|
|
Scene: [02:07:03]
Difficulty:
Number of Creatures:
Number of Headshots:
Scene Score:
Running Score: 81420/100740
Bonus:
Notes:
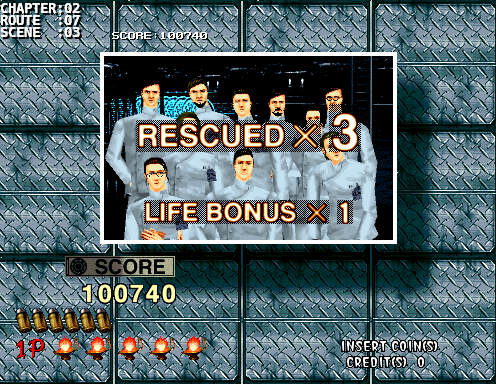
And after a good trigger workout you can end the 3rd chapter with a huge sigh of relief. In an ideal world you can reach 100k by this point but anything greater than 80k will put you in good running for 100k as a typical final chapter run will be roughly 20k in points. My highest score after this chapter was 90720 which was done during my 110k run. The things that set that run aside from all the rest were precise Parlor headshots and better timing on Hermit.
Let's not rest here. We've got one final chapter to go.
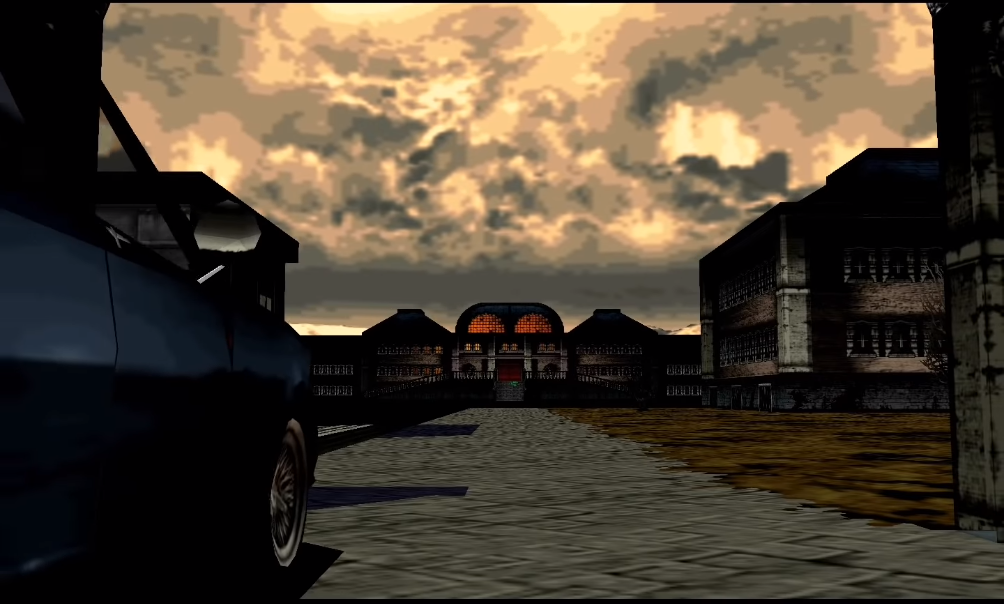
The Final Chapter
The house of the dead
|