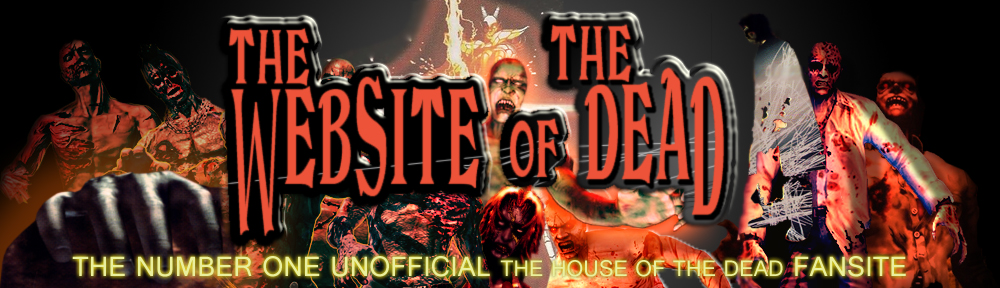

Who are you? Nobody gives me instructions! I shall destroy everything!
Dr. Curien poured his heart and soul into the “person who stands on top of mankind” he created. However, “He” was born as a monster who did not follow any instructions. The fight to end this tragedy begins now.
Creatures
Sam 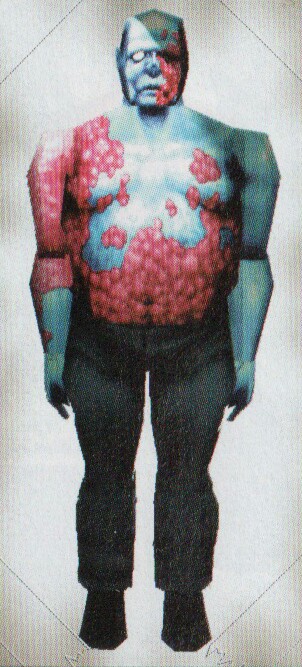
Bentley 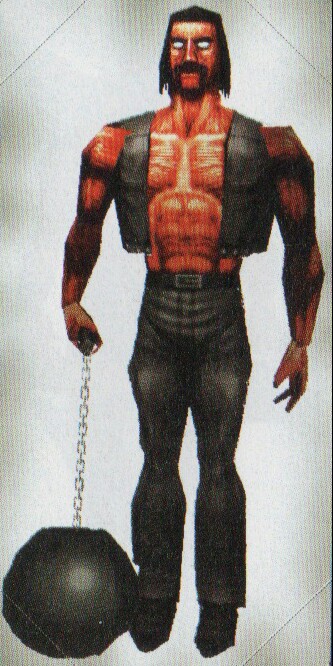
Harris 
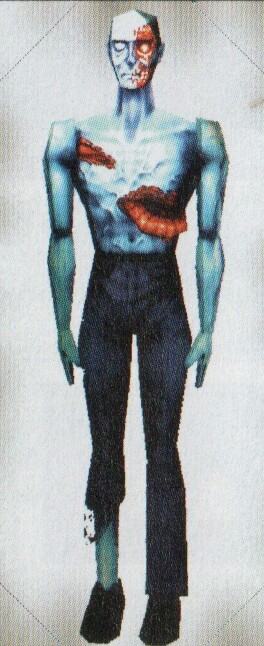
Robert 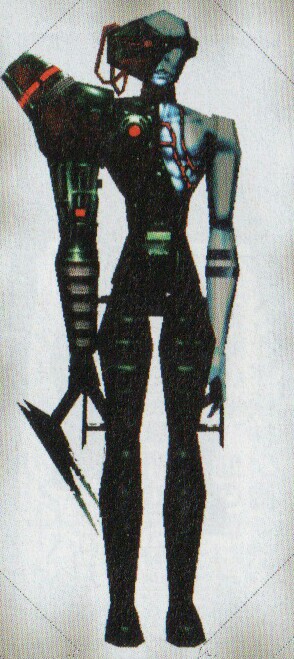
Moody 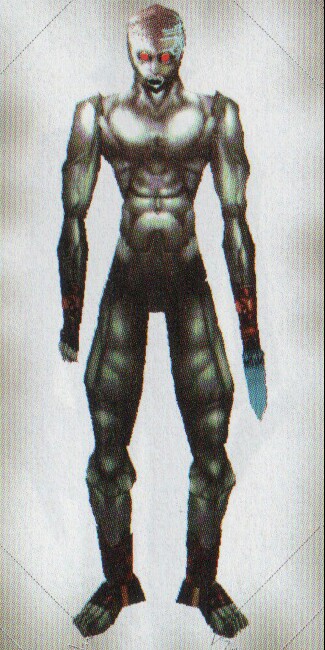
Parlor 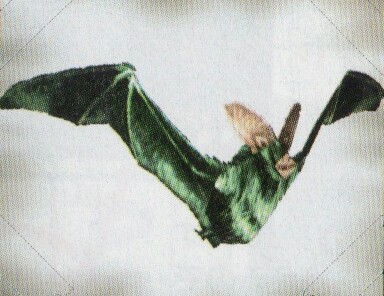
Devilon
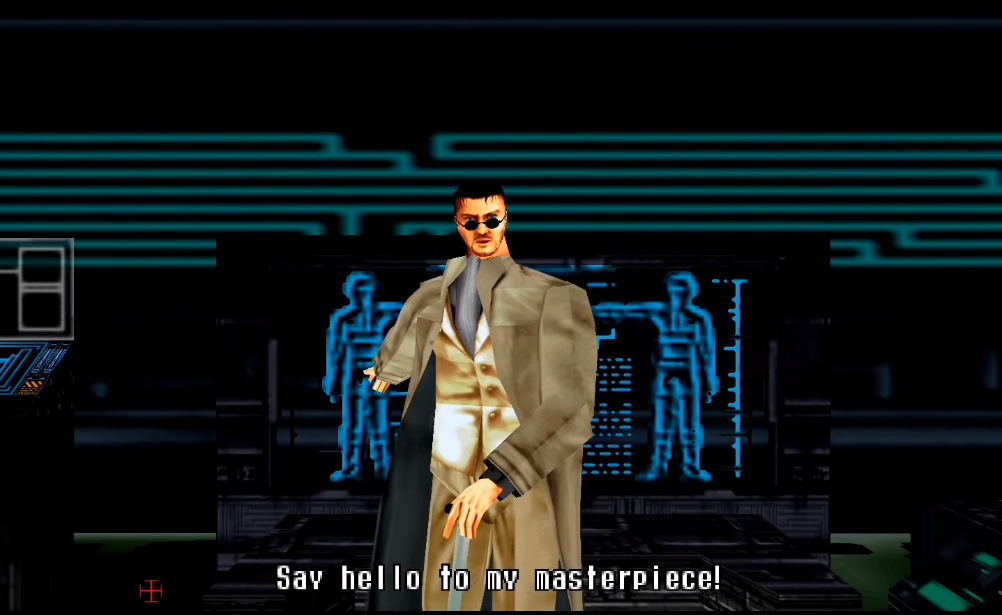
Boss: Magician type 0
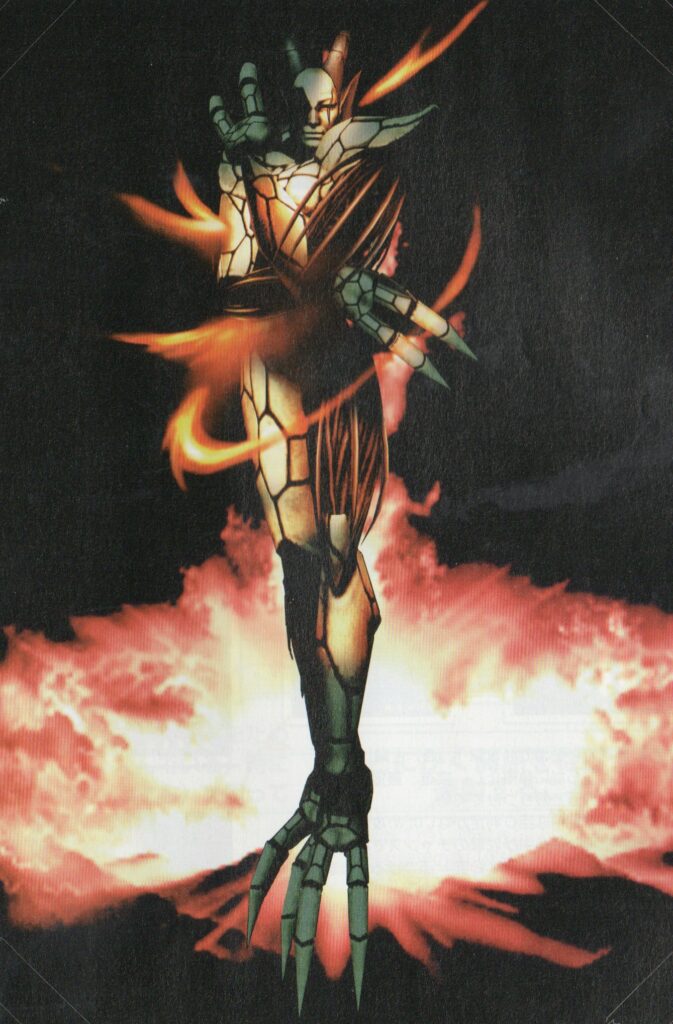

HP: 800 Weakness: Unknown
Before sealing himself in the mansion’s inner lab, Dr. Curien hinted at his “ultimate creation”, a creature that would take humanity to the next evolutionary level. Little is know about the Magician’s abilities, speed or size but past experiments should give agents some idea of the threat they face. Dr. Curien’s legacy must follow him to the grave!
High Score Guide
| Introduction | The First Chapter Tragedy |
The Second Chapter Revenge |
The Third Chapter Truth |
The Final Chapter The house of the dead |
Alternate High Scoring Paths |
Special Thanks |
|---|---|---|---|---|---|---|
| AIM | DESCRIPTION | |||||
 |
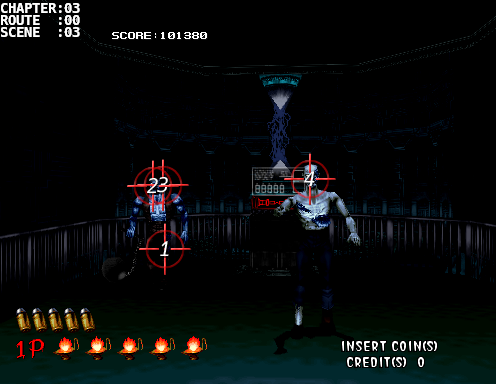
Scene: [03:00:02]
Difficulty: C
Number of Creatures: 2
Number of Headshots: 4/4
Scene Score: 640/ 640
Running Score: 82060/101380
Bonus:
Notes:
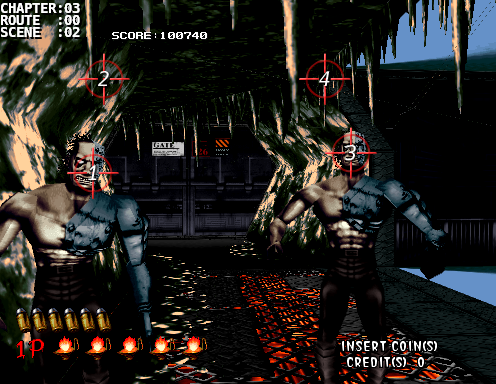
Let's start off the final chapter perfectly. The left Robert will attack first then the right one.
Basic HPH strat.
|
 |
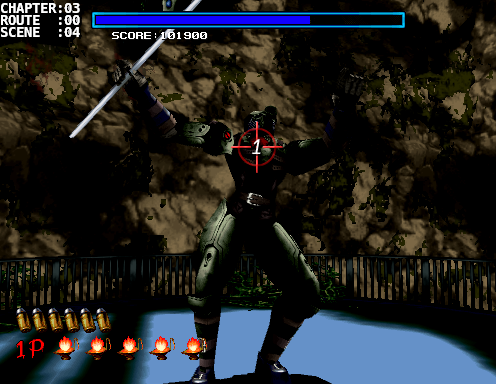
Scene: [03:00:03]
Difficulty: C
Number of Creatures: 2
Number of Headshots: 3/3
Scene Score:      520/   520
Running Score:  82580/101900
Bonus:

Notes:
Take down the Harris in the back first with a lTHH combo then take out Sam.
|
 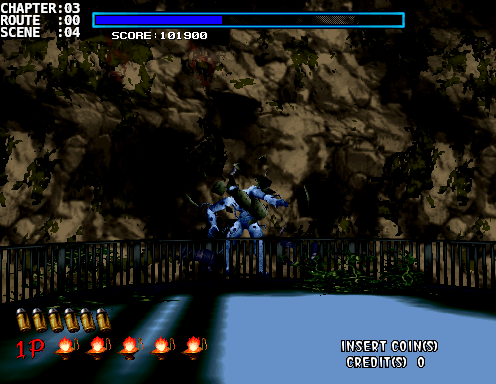 |
Scene: [03:00:04]
Difficulty: C
Number of Creatures: 0
Number of Headshots: 0/0
Scene Score:     1500/  1500
Running Score:  84080/103400
Bonus: 1500 (Defeating Chariot)

Notes:
Chariot Reprise

Nothing really different compared to the first battle with the exception of a few possible glitches such as the imfamous disappearing act and also the floating glitch (which has a chance of softlocking the game).
The only difference would be if you want the 13 bullet defeat; let it approach all the way forward after its armor shatters from flexing so that you can get clear shots otherwise Chariot will hangout hidden behind the rock wall.
|
Phase 1 - Bat Attack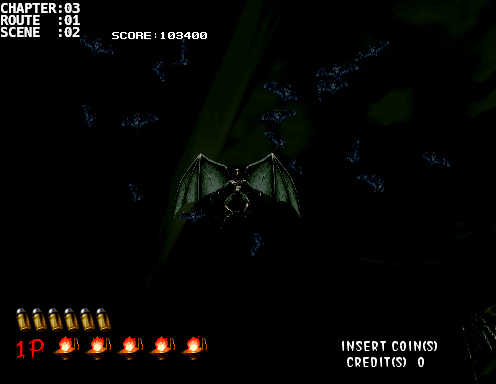 Phase 2 - 1st Attack 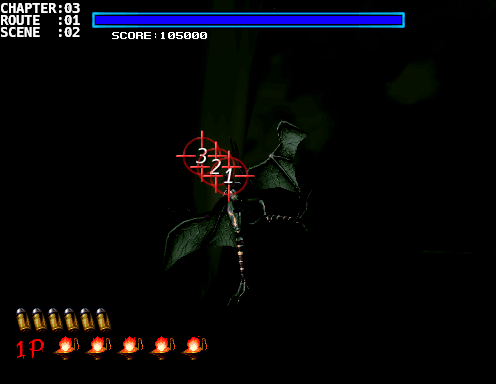 Phase 2 - 2nd Attack 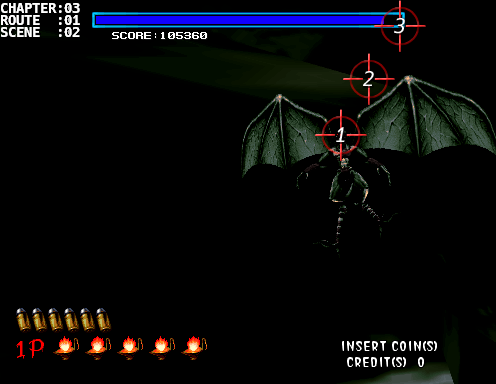 Phase 2 - 3rd Attack 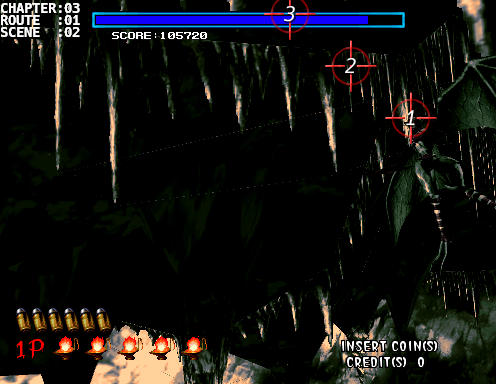 Phase 2 - 4th Attack 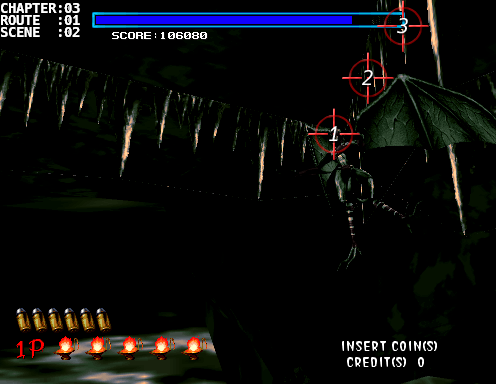 Phase 2 - 5th Attack 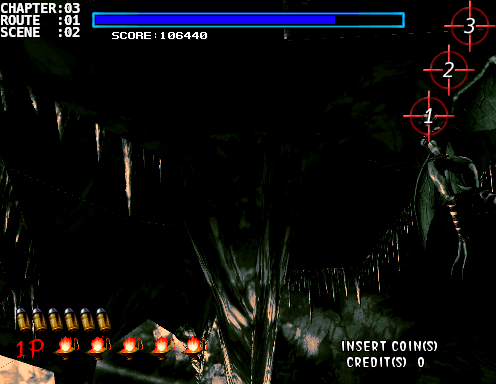 Phase 2 - 6th Attack 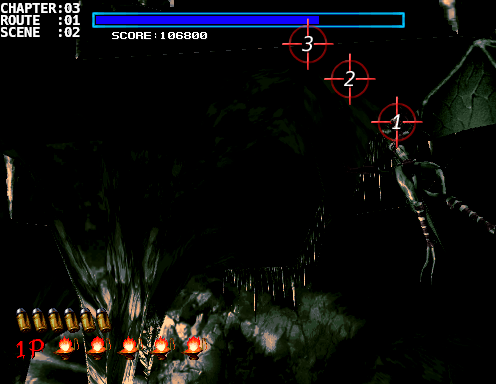 Phase 2 - Repetitive Attack 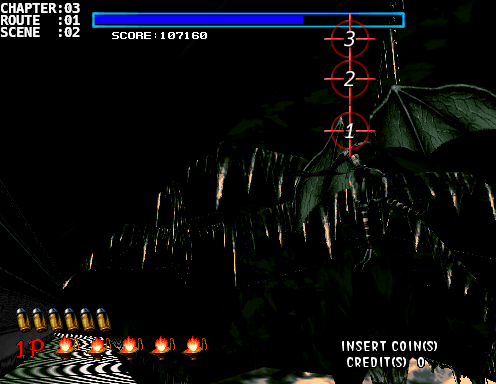 |
Scene: [03:01:02]
Difficulty: C
Number of Creatures: 21
Number of Headshots: 21/56
Scene Score:     5620/ 9820
Running Score:  89700/113220
Bonus: 1500 (Defeating Hangedman)

Notes:
Hangedman Reprise

This battle looks the same as the first go around but it actually is completely different.

Phase 1 - Bat Attack
There are only 20 bats this time, as opposed to the 30 last time, so that means there'll only be 8 waves coming at you again starting with 1 then moving up to 4 then repeat.  Be on the look out again for a bat hiding behind Hangedman's wings.  Sometimes they pop up so late that it can startle you a bit especially during a 4 bat wave.

Phase 2 - 1st Attack
This differs slightly.  Instead of going horizontal to the left, you'll go up diagonally to the left.


Phase 2 - 2nd Attack
Instead of going diagonally up-left you'll be aiming diagonally up-right


Phase 2 - 3rd Attack
Now it's diagonally up left instead of horizonally left.


Phase 2 - 4th Attack
This one goes up and to the right instead of vertically up.


Phase 2 - 5th Attack
Be careful with this one because he'll be coming off camera but will stay near the edge of the screen.  Stay to the right and aim up to the top right corner.


Phase 2 - 6th Attack
Yes, there's a 6th attack this time.  Use the life bar to guide your final shot as you aim diagonally up to the left.


Phase 2 - Repetitive Attack
During the repetitive attack phase you'll only need to aim vertically upwards, again using the life bar to guide your last shot.  There isn't a 3rd phase this time so you'll be doing this for 13 waves.
|
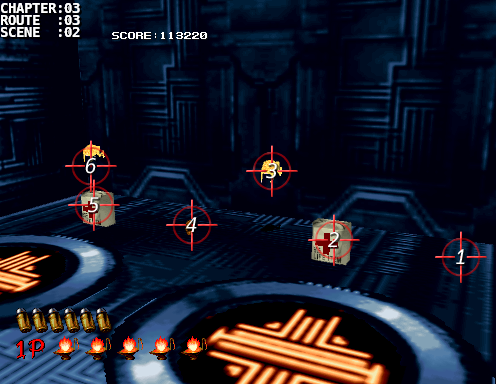 |
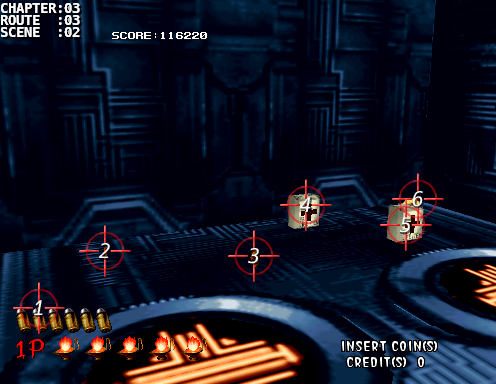
Scene: [03:03:02]
Difficulty: C
Number of Creatures: 0
Number of Headshots: 0/0
Scene Score:     3000/  3000
Running Score:  92700/116220
Bonus:

Notes:
2 x 200 (Coin) +
2 x 300 (Max Life Bonus) +
2 x 1000 (Gold Frog)

Bonus time!  You'll turn to the right and see a bunch of freebies.  Make your way from right to left with one shot each.  Pay attention to the gold frogs as they'll be leaping up and back down.  Don't miss a shot because this goes by really really fast and doesn't leave much room to reload and backtrack for any missed items.  It also pays off to enter the room with max lives so that you can collect the 300 max life up bonus.  If you took some damage before entering this room then I hope you made up for the bonus points during the Hangedman battle.
|
 |
Scene: [03:03:02]
Difficulty: C
Number of Creatures: 0
Number of Headshots: 0/0
Scene Score:     2200/  2200
Running Score:  94900/118420
Bonus:

Notes:
3 x 200 (Coin) +
2 x 300 (Max Life Bonus) +
1 x 1000 (Gold Frog)

Now it'll be the reverse setup.  Start on the left and work your way right while, again, keeping your eye on the gold frog's position in the air.  If you missed the gold frog then quickly reload and spam a bunch of shots to get the frog.

This is a good place to check your score, you'll need to leave the room with a minimum of 93900 to even reach 100k so give yourself some room for error and try to reach this point with at least 94900.
|
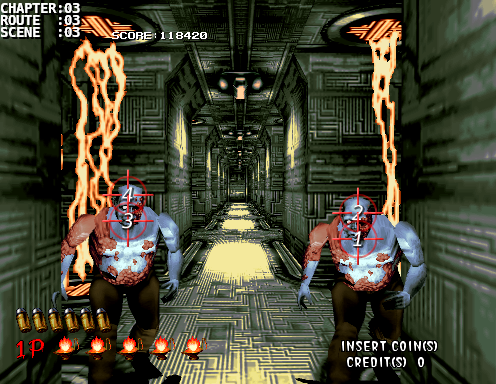 |
Scene: [03:03:03]
Difficulty: C
Number of Creatures: 2
NNumber of Headshots: 4/4
Scene Score:      640/   640
Running Score:  95540/119060
Bonus:

Notes:
It's the final stretch.

2 Bentleys.  First the right one then the left.
|
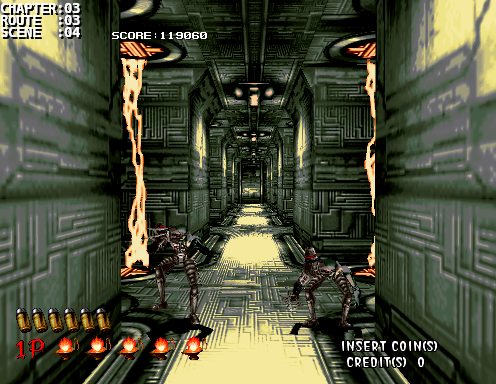 |
Scene: [03:03:04]
Difficulty: C
Number of Creatures: 2
Number of Headshots: 2/2
Scene Score:      400/   400
Running Score:  95940/119460
Bonus:

Notes:
A couple of Moodys with extra HP.  If you behead them early on they'll still remain active but won't give you further headshot bonus points so if that's the case just spam a bunch of shots at them until they die.
|
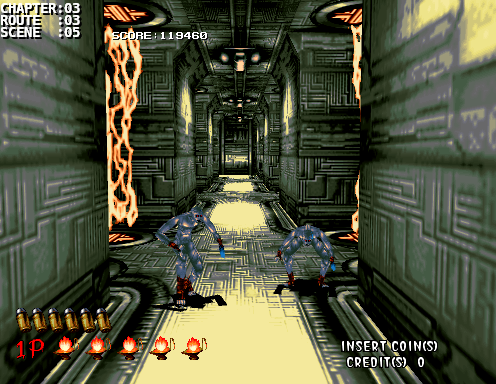 |
Scene: [03:03:05]
Difficulty: C
Number of Creatures: 2
Number of Headshots: 0/4
Scene Score:      160/   640
Running Score:  96100/120100
Bonus:

Notes:
These Parlors also have extra HP so you can actually get 2 headshots each.  Just like the end of the third chapter, it's almost impossible to score extra headshots while they jump into the scene so just focus on the headshots after they land.  Be careful of the two pronged attack and try to offset their attack patterns if you get the chance.
|
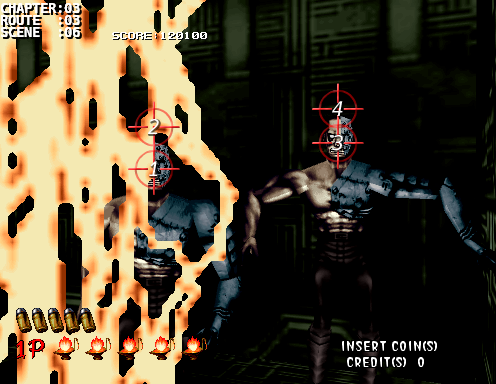 |
Scene: [03:03:06]
Difficulty: C
Number of Creatures: 2
Number of Headshots: 4/4
Scene Score:      640/   640
Running Score:  96740/120740
Bonus:

Notes:
Left Robert then Right Robert. HPH strat on both.
|
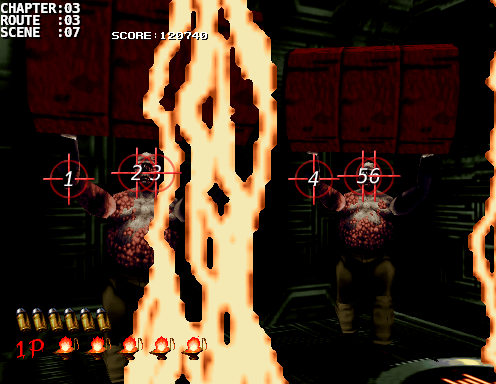 |
Scene: [03:03:07]
Difficulty: C
Number of Creatures: 2
Number of Headshots: 4/4
Scene Score:      640/   640
Running Score:  97380/121380
Bonus:

Notes:
These Bentleys won't throw the oil drums immediately so you'll have a chance to rAHH both of them.

If you want to play it safe then take 4 shots to the left oil drum then two shots on the left Bentley, then move over to the right Bentley and take out the oil drum with 4 shots and then take the 2 headshots.
|
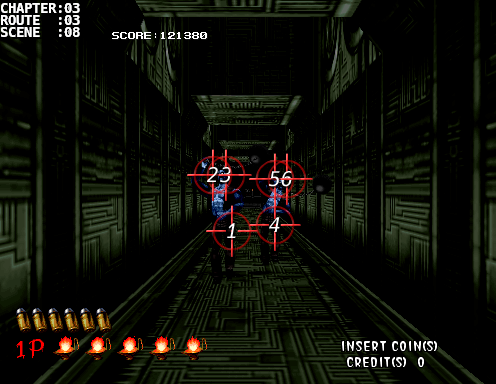 |
Scene: [03:03:08]
Difficulty: B
Number of Creatures: 2
Number of Headshots: 0/4
Scene Score:      160/   640
Running Score:  97540/122020
Bonus:

Notes:
Lastly, two lTHH's on the two final Harris'.  Take the left one out first then the right.

Take a deep breath and prepare yourself for the final battle.
|
Attack Pattern 1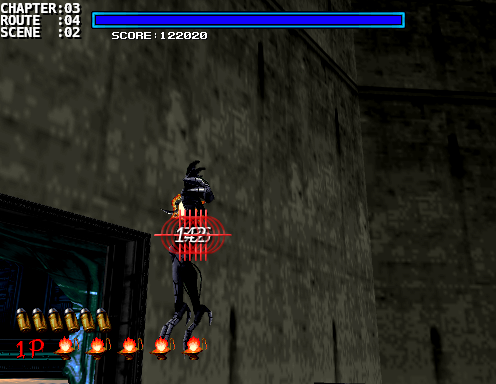 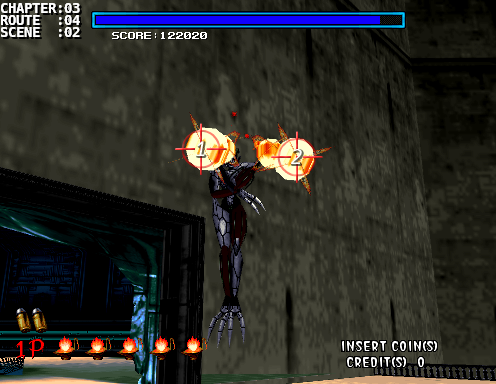 Attack Pattern 2  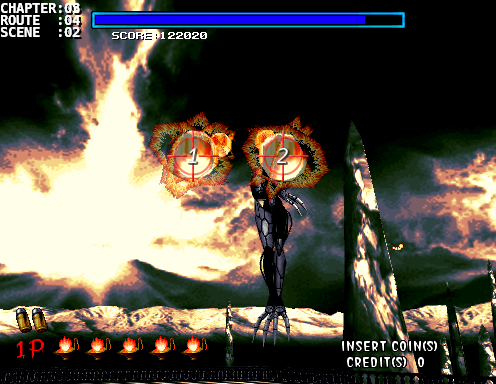 Attack Pattern 3 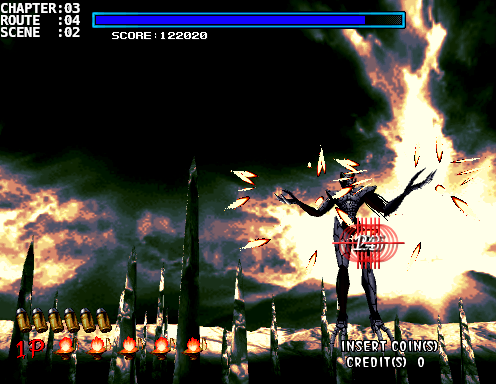 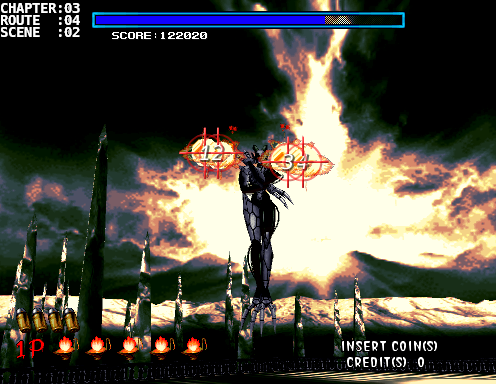 Charge from Right 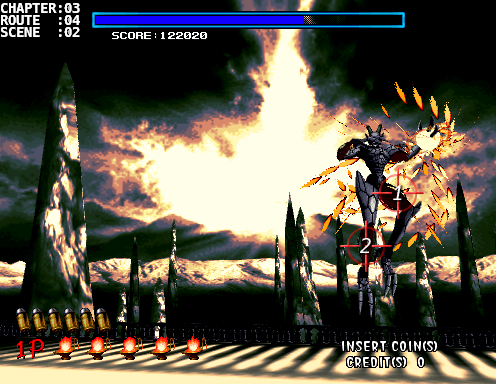 Charge from Left 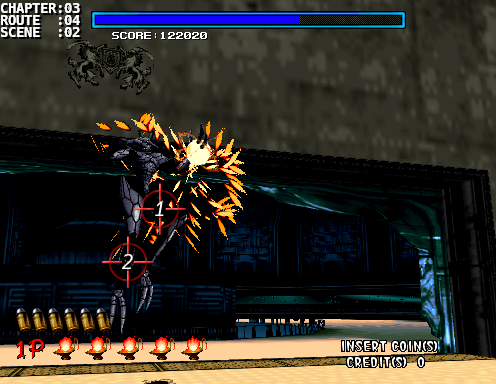 Final Phase 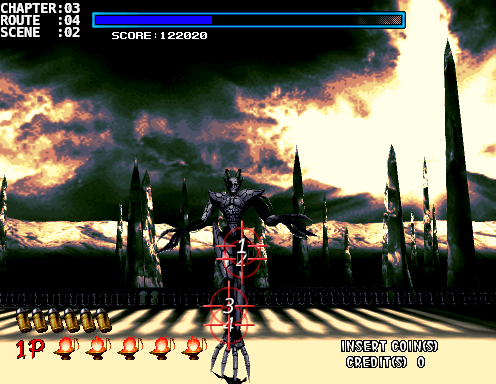 Fireball Ring  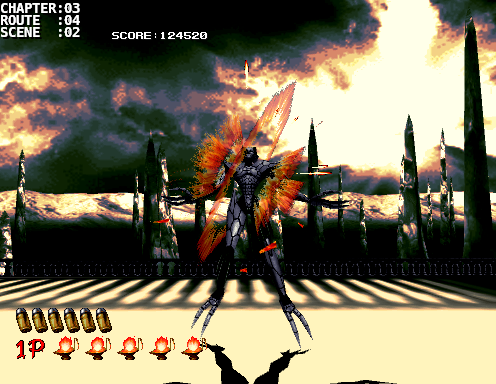 |
Scene: [03:04:02]
Difficulty: A
Number of Creatures: 1
Number of Headshots: 0/0
Scene Score:      2500/  2500
Running Score:  100040/124520
Bonus: 2500 (Defeating Magician)

Notes:
Large weak points: Left Thigh
                   Right Shin
Small weak points: Left Upper Arm
                   Right Forearm
Phase 1: 19 shots
Phase 2: 6 shots
Phase 3: 6 shots
Phase 4: 6 shots
Final Phase: 23 shots
Total: 60 shots

Phase 1:

Attack Pattern 1:
Magician will start twirling around while powering up for a couple of fireball blasts.  (Don't worry, specialized AMS bullets can take down fireballs too)  While its twirling, aim for its left thigh and use up an entire round.  Quickly reload and shoot down the two fireballs that will come at you from each hand.

Attack Pattern 2:
This time it'll charge up while staying still.  Use this time to shoot a full round at its right shin and the quickly reload.  It will then spin and throw two more fireballs so gun them down before they reach you.

Attack Pattern 3:
Now he's gotten a bit angry and will power-up fireballs with both hands.  Try to get off 2 full rounds at your favorite weak spot (I prefer the left thigh) and then quickly reload to save up shots for the fireballs.  Remember that there are 2 fireballs for each hand so take out all 4 before it's too late.

This first phase will take 19 hits before you move on to the next phase.  If you didn't get all 19 hits yet then the attack patterns will repeat in sequence again.

Phase 2:

Magician will now do some serious side floats while creating after images of itself around the screen and then charge in during the 3rd movement from either the left or the right.  Pay attention to the 2nd movement and which direction it travelled as this will dictate which side the attack will come from.  If it moves towards the screen left then it'll attack from the left and similarly if it moves towards the screen right then it'll attack from the right.  Determine ahead of time which feels more comfortable to you, attacking the left thigh or the right shin, and stick to it; my preference is the left thigh because if I aim too high there's a chance I'll tag the left upper arm for a hit.  Memorize the position on screen and you should be good to go.

Charge from Right:
If your preference is left thigh then aim at [1] else aim at [2].
[1] is about center of the screen vertically and almost inline with the right end of the health bar above.
[2] is about 2/3 down from the top and 1/4 from the right of the screen.

Charge from the Left:
[1] is just below center vertically and inline with the 1P 4th health flame.  If you're playing as 2P then the horizontal aligns with the first digit of your score.  If you don't have the score code on for some reason then the horizontal placement about 40% from the left of the screen.
[2] is again about 2/3 down from the screen but 1/4 from the left this time.  It's inline with the 1P 3rd health flame if you're playing as 1P.

Phase 2 will take 6 shots before changing phases again.

Phase 3:
Just like phase 1 except it only takes 6 shots to move onto the next phase.

Phase 4:
Exactly like phase 2

Final Phase:
Get ready to muster up every last ounce of strength to spam that trigger for 23 more shots.  Magician will now power up for its, not so impressive, final attack.  It's possible to finish Magician off before the fireballs are thrown into the air but it will take impressive trigger speed and precise aim to get this; I've only been able to achieve this once out of all my runs.  Take the first 2 rounds at the left thigh and then another 2 rounds at the right shin.  Keep shooting at the shin even when the fireballs go up.  The screen will pan up a bit so be sure to aim a little lower if that happens.  If you didn't manage to take him down yet then you'll be confronted with a ring of 15 fireballs.

Fireball Ring:
At first glance you'll probably only see 13 fireballs but we're talking about a Magician here.  The top and bottom fireballs have another one stacked above it so don't get startled when you shoot down 13 of them and see that there's still 2 left.  Once you shoot them all down the screen will pan back to Magician and alas you can take your final shots and claim victory.
|
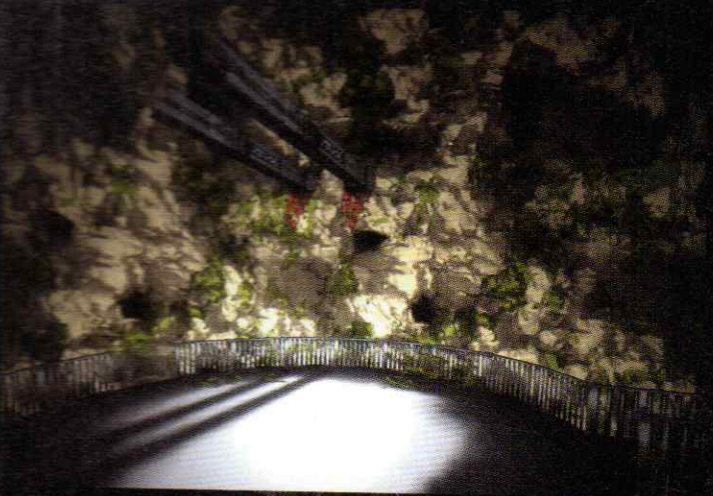
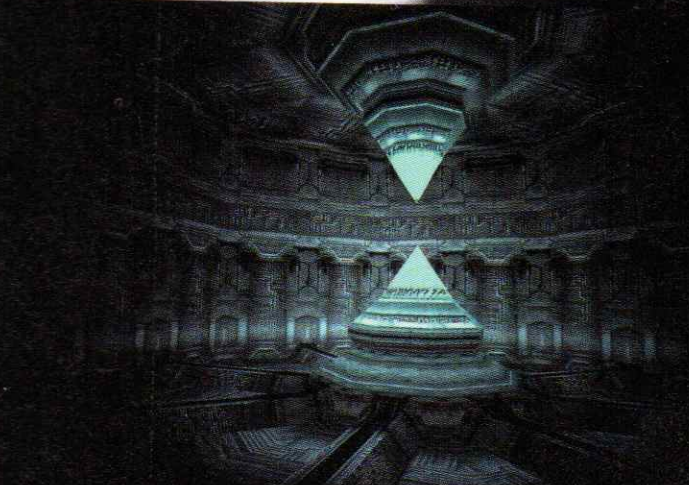
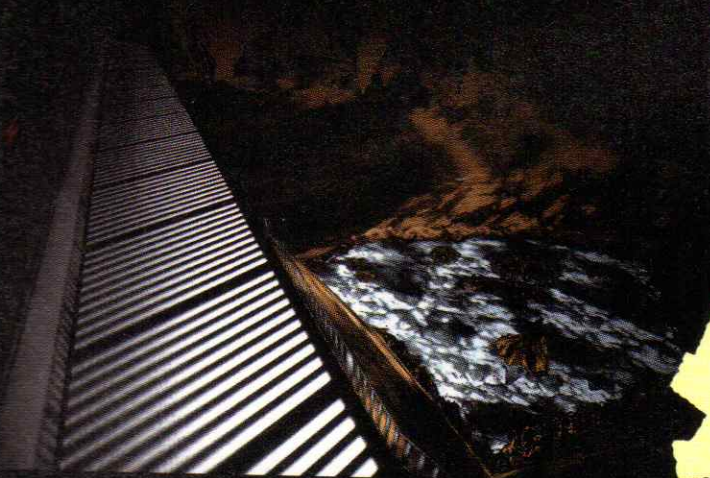
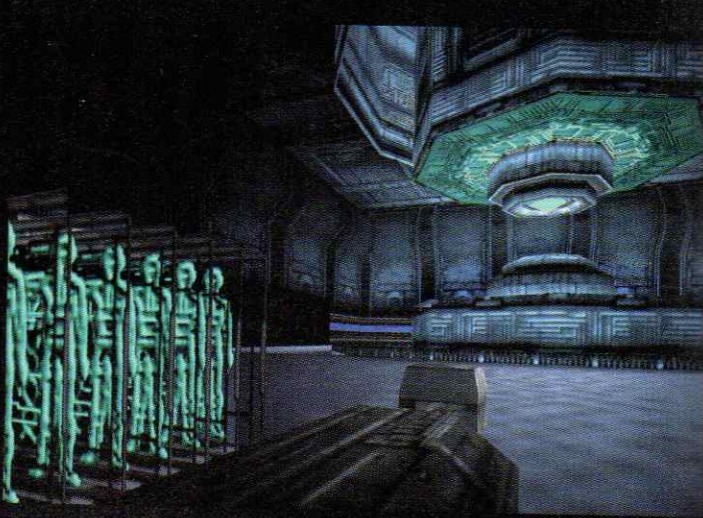
Stage Gallery