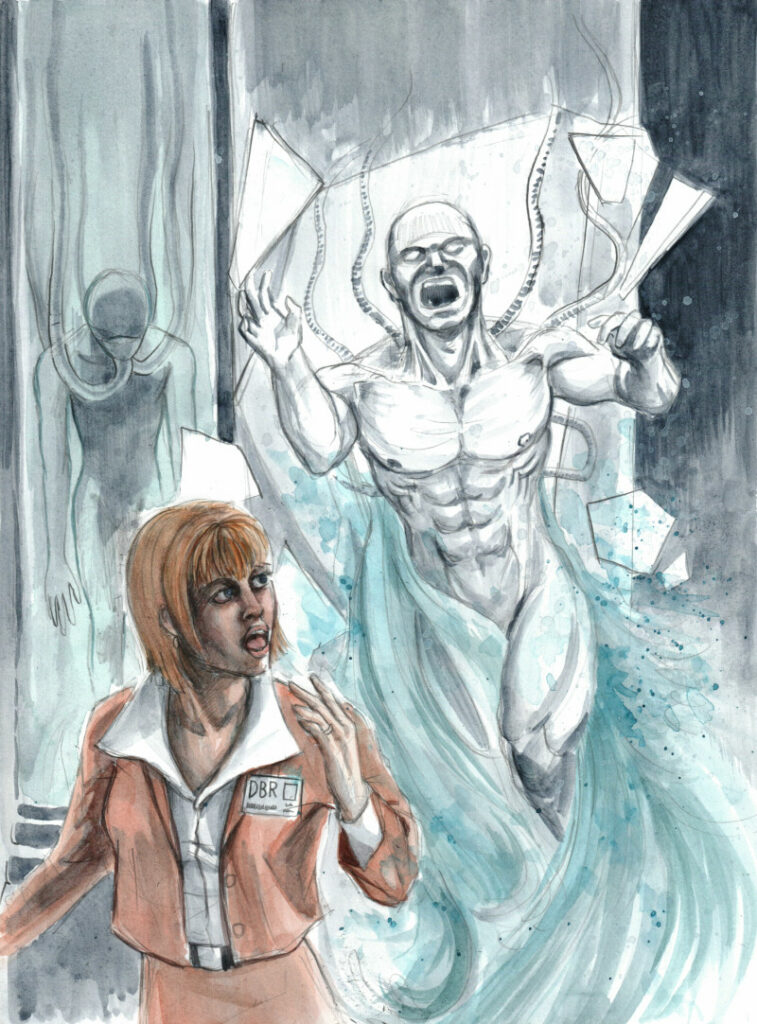
This is a roughly translated version of The Sub Story to the original House of the Dead roughly from the Japanese Sega Saturn Perfect Guide. Illustrations done by Lisa Lee.
Below are excerpts from Thomas Rogan’s note.

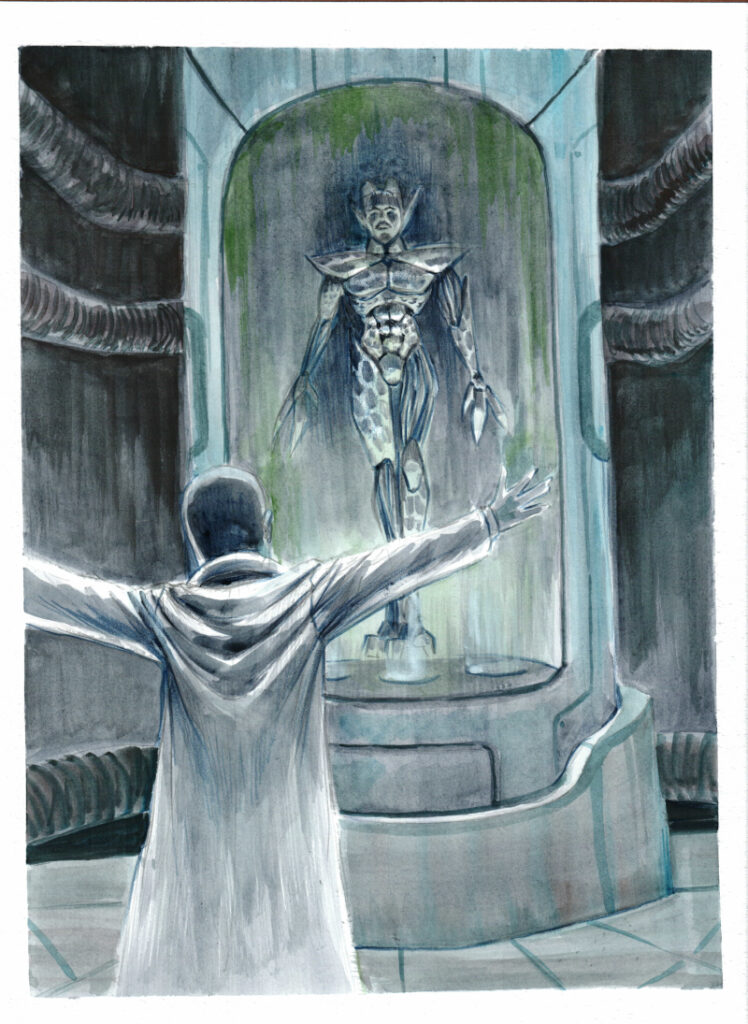

This is a roughly translated version of The Sub Story to the original House of the Dead roughly from the Japanese Sega Saturn Perfect Guide. Illustrations done by Lisa Lee.
Below are excerpts from Thomas Rogan’s note.


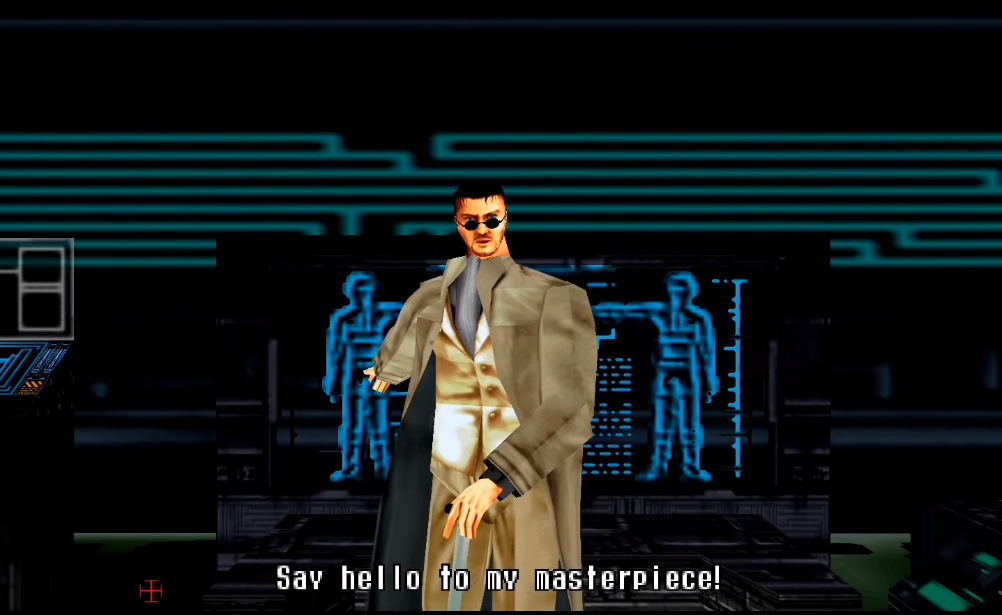
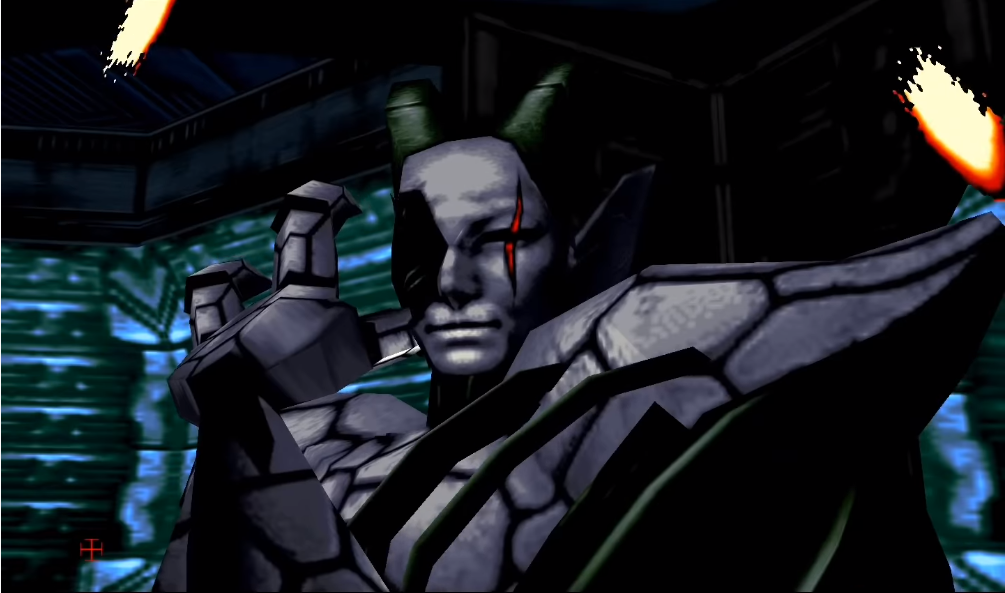
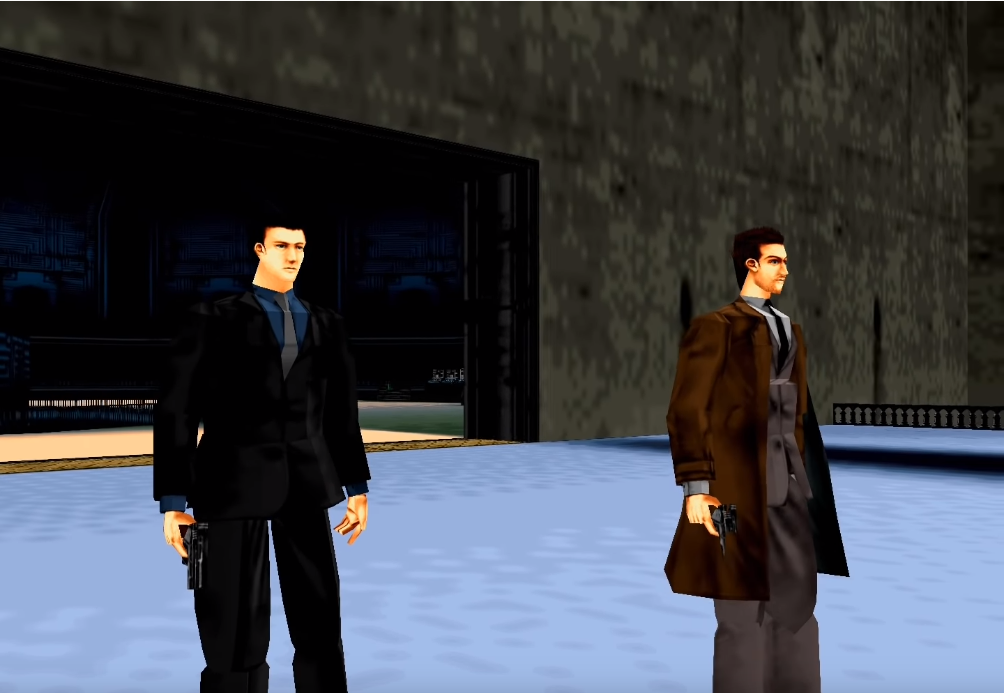
Who are you? Nobody gives me instructions! I shall destroy everything!
Dr. Curien poured his heart and soul into the “person who stands on top of mankind” he created. However, “He” was born as a monster who did not follow any instructions. The fight to end this tragedy begins now.
Creatures

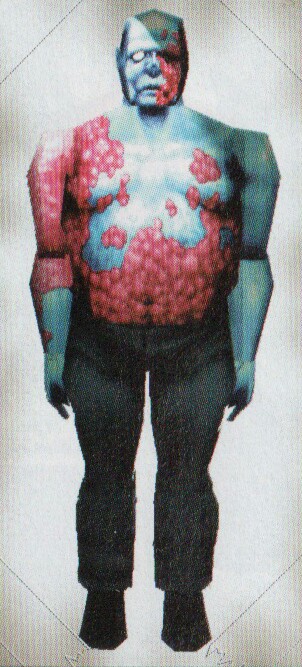
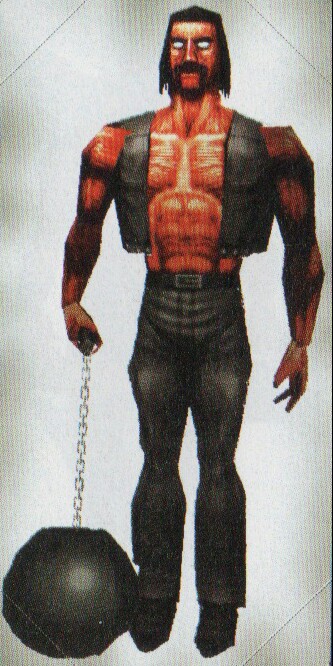

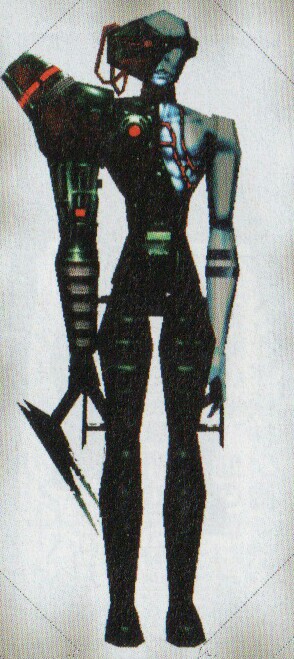
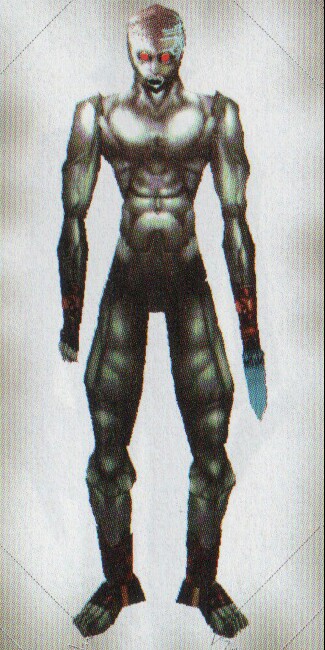
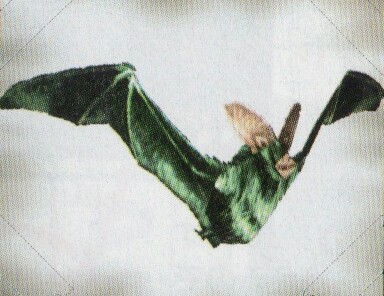
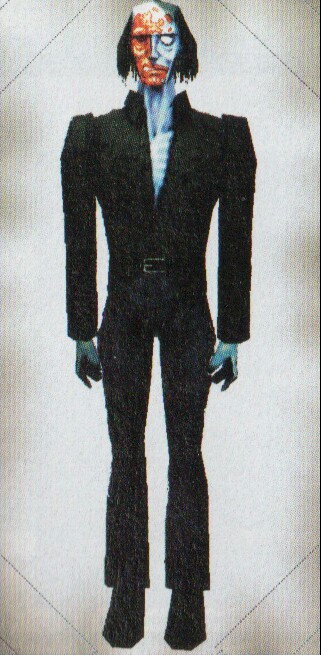
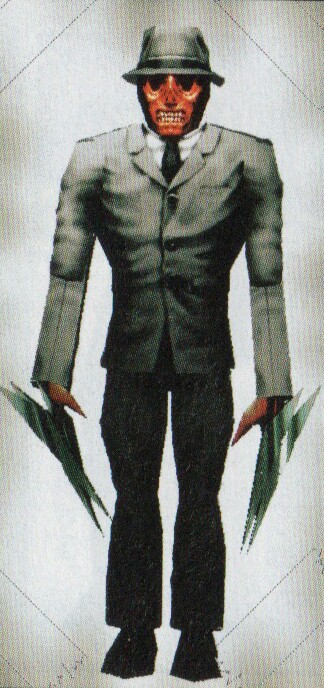
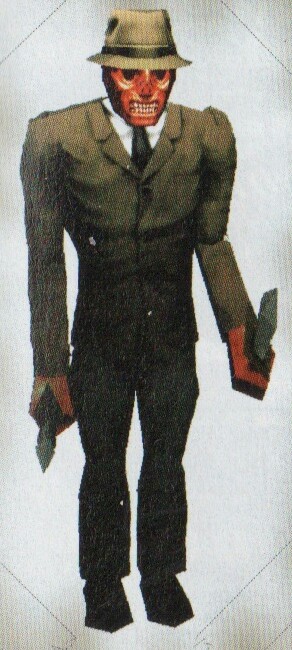
Boss: Magician type 0
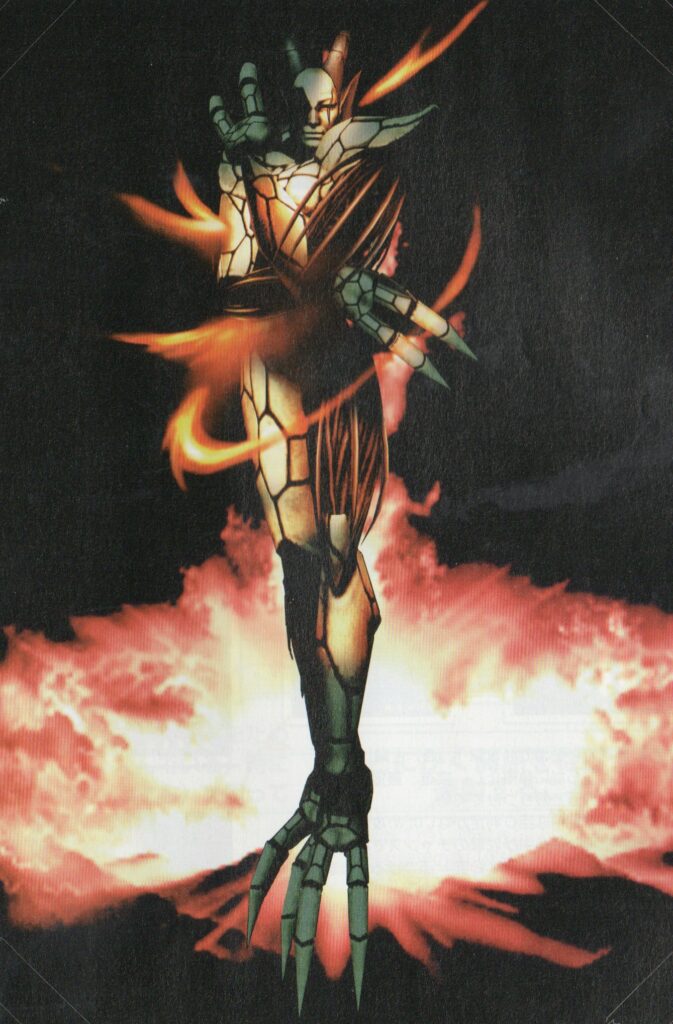
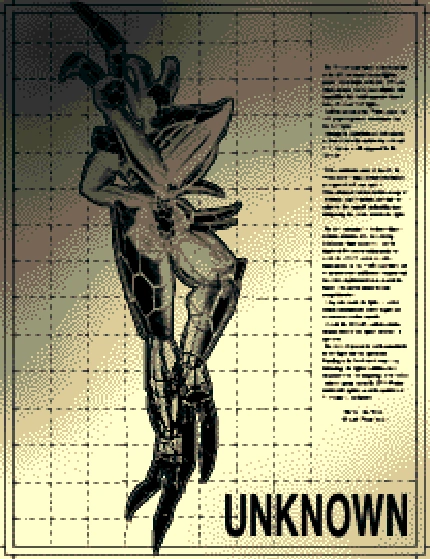
HP: 800 Weakness: Unknown
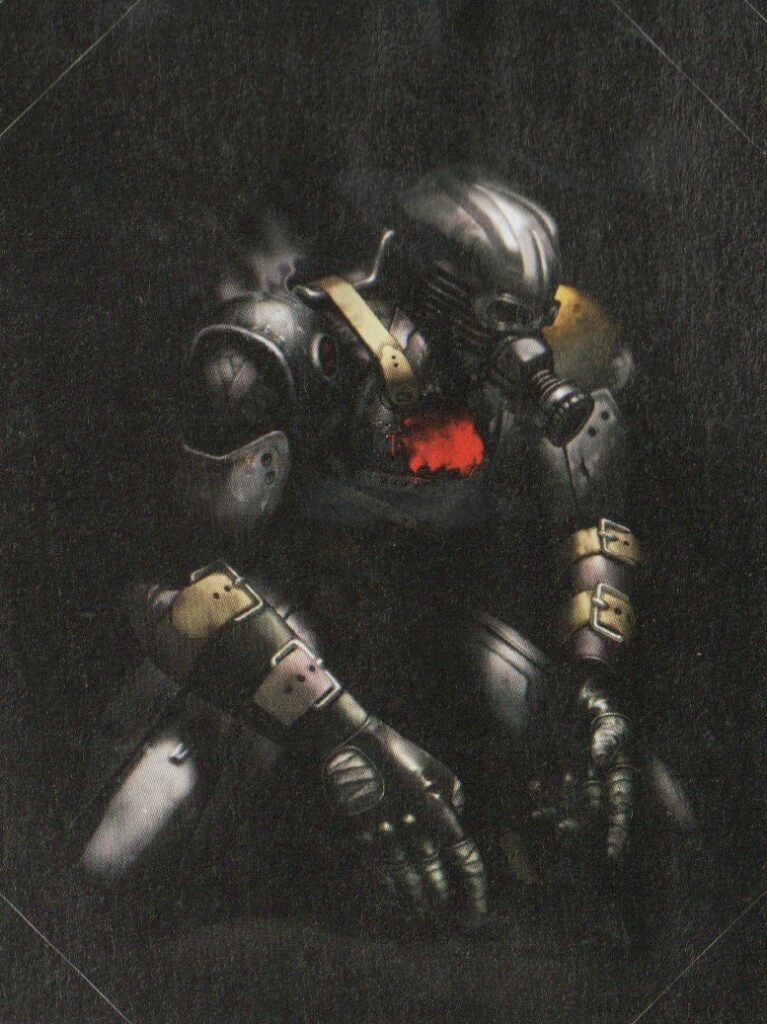
Before sealing himself in the mansion’s inner lab, Dr. Curien hinted at his “ultimate creation”, a creature that would take humanity to the next evolutionary level. Little is know about the Magician’s abilities, speed or size but past experiments should give agents some idea of the threat they face. Dr. Curien’s legacy must follow him to the grave!
High Score Guide
| Introduction | The First Chapter Tragedy |
The Second Chapter Revenge |
The Third Chapter Truth |
The Final Chapter The house of the dead |
Alternate High Scoring Paths |
Special Thanks |
|---|---|---|---|---|---|---|
| AIM | DESCRIPTION | |||||
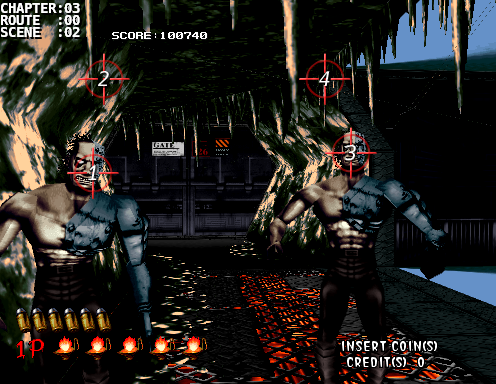 |
Scene: [03:00:02]
Difficulty: C
Number of Creatures: 2
Number of Headshots: 4/4
Scene Score:      640/   640
Running Score:  82060/101380
Bonus:

Notes:
Let's start off the final chapter perfectly.  The left Robert will attack first then the right one.
Basic HPH strat.
|
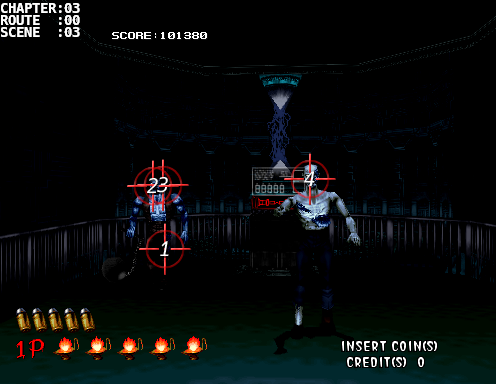 |
Scene: [03:00:03]
Difficulty: C
Number of Creatures: 2
Number of Headshots: 3/3
Scene Score:      520/   520
Running Score:  82580/101900
Bonus:

Notes:
Take down the Harris in the back first with a lTHH combo then take out Sam.
|
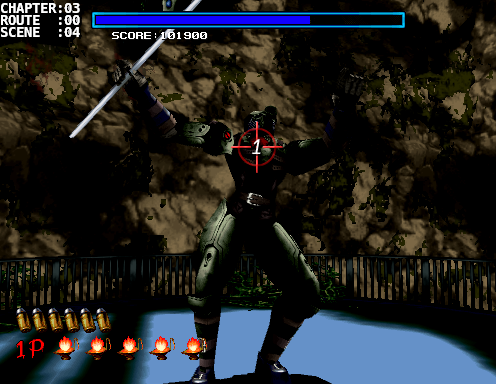 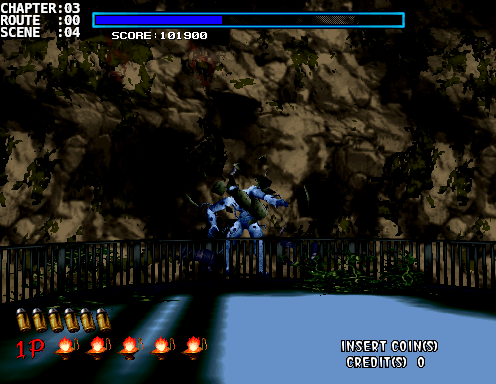 |
Scene: [03:00:04]
Difficulty: C
Number of Creatures: 0
Number of Headshots: 0/0
Scene Score:     1500/  1500
Running Score:  84080/103400
Bonus: 1500 (Defeating Chariot)

Notes:
Chariot Reprise

Nothing really different compared to the first battle with the exception of a few possible glitches such as the imfamous disappearing act and also the floating glitch (which has a chance of softlocking the game).
The only difference would be if you want the 13 bullet defeat; let it approach all the way forward after its armor shatters from flexing so that you can get clear shots otherwise Chariot will hangout hidden behind the rock wall.
|
Phase 1 - Bat Attack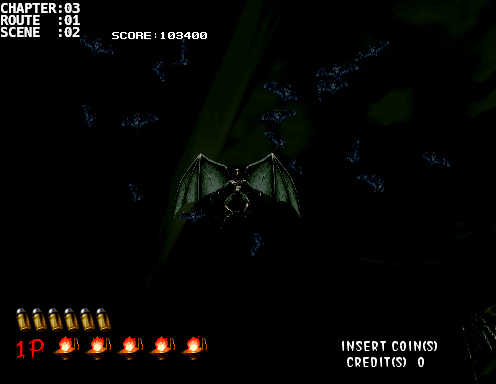 Phase 2 - 1st Attack 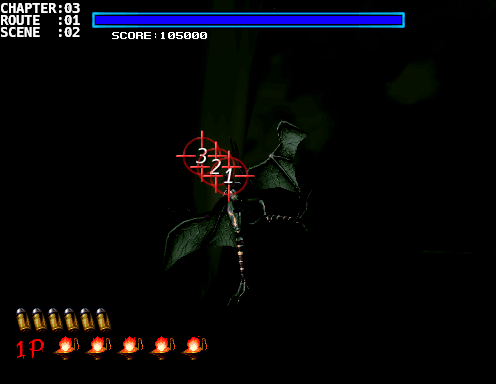 Phase 2 - 2nd Attack 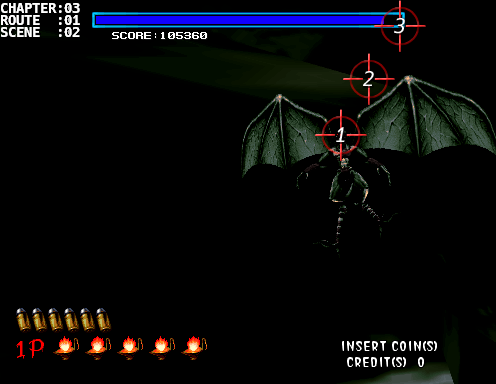 Phase 2 - 3rd Attack 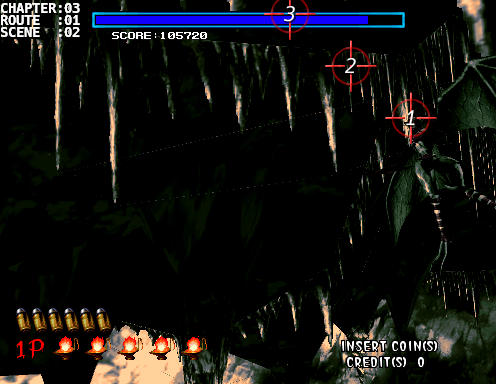 Phase 2 - 4th Attack 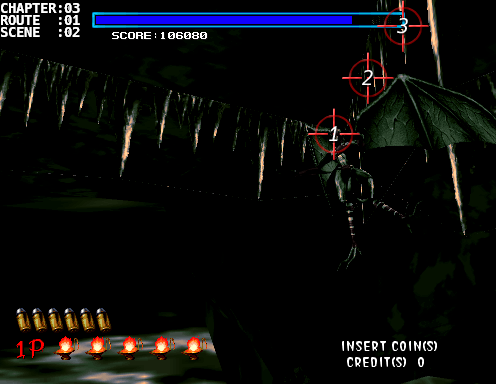 Phase 2 - 5th Attack 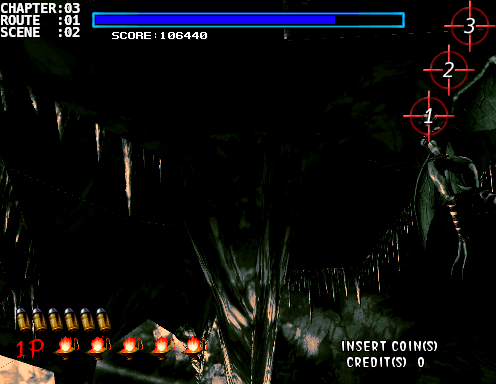 Phase 2 - 6th Attack 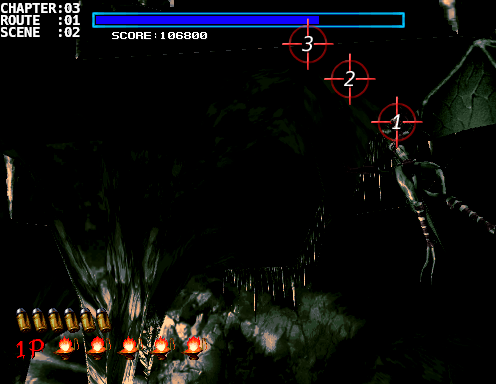 Phase 2 - Repetitive Attack 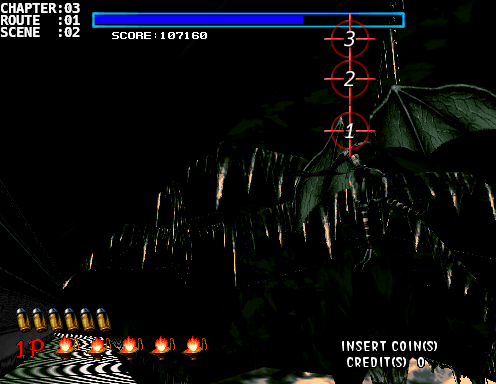 |
Scene: [03:01:02]
Difficulty: C
Number of Creatures: 21
Number of Headshots: 21/56
Scene Score:     5620/ 9820
Running Score:  89700/113220
Bonus: 1500 (Defeating Hangedman)

Notes:
Hangedman Reprise

This battle looks the same as the first go around but it actually is completely different.

Phase 1 - Bat Attack
There are only 20 bats this time, as opposed to the 30 last time, so that means there'll only be 8 waves coming at you again starting with 1 then moving up to 4 then repeat.  Be on the look out again for a bat hiding behind Hangedman's wings.  Sometimes they pop up so late that it can startle you a bit especially during a 4 bat wave.

Phase 2 - 1st Attack
This differs slightly.  Instead of going horizontal to the left, you'll go up diagonally to the left.


Phase 2 - 2nd Attack
Instead of going diagonally up-left you'll be aiming diagonally up-right


Phase 2 - 3rd Attack
Now it's diagonally up left instead of horizonally left.


Phase 2 - 4th Attack
This one goes up and to the right instead of vertically up.


Phase 2 - 5th Attack
Be careful with this one because he'll be coming off camera but will stay near the edge of the screen.  Stay to the right and aim up to the top right corner.


Phase 2 - 6th Attack
Yes, there's a 6th attack this time.  Use the life bar to guide your final shot as you aim diagonally up to the left.


Phase 2 - Repetitive Attack
During the repetitive attack phase you'll only need to aim vertically upwards, again using the life bar to guide your last shot.  There isn't a 3rd phase this time so you'll be doing this for 13 waves.
|
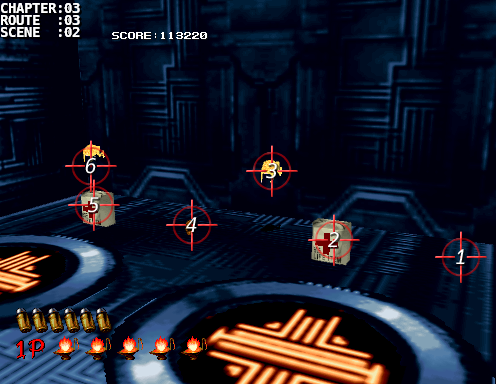 |
Scene: [03:03:02]
Difficulty: C
Number of Creatures: 0
Number of Headshots: 0/0
Scene Score:     3000/  3000
Running Score:  92700/116220
Bonus:

Notes:
2 x 200 (Coin) +
2 x 300 (Max Life Bonus) +
2 x 1000 (Gold Frog)

Bonus time!  You'll turn to the right and see a bunch of freebies.  Make your way from right to left with one shot each.  Pay attention to the gold frogs as they'll be leaping up and back down.  Don't miss a shot because this goes by really really fast and doesn't leave much room to reload and backtrack for any missed items.  It also pays off to enter the room with max lives so that you can collect the 300 max life up bonus.  If you took some damage before entering this room then I hope you made up for the bonus points during the Hangedman battle.
|
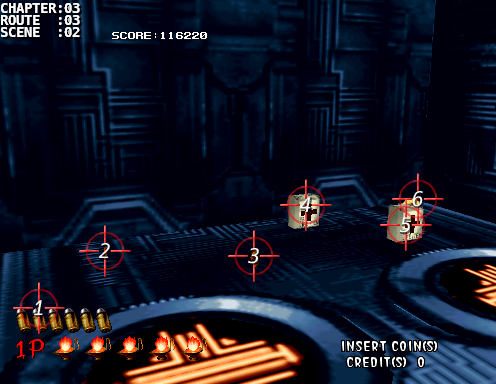 |
Scene: [03:03:02]
Difficulty: C
Number of Creatures: 0
Number of Headshots: 0/0
Scene Score:     2200/  2200
Running Score:  94900/118420
Bonus:

Notes:
3 x 200 (Coin) +
2 x 300 (Max Life Bonus) +
1 x 1000 (Gold Frog)

Now it'll be the reverse setup.  Start on the left and work your way right while, again, keeping your eye on the gold frog's position in the air.  If you missed the gold frog then quickly reload and spam a bunch of shots to get the frog.

This is a good place to check your score, you'll need to leave the room with a minimum of 93900 to even reach 100k so give yourself some room for error and try to reach this point with at least 94900.
|
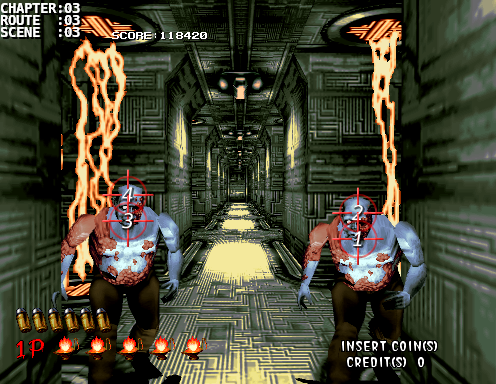 |
Scene: [03:03:03]
Difficulty: C
Number of Creatures: 2
NNumber of Headshots: 4/4
Scene Score:      640/   640
Running Score:  95540/119060
Bonus:

Notes:
It's the final stretch.

2 Bentleys.  First the right one then the left.
|
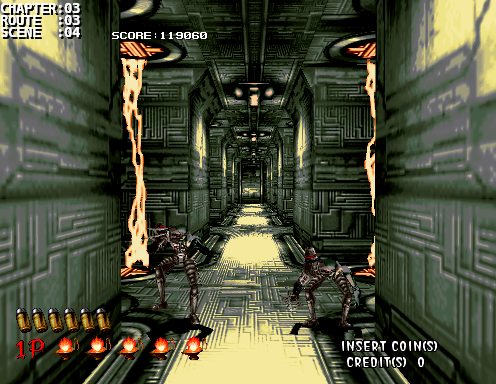 |
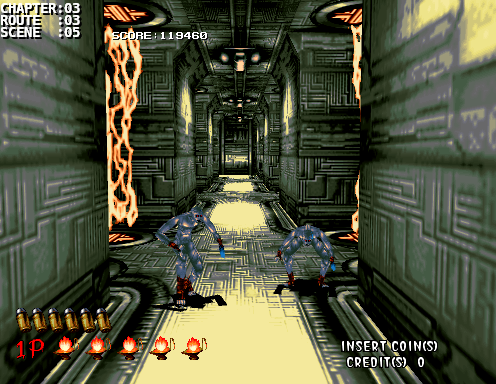
Scene: [03:03:04]
Difficulty: C
Number of Creatures: 2
Number of Headshots: 2/2
Scene Score:      400/   400
Running Score:  95940/119460
Bonus:

Notes:
A couple of Moodys with extra HP.  If you behead them early on they'll still remain active but won't give you further headshot bonus points so if that's the case just spam a bunch of shots at them until they die.
|
 |
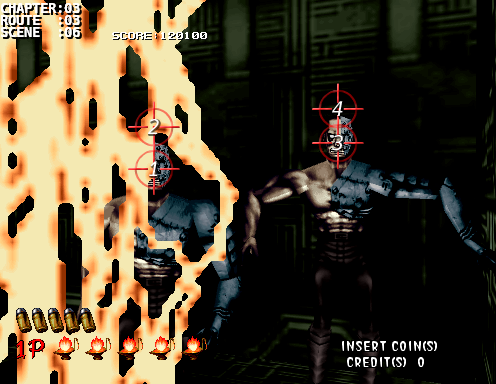
Scene: [03:03:05]
Difficulty: C
Number of Creatures: 2
Number of Headshots: 0/4
Scene Score:      160/   640
Running Score:  96100/120100
Bonus:

Notes:
These Parlors also have extra HP so you can actually get 2 headshots each.  Just like the end of the third chapter, it's almost impossible to score extra headshots while they jump into the scene so just focus on the headshots after they land.  Be careful of the two pronged attack and try to offset their attack patterns if you get the chance.
|
 |
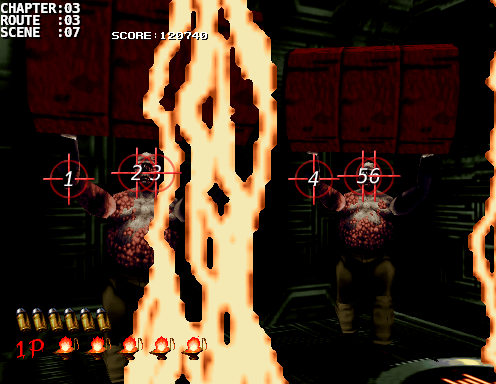
Scene: [03:03:06]
Difficulty: C
Number of Creatures: 2
Number of Headshots: 4/4
Scene Score:      640/   640
Running Score:  96740/120740
Bonus:

Notes:
Left Robert then Right Robert. HPH strat on both.
|
 |
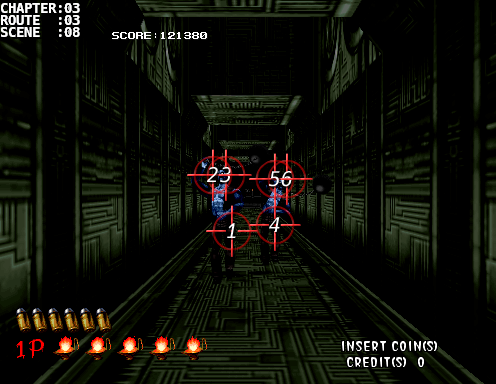
Scene: [03:03:07]
Difficulty: C
Number of Creatures: 2
Number of Headshots: 4/4
Scene Score:      640/   640
Running Score:  97380/121380
Bonus:

Notes:
These Bentleys won't throw the oil drums immediately so you'll have a chance to rAHH both of them.

If you want to play it safe then take 4 shots to the left oil drum then two shots on the left Bentley, then move over to the right Bentley and take out the oil drum with 4 shots and then take the 2 headshots.
|
 |
Scene: [03:03:08]
Difficulty: B
Number of Creatures: 2
Number of Headshots: 0/4
Scene Score:      160/   640
Running Score:  97540/122020
Bonus:

Notes:
Lastly, two lTHH's on the two final Harris'.  Take the left one out first then the right.

Take a deep breath and prepare yourself for the final battle.
|
Attack Pattern 1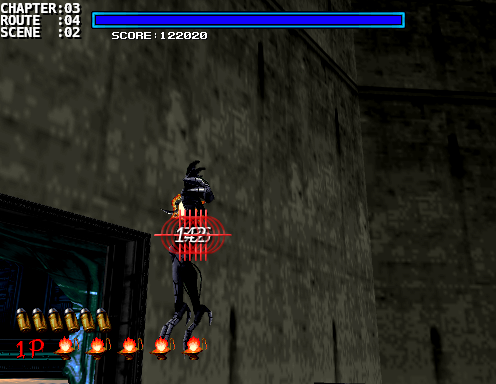 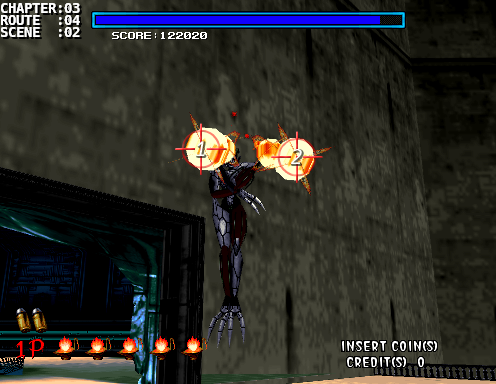 Attack Pattern 2 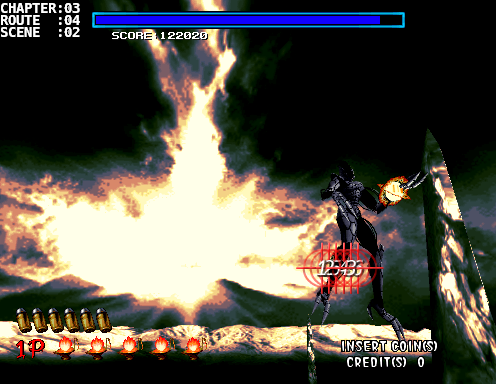 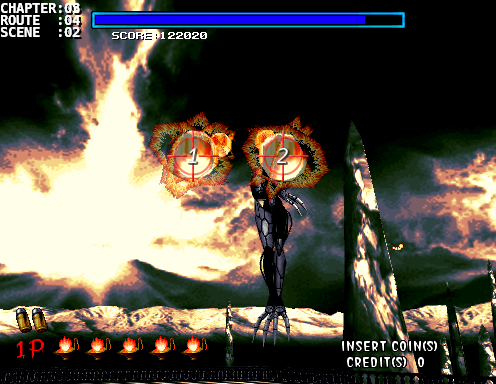 Attack Pattern 3 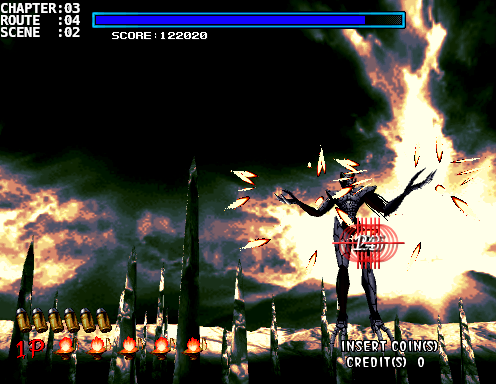 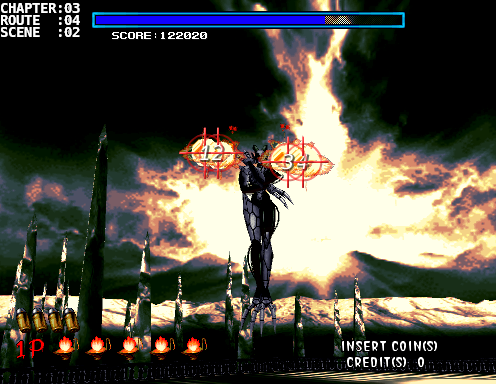 Charge from Right 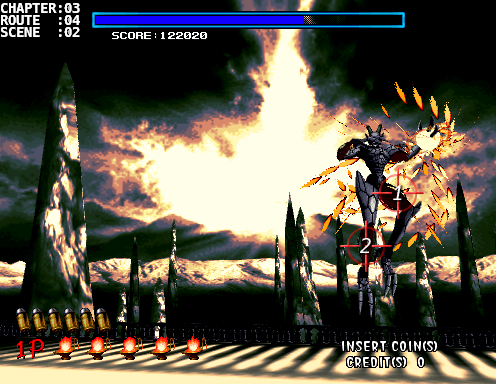 Charge from Left 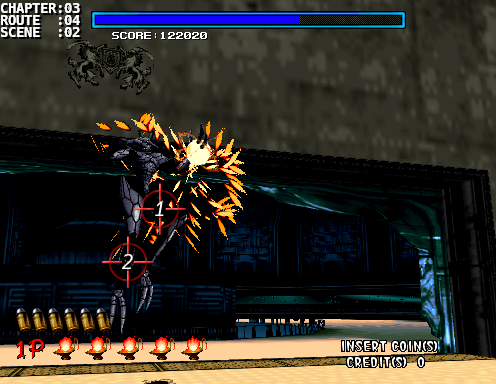 Final Phase 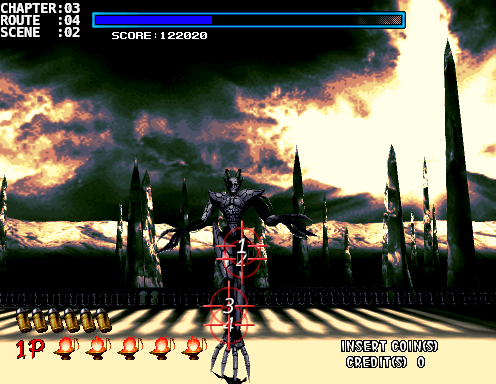 Fireball Ring 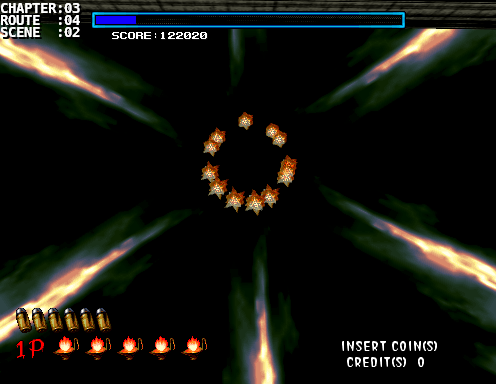 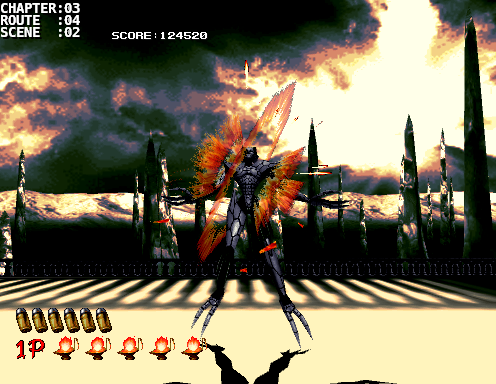 |
Scene: [03:04:02]
Difficulty: A
Number of Creatures: 1
Number of Headshots: 0/0
Scene Score:      2500/  2500
Running Score:  100040/124520
Bonus: 2500 (Defeating Magician)

Notes:
Large weak points: Left Thigh
                   Right Shin
Small weak points: Left Upper Arm
                   Right Forearm
Phase 1: 19 shots
Phase 2: 6 shots
Phase 3: 6 shots
Phase 4: 6 shots
Final Phase: 23 shots
Total: 60 shots

Phase 1:

Attack Pattern 1:
Magician will start twirling around while powering up for a couple of fireball blasts.  (Don't worry, specialized AMS bullets can take down fireballs too)  While its twirling, aim for its left thigh and use up an entire round.  Quickly reload and shoot down the two fireballs that will come at you from each hand.

Attack Pattern 2:
This time it'll charge up while staying still.  Use this time to shoot a full round at its right shin and the quickly reload.  It will then spin and throw two more fireballs so gun them down before they reach you.

Attack Pattern 3:
Now he's gotten a bit angry and will power-up fireballs with both hands.  Try to get off 2 full rounds at your favorite weak spot (I prefer the left thigh) and then quickly reload to save up shots for the fireballs.  Remember that there are 2 fireballs for each hand so take out all 4 before it's too late.

This first phase will take 19 hits before you move on to the next phase.  If you didn't get all 19 hits yet then the attack patterns will repeat in sequence again.

Phase 2:

Magician will now do some serious side floats while creating after images of itself around the screen and then charge in during the 3rd movement from either the left or the right.  Pay attention to the 2nd movement and which direction it travelled as this will dictate which side the attack will come from.  If it moves towards the screen left then it'll attack from the left and similarly if it moves towards the screen right then it'll attack from the right.  Determine ahead of time which feels more comfortable to you, attacking the left thigh or the right shin, and stick to it; my preference is the left thigh because if I aim too high there's a chance I'll tag the left upper arm for a hit.  Memorize the position on screen and you should be good to go.

Charge from Right:
If your preference is left thigh then aim at [1] else aim at [2].
[1] is about center of the screen vertically and almost inline with the right end of the health bar above.
[2] is about 2/3 down from the top and 1/4 from the right of the screen.

Charge from the Left:
[1] is just below center vertically and inline with the 1P 4th health flame.  If you're playing as 2P then the horizontal aligns with the first digit of your score.  If you don't have the score code on for some reason then the horizontal placement about 40% from the left of the screen.
[2] is again about 2/3 down from the screen but 1/4 from the left this time.  It's inline with the 1P 3rd health flame if you're playing as 1P.

Phase 2 will take 6 shots before changing phases again.

Phase 3:
Just like phase 1 except it only takes 6 shots to move onto the next phase.

Phase 4:
Exactly like phase 2

Final Phase:
Get ready to muster up every last ounce of strength to spam that trigger for 23 more shots.  Magician will now power up for its, not so impressive, final attack.  It's possible to finish Magician off before the fireballs are thrown into the air but it will take impressive trigger speed and precise aim to get this; I've only been able to achieve this once out of all my runs.  Take the first 2 rounds at the left thigh and then another 2 rounds at the right shin.  Keep shooting at the shin even when the fireballs go up.  The screen will pan up a bit so be sure to aim a little lower if that happens.  If you didn't manage to take him down yet then you'll be confronted with a ring of 15 fireballs.

Fireball Ring:
At first glance you'll probably only see 13 fireballs but we're talking about a Magician here.  The top and bottom fireballs have another one stacked above it so don't get startled when you shoot down 13 of them and see that there's still 2 left.  Once you shoot them all down the screen will pan back to Magician and alas you can take your final shots and claim victory.
|
Stage Gallery
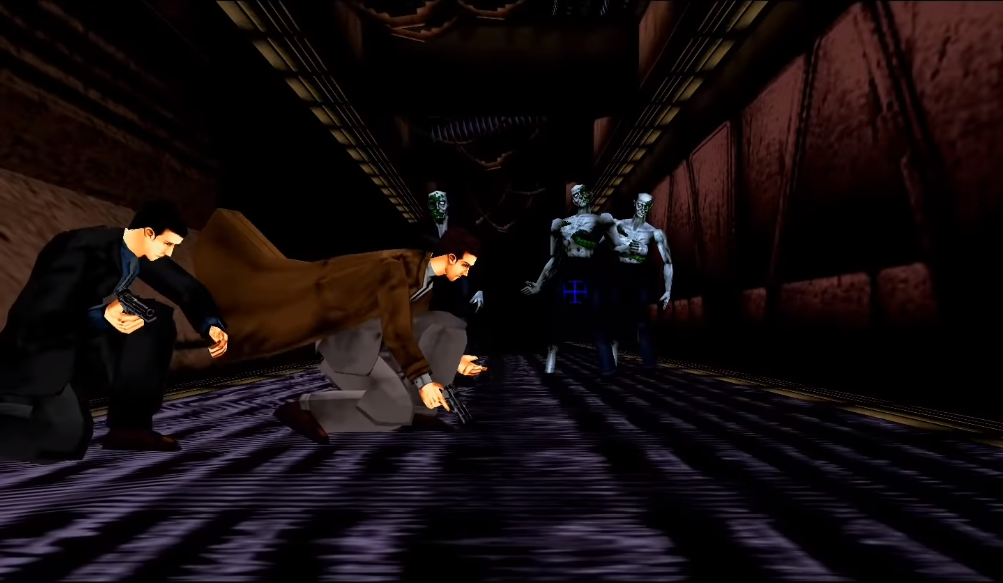
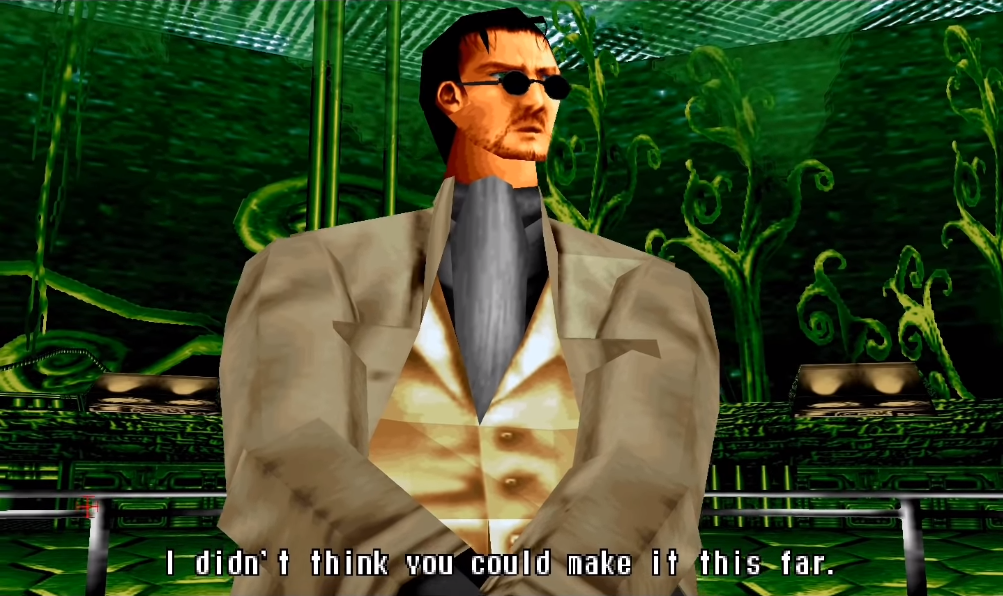
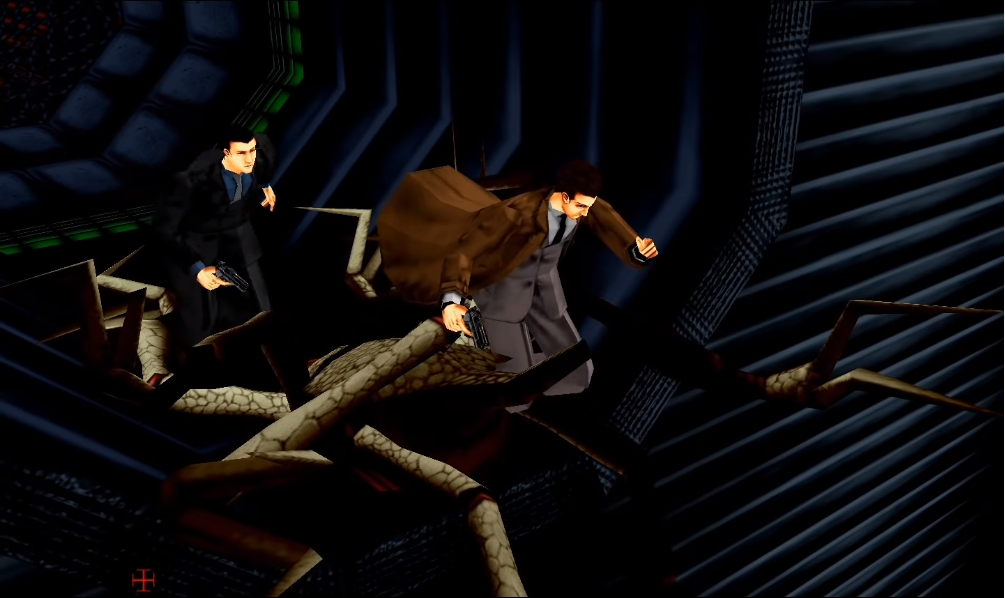
“I must complement you. I didn’t think you would make this far. However, this is it. Lets see how good you really are!”
Rogan and G succeeded in infiltrating the depths of the mansion to continue chasing Curien while struggling though a maze-like structure. They’ve managed to reach Curien, however….
Creatures
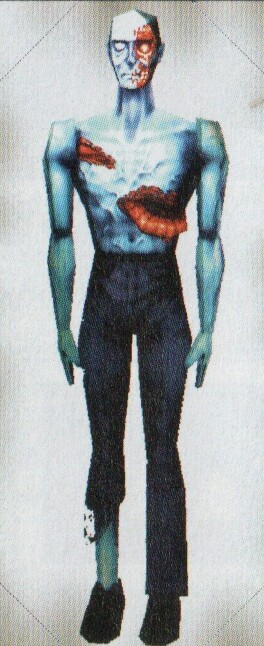





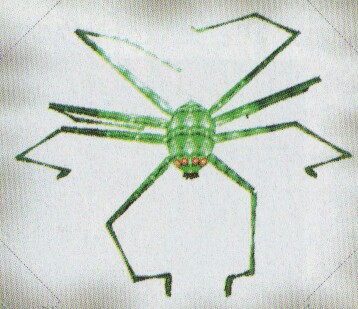
Boss: Hermit type 6803
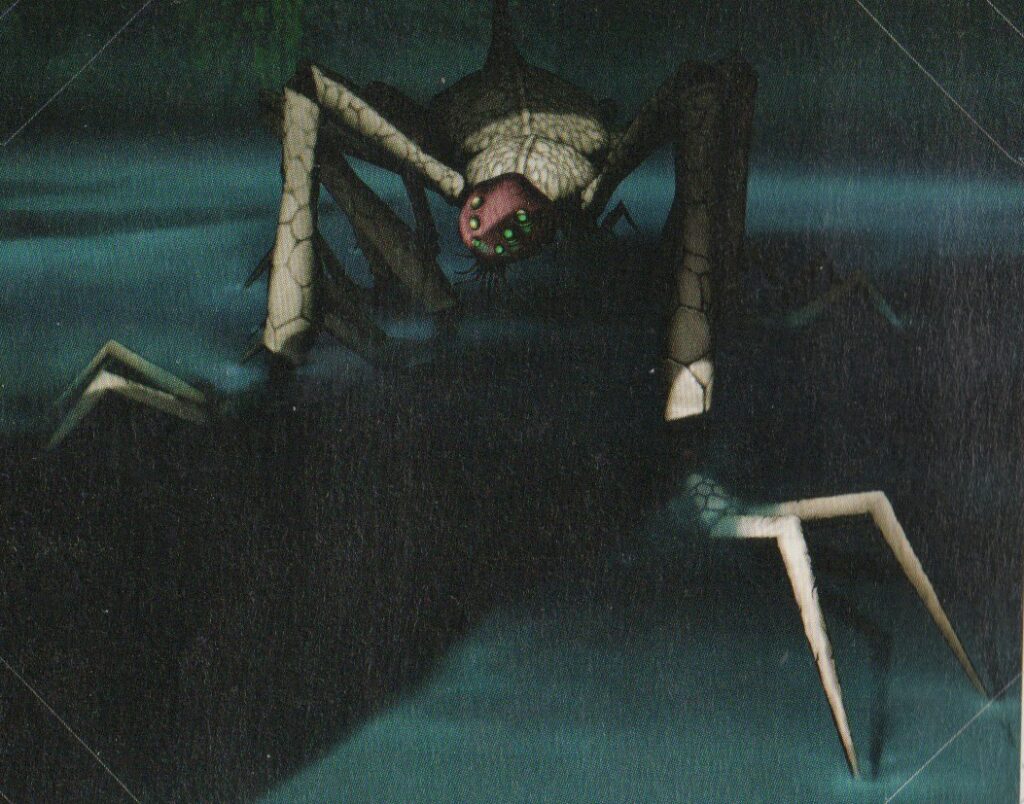
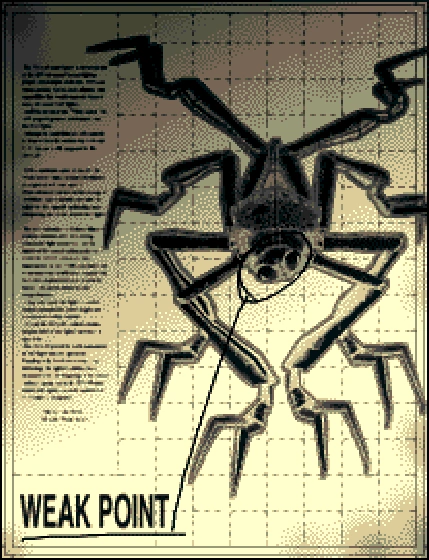
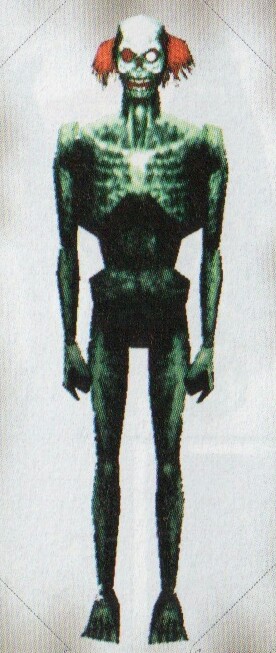
HP: 160 Weakness: The Head
While the mansion’s surface dwelling creatures are lethal enough, the building’s extensive sewer system hides this evil arachnid. The Hermit was one of Dr. Curien’s first successful experiments and as such has been allowed to survive by acting as the guardian to the company’s inner laboratory. A toughened shell and lethal venom coupled with creature’s surprising speed make this abomination a Class One threat. There is a pattern of attacking with nails as it approaches closer and webs when it rotates it’s body, but in any case, the weak point is the head.
High Score Guide
| Introduction | The First Chapter Tragedy |
The Second Chapter Revenge |
The Third Chapter Truth |
The Final Chapter The house of the dead |
Alternate High Scoring Paths |
Special Thanks |
|---|---|---|---|---|---|---|
| AIM | DESCRIPTION | |||||
 |
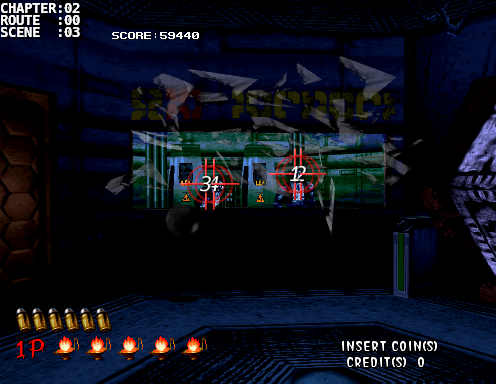
Scene: [02:00:02]
Difficulty: C
Number of Creatures: 3
Number of Headshots: 3/3
Scene Score:      600/  600
Running Score:  52400/59440
Bonus:

Notes:
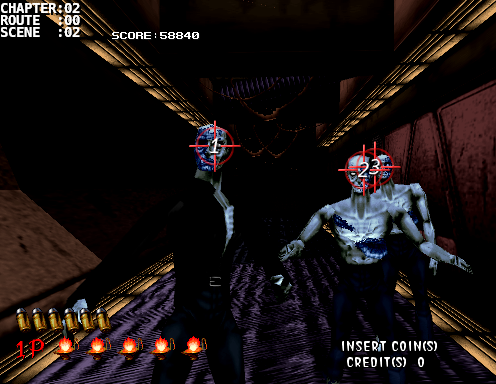
Three freebies.  Tag the left one first then you can actually kill both of the right ones quickly if you take two quick shots at [2] & [3].
|
 |
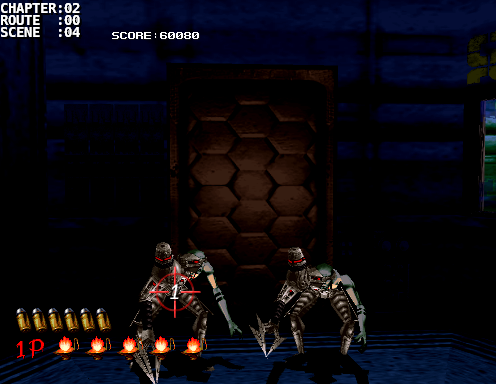
Scene: [02:00:03] Difficulty: B Number of Creatures: 2 Number of Headshots: 4/4 Scene Score: 640/ 640 Running Score: 53040/60080 Bonus: Notes: A ball and chain creature (Harris) will shatter the glass in front of you. Just as the glass shatters take two shots to the right one (with a slight pause in between shots) then quickly tag the left one twice while the ball and chain is still being pulled back as it won't deflect any bullets. If your precision isn't quite there yet I suggest you go for the left one first and then the right as you'll have more time for shots. |
 Clawshot Attack 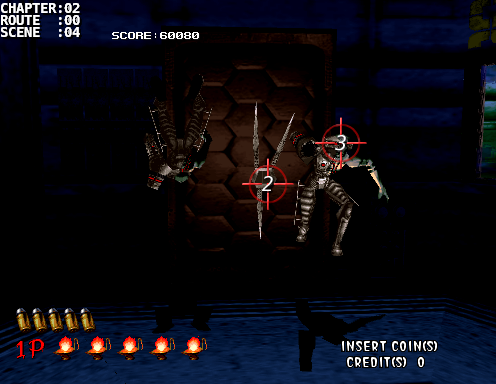 Charge Attack 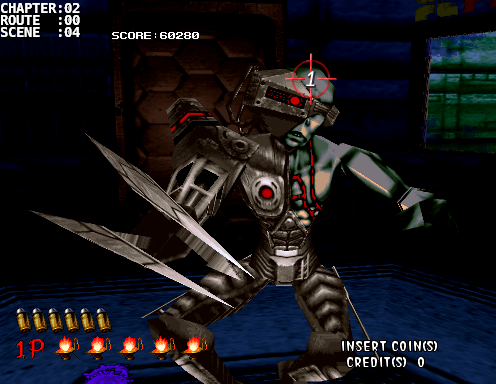 |
Scene: [02:00:04]
Difficulty: C
Number of Creatures: 2
Number of Headshots: 2/2
Scene Score:      400/  400
Running Score:  53440/60480
Bonus:

Notes:
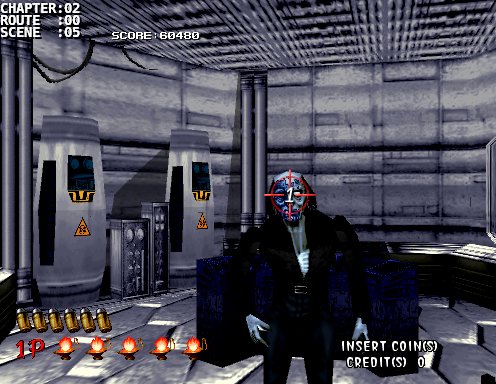
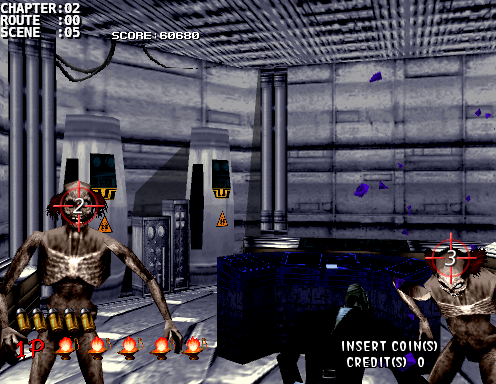
A pair of clawshot creatures (Moody) will drop from the ceiling.  Just like any of the previous encounters of creature pairs, the best strat is to offset their attack patterns.  They have 3 different types of attacks, two of which you've seen before.  The infamous backflip, the charge and leap attack, and now an aerial clawshot.

As they land, shoot the left one immediately.  This should send it back and leave the right one in an attack stance.  If it does a backflip then give it a headshot as it lands like usual.  Same basic strat goes if it does the charge and leap attack.  If it shoots its clawshot at you then shoot the claw [2] and then the head [3] immediately after.  Afterwards, take out the left one using the related strat for which ever attack it does.
|
  |
Scene: [02:00:05]
Difficulty: C
Number of Creatures: 3
Number of Headshots: 3/3
Scene Score:      600/  600
Running Score:  54040/61080
Bonus:

Notes:
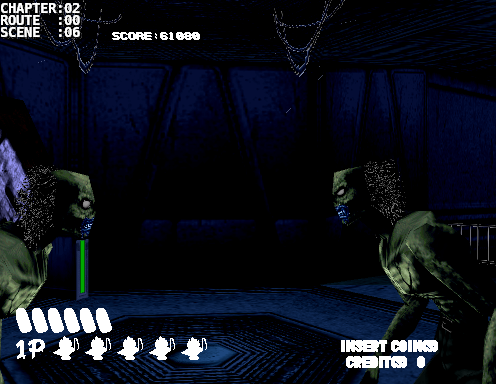
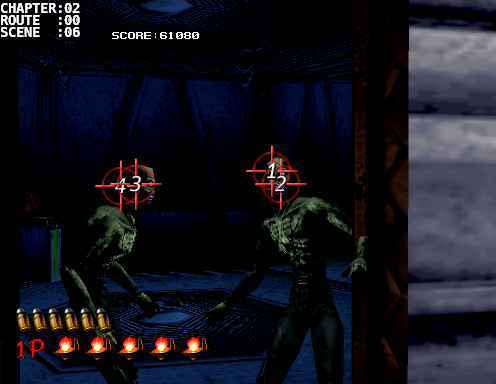
Straightforward.  One shot in the face.

Then two Kageos will get up from the floor.  Take out the left one and then the right one before they completely stand up.
|
  |
Scene: [02:00:06]
Difficulty: B
Number of Creatures: 2
Number of Headshots: 3/4
Scene Score:      520/  640
Running Score:  54560/61720
Bonus:

Notes:
As you grab the security card you turn back and a couple of Bourbons will come from each side of the door openings and they both take two shots each.  The right one will attack first.  This is one of the few scenes I don't get fancy with 2 bullet kills because the attack comes so fast.  Use an entire clip on the right one and then another full clip on the left one.  It's better to play it safe here as you'll want to pick up the 300 max life bonus points in the next room.
|
   |
Scene: [02:00:07]
Difficulty: C
Number of Creatures: 5
Number of Headshots: 7/7
Scene Score:     1240/ 1240
Running Score:  55800/62960
Bonus:

Notes:
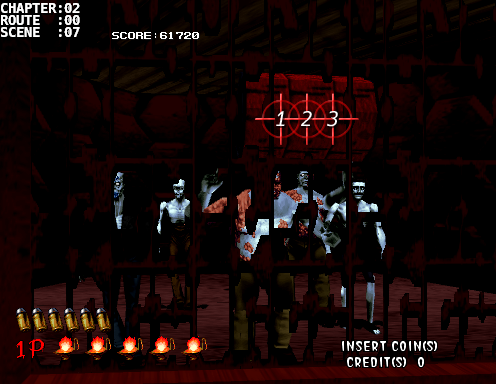
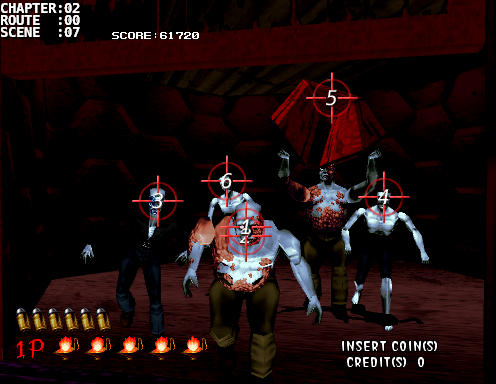
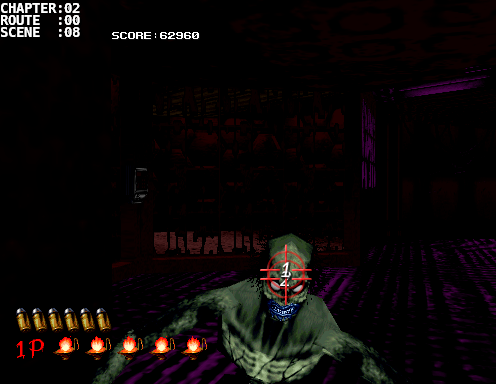
As you enter the next room you'll see a crowd of creatures locked away.  Before the cage opens you'll want to shoot the oil drum 3 times (no more and no less).


When the gate opens follow the shots in order, you should be able to do this without reloading.  Two shots at Bentley [1][2], then Nail [3], then the creature to the right [4], then the oil drum [5] (this will put Bentley into a recovery animation state) then the last creature [6].


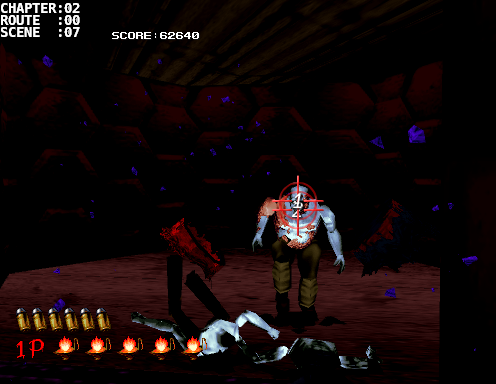
After all the other creatures are taken out, Bentley will come charging at you.  Take it out with two shots to the head.
|
  |
Scene: [02:00:08]
Difficulty: C
Number of Creatures: 1
Number of Headshots: 2/2
Scene Score:      320/  320
Running Score:  56120/63280
Bonus:

Notes:
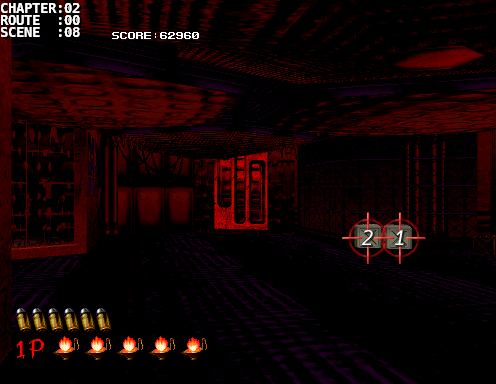
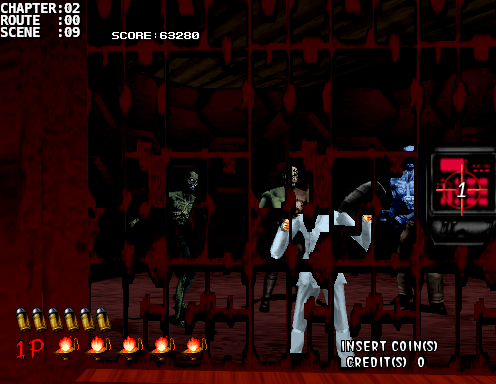
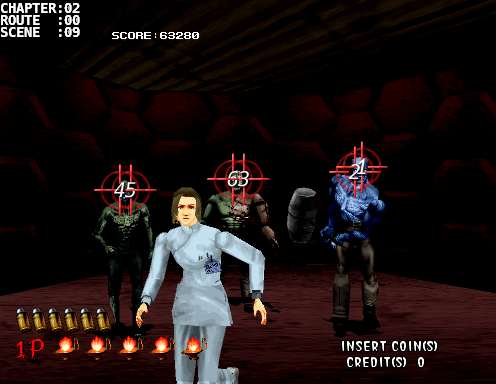
As you turn back you'll see two gray storage bins.  Shoot each of them once as one of them will reveal a life up.  You can get it now or later, it's up to you.  I always prefer to get it later.


Then you'll turn slightly to the left and a Bourbon will rush you.  Take 2 quick shots to the head before it can attack.
|
  |
Scene: [02:00:09]
Difficulty: C
Number of Creatures: 3
Number of Headshots: 6/6
Scene Score:     1360/ 1360
Running Score:  57480/64640
Bonus: 400 (Researcher)

Notes:
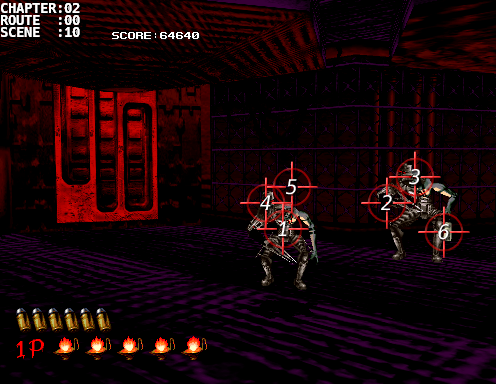
Shoot the lock to save the researcher then reload. Then follow the shots in order. Right twice [1][2], then middle once [3] (this creature "Robert" will cover its face with its hand for a bit after it takes a shot in the face so we'll go for the creature to the left while it recovers), so then left twice [4][5], and lastly the middle one once again [6] as it should have recovered already.
|
 Backflip 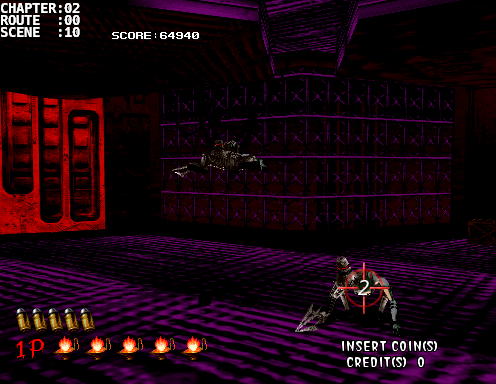 |
Scene: [02:00:10]
Difficulty: C
Number of Creatures: 2
Number of Headshots: 2/2
Scene Score:      700/  700
Running Score:  58180/65340
Bonus: 300 (Max Life Bonus)

Notes:
Same strat as in the beginning of the chapter.  Shoot the left one once to offset the attack pattern.  The right one will mostly likely do a clawshot attack but not always.  Take a shot to its head then take out the left one.  If you didn't grab the life up earlier then pick it up now.
|
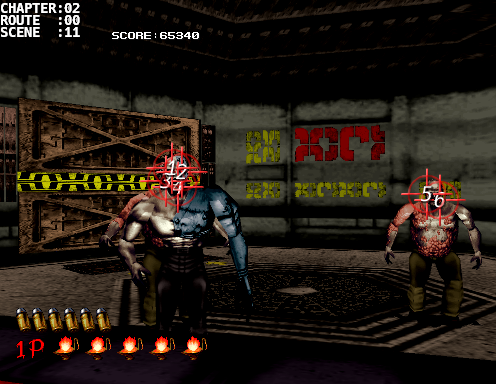 |
Scene: [02:00:11]
Difficulty: C
Number of Creatures: 3
Number of Headshots: 6/6
Scene Score:      960/  960
Running Score:  59140/66300
Bonus:

Notes:
The door will open and you'll see a Robert and 2 Bentleys.  Take the first shot on Robert, pause a bit, then finish it off with another shot.  Afterwards take out the left Bentley and then the right one.  This scene can be done without reloading if you're confident.  Now quickly reload for the next scene.
|
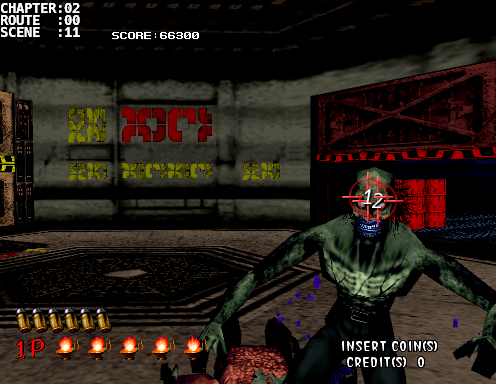 |
Scene: [02:00:11]
Difficulty: C
Number of Creatures: 1
Number of Headshots: 2/2
Scene Score:      320/  320
Running Score:  59460/66620
Bonus:

Notes:
A Bourbon will pop out from the right.  No time to get fancy here again.  Use a full clip to grab the two headshots.

Just a little FYI, the oil drums in the back don't contain anything.
|
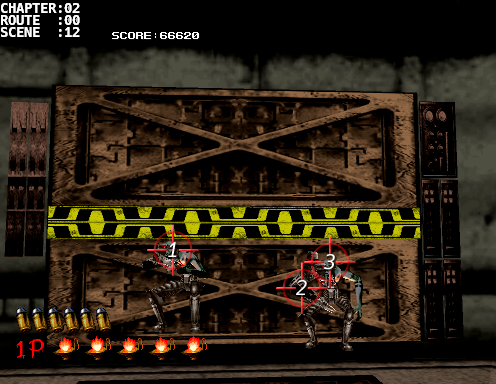 Charge Attack 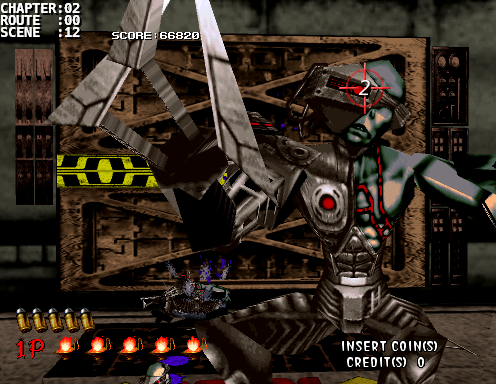 |
Scene: [02:00:12]
Difficulty: C
Number of Creatures: 2
Number of Headshots: 2/2
Scene Score:      400/  400
Running Score:  59860/67020
Bonus:

Notes:
Same strat as before.  Don't shoot their heads off while they're falling because you can't guarantee the 80 kill points.
|
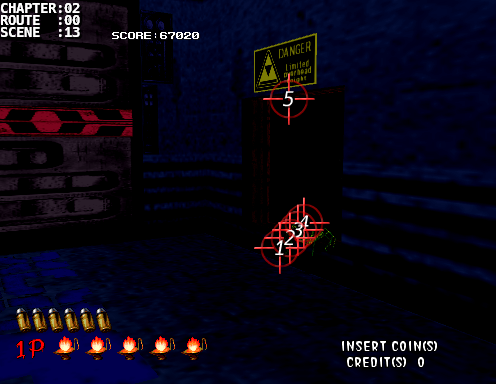 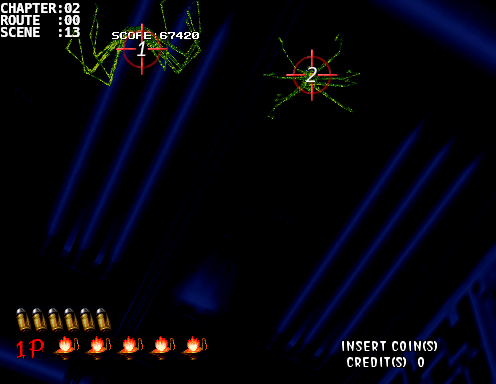 |
Scene: [02:00:13]
Difficulty: C
Number of Creatures: 7
Number of Headshots: 0/0
Scene Score:      560/  560
Running Score:  60420/67580
Bonus:

Notes:
Take the shots in order as they come out the door but don't shoot too fast.


Don't forget out the 2 on the ceiling.
|
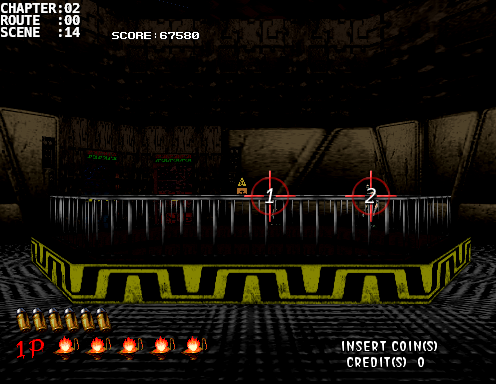 |
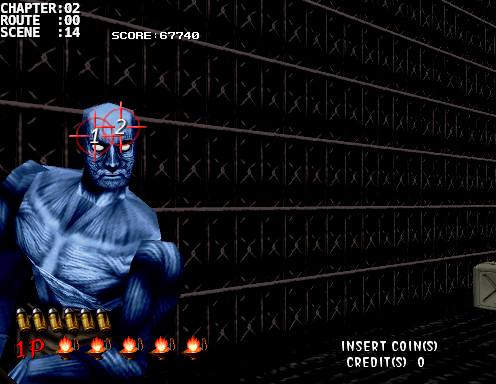
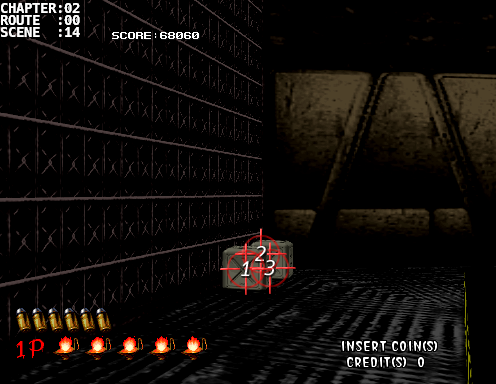
Scene: [02:00:14]
Difficulty: B
Number of Creatures: 2
Number of Headshots: 0/0
Scene Score:      160/  160
Running Score:  60580/67740
Bonus:

Notes:
Take a couple of shots each to take down the two creatures in the back.  Now quickly reload.
|
  |
Scene: [02:00:14]
Difficulty: B
Number of Creatures: 1
Number of Headshots: 2/2
Scene Score:      520/  520
Running Score:  61100/68260
Bonus:

Notes:
A Gilmore will come from the left of the screen.  As soon as you see its head, unload a full clip immediately.  There are times when I end up taking damage here because I either starting shooting a tad late or I was slightly off the mark.


Don't lose focus yet, there'll be two storage bins as you're walking.  There's a coin inside one of them so unload a full clip to break apart the bins and snag the coin.
|
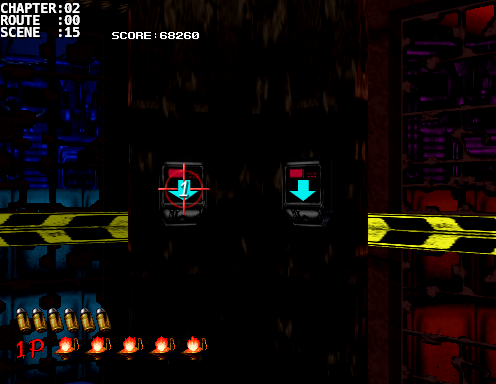 |
Scene: [02:00:15]
Difficulty:
Number of Creatures: 0
Number of Headshots: 0/0
Scene Score:        0/0
Running Score:  61100/68260
Bonus:

Notes:
I always take the left elevator route because that's the route I'm comfortable with.  There's nothing wrong with the right elevator route but I'll discuss that route in the Alternate Paths section.  So for the sake of this guide, shoot the left arrow once to bring the left elevator up.
|
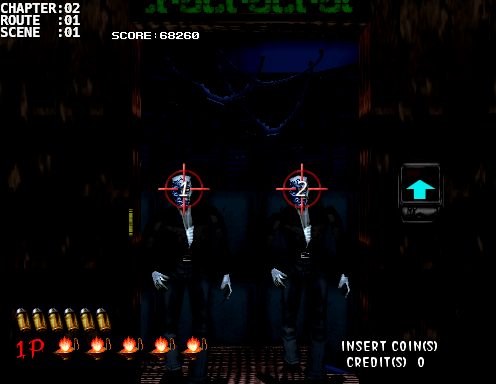 |
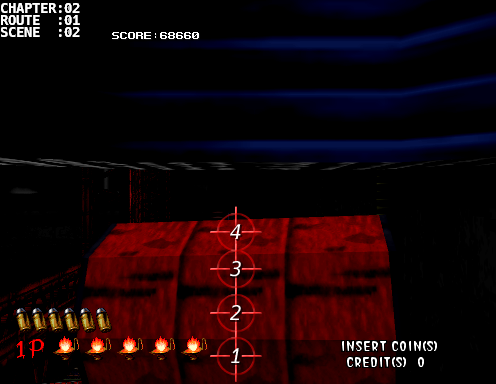
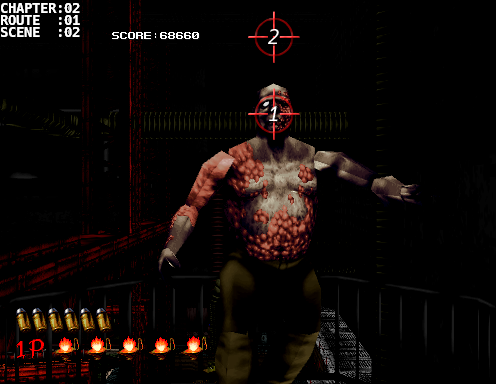
Scene: [02:01:01]
Difficulty: C
Number of Creatures: 2
Number of Headshots: 2/2
Scene Score:      400/  400
Running Score:  61500/68660
Bonus:

Notes:
If you're quick on the trigger you can kill these two almost instantaneously.
|
  |
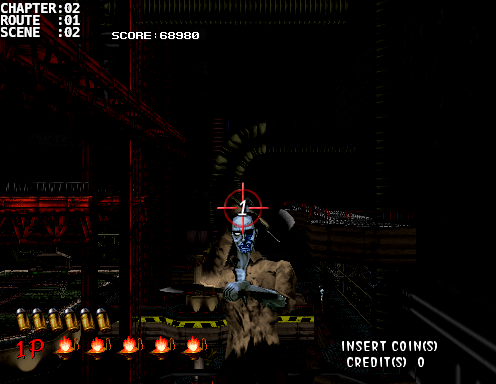
Scene: [02:01:02]
Difficulty: B
Number of Creatures: 1
Number of Headshots: 2/2
Scene Score:      320/  320
Running Score:  61820/68980
Bonus:

Notes:
Down.

Keep reloading.  Nothing will happen during the mini cutscene of a voice saying "Down" but as soon as you see the screen flash that's your cue to pay attention to the bottom of the screen as an oil drum will be in your face.  Take 4 quick shots (aiming upwards as the elevator goes down) then when Bentley appears take 2 shots with the second shot being higher up on the screen.
|
 |
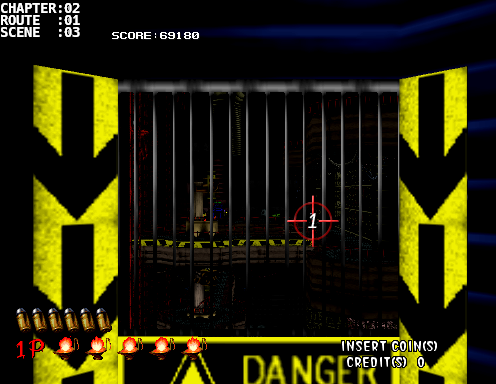
Scene: [02:01:02]
Difficulty: C
Number of Creatures: 1
Number of Headshots: 1/1
Scene Score:      200/  200
Running Score:  62020/69180
Bonus:

Notes:
In the next opening, if you're fast enough you can get the headshot before Cyril throws the hatchet.  Otherwise shoot the arm that's throwing the hatchet and then aim high on the screen for the headshot.
|
 |
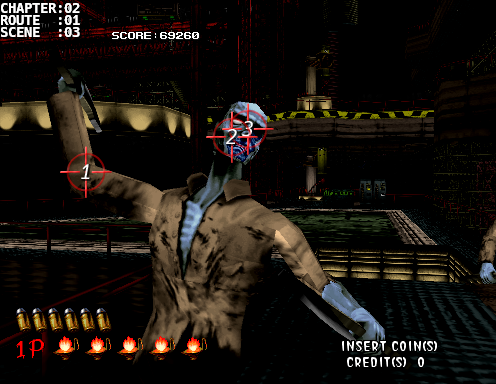
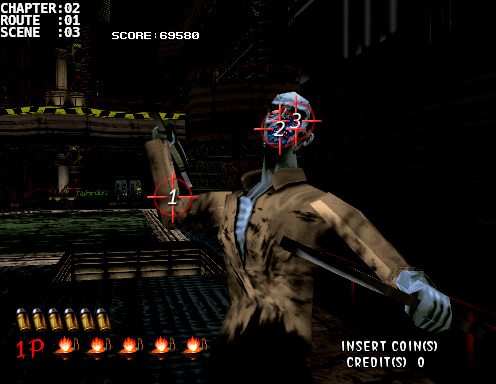
Scene: [02:01:03]
Difficulty: C
Number of Creatures: 1
Number of Headshots: 0/0
Scene Score:       80/   80
Running Score:  62100/69260
Bonus:

Notes:
There'll be a creature way off in the distance.  Sometimes it could be walking towards the left, other times it could be standing still.  Gun it down.  (No headshot points on this one)
|
  |
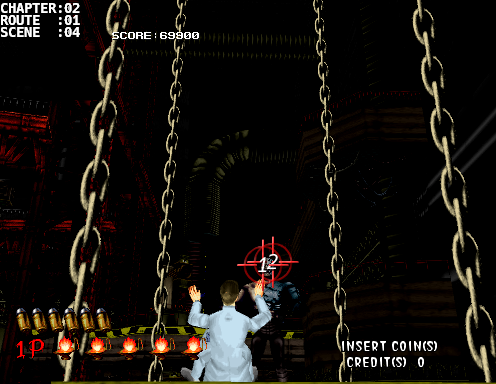
Scene: [02:01:03]
Difficulty: C
Number of Creatures: 2
Number of Headshots: 4/4
Scene Score:      640/  640
Running Score:  62740/69900
Bonus:

Notes:
Two Cyrils will greet you at the bottom of the elevator with one to the left and one to the right.  Take them down with either two straight headshots or an AHH combo.
|
 |
Scene: [02:01:04]
Difficulty: C
Number of Creatures: 1
Number of Headshots: 2/2
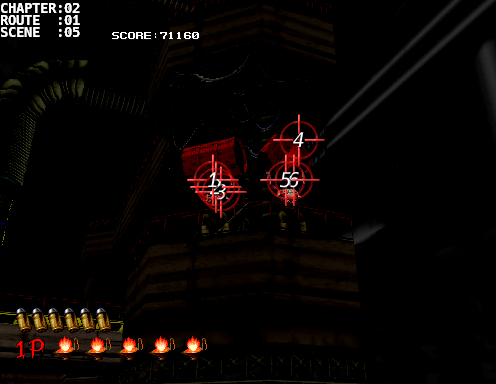
Scene Score:     1020/ 1020
Running Score:  63760/70920
Bonus: 400(Researcher) +
       300(Max Life Bonus)

Notes:
Just wait a bit until you get a clear line of sight and pull off two quick headshots.  If you're down a life then this will be the last one you'll get for the chapter.
|
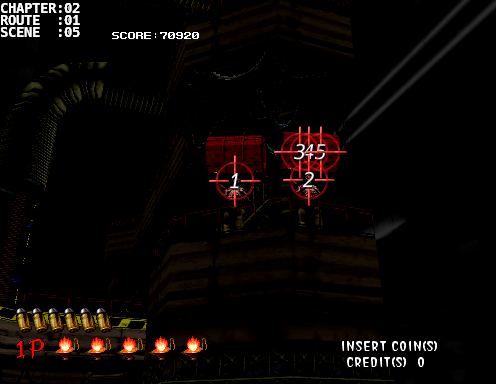  |
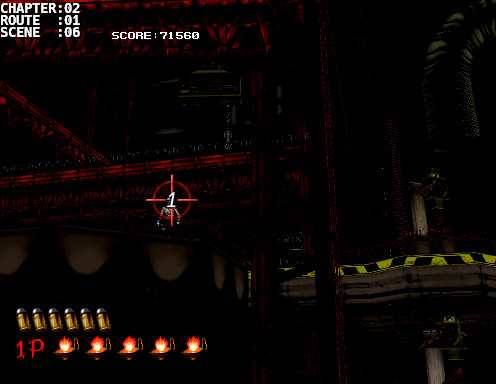
Scene: [02:01:05]
Difficulty: A
Number of Creatures: 2
Number of Headshots: 0/4
Scene Score:        0/  640
Running Score:  63760/71560
Bonus:

Notes:
This is probably the most difficult scene to score headshots on because of precision and timing as this scene will continue on if you wait too long.

The best strat is to tag 1 headshot on the left Bentley then another on the right one.  Then take three shots to the right oil drum and reload.

If you weren't able to do this then both Bentleys will most likely throw their oil drums at you so do your best at getting 4 shots each on the oil drums to save yourself from taking damage.

If you were able to stick that combo earlier then use 3 shots to try for a headshot on the left Bentley, use your 4th shot on the right oil drum, and use your last two shots to go for the headshot on the right Bentley.  If you miss the headshots then there won't be anytime for another reload as the scene will move on.

Getting these headshots won't be necessary for 100k as long as you play a good boss battle at the end of this chapter or grab enough headshots on the upcoming Parlors.
|
 |
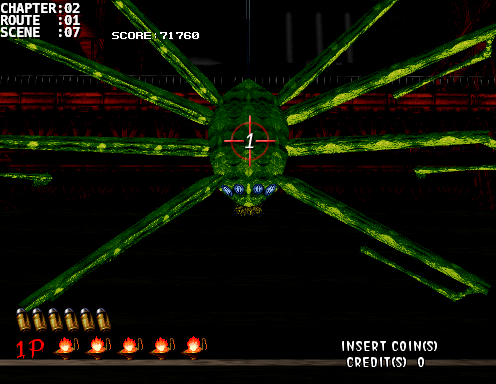
Scene: [02:01:06]
Difficulty: C
Number of Creatures: 1
Number of Headshots: 0/1
Scene Score:       80/  200
Running Score:  63840/71760
Bonus:

Notes:
Use all 6 shots if you have to.  Don't give Cyril a chance to start throwing those hatchets.
|
 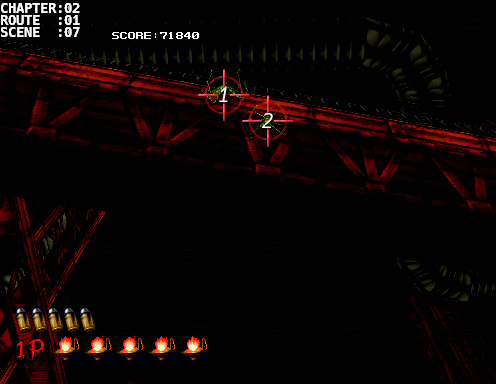 |
Scene: [02:01:07]
Difficulty: C
Number of Creatures: 3
Number of Headshots: 0/0
Scene Score:      240/  240
Running Score:  64080/72000
Bonus:

Notes:
As you head up the stairs a spider creature will drop scare you.  Quickly shoot it when it's in your face.  There will be two more above so tag those before they reach you.
|
  |
Scene: [02:01:08]
Difficulty: B
Number of Creatures: 1
Number of Headshots: 2/2
Scene Score:      320/  320
Running Score:  64400/72320
Bonus:

Notes:
As you finish walking up the stairs there'll be a group of 2 storage bins to the left and 3 to the right.  Focus your attention to the group on your right and use up a full round for good measure to destory the 3 bins as there's a gold frog inside one of them.  You don't need to get the gold frog just yet, just focus on breaking the bins because this goes by quickly.


Next, as you look up, a Bentley will be ready to throw an oil drum.  This section needs to be done really quick.  You need to take an immediate headshot and then shoot the oil drum 3 times.  Once it has recovered a bit finish it off with one last headshot.

If you missed the headshot, use a bullet for the oil drum (which should now be destroyed after a 4th shot), reload, then quickly try to spam bullets for the headshot as this is another scene that will continue without a kill.  If the scene shifts over and you see creatures flying down the conveyor then it's too late and there's no point in going for the kill since you won't be rewarded any points.
|
  |
Scene: [02:01:08]
Difficulty: C
Number of Creatures: 3
Number of Headshots: 4/4
Scene Score:      720/  720
Running Score:  65120/73040
Bonus:

Notes:
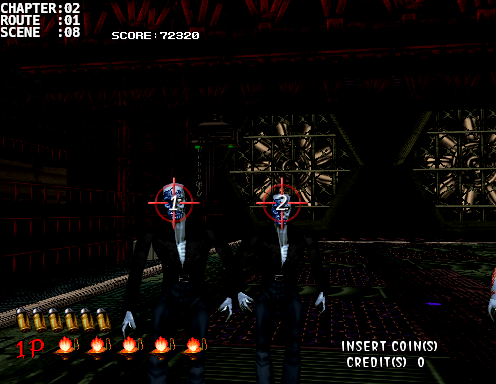
3 creatures will fly down from the conveyor.  Let them land and take out the left one [1] then then middle one [2], one shot each.


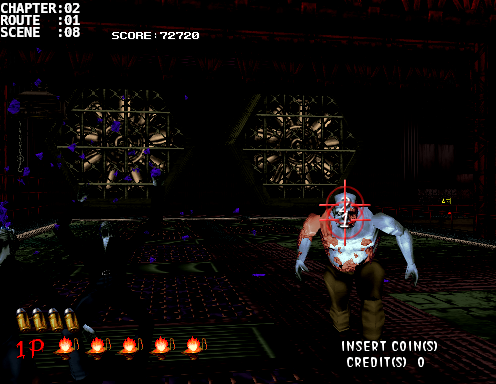
When the scene pans over to the Bentley on the right, take it out with a couple of headshots.  Now focus your attention behind Bentley, if you destroyed all the bins then you should see a gold frog leaping up and down.  If you don't then you just happened to pick it up by chance earlier.
|
 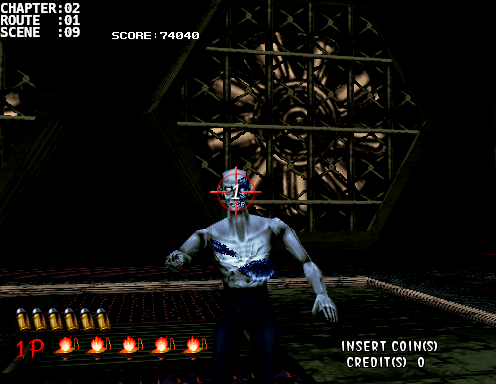 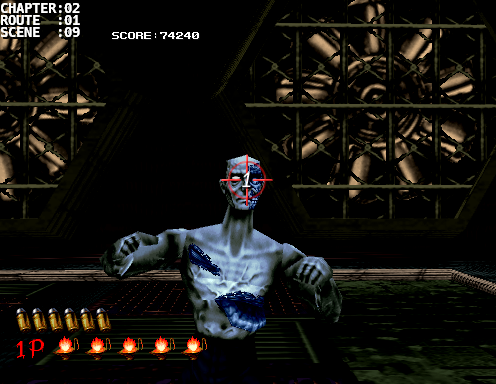 |
Scene: [02:01:09]
Difficulty: C
Number of Creatures: 2
Number of Headshots: 2/2
Scene Score:     1400/ 1400
Running Score:  66520/74440
Bonus:

Notes:
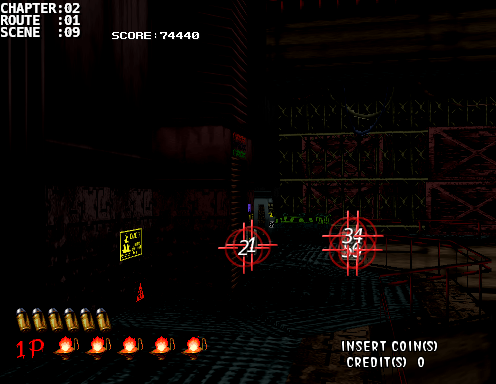
If you didn't destroy all the bins and don't see the gold frog then you better shoot fast to break them now.  Once you see the gold frog, shoot it to collect 1000 points.  If by some unknown reason you miss the frog then there is still one last chance but the window is very small.


A Sam will fall from above.  Take it out with one shot.


Soon after another one will fall.  Take that one out with a shot to the face.

Now if you didn't collect the gold frog earlier then this is your last chance.  Just after this scene and before the next you'll see the frog towards the bottom right of the screen for a split second.  Use a full clip and hope for the best.
|
 |
Scene: [02:01:09]
Difficulty: B
Number of Creatures: 0
Number of Headshots: 0/0
Scene Score:      200/  200
Running Score:  66720/74640
Bonus:

Notes:
Another coin will either be in the left group of bins or the right.  Shoot the both bins on the left side first.  If the coin is there then grab it.  If it's not there then quickly shoot all the bins to the right and hopefully you'll collect the coin in the process.
|
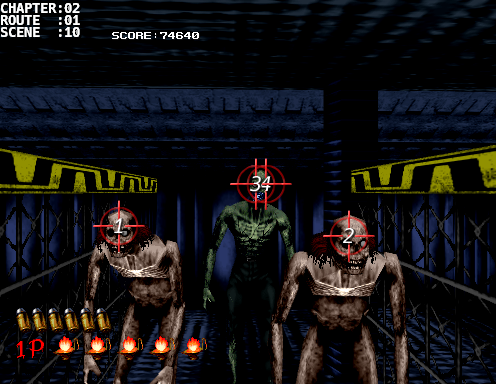 |
Scene: [02:01:10]
Difficulty: C
Number of Creatures: 3
Number of Headshots: 4/4
Scene Score:      720/  720
Running Score:  67440/75360
Bonus:

Notes:
Take a short breather while you take the elevator up.  You'll see 3 creatures behind the partition but you won't be able to shoot at them yet so wait a bit until you walk around the partition.

Shoot the left one once, then the right one once, then twice in the middle.

If your aim isn't precise yet, or you just want to be lazy, then use 3 shots each on left and right Kageos, reload, then take a full round on the center one.
|
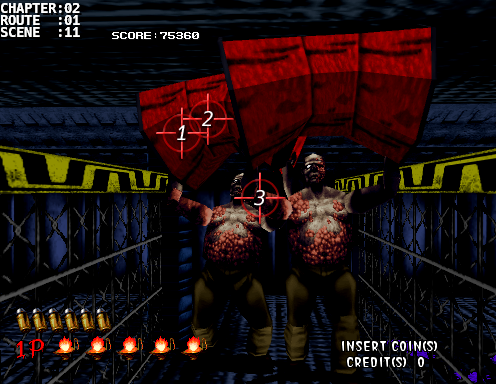 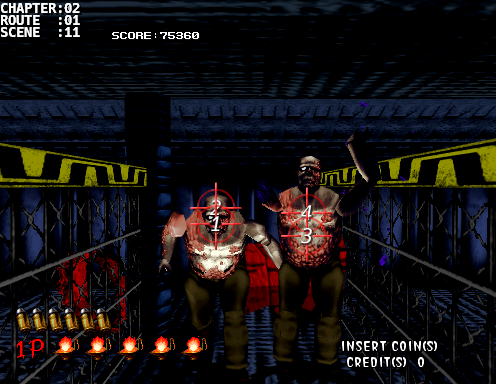 |
Scene: [02:01:11]
Difficulty: C
Number of Creatures: 2
Number of Headshots: 4/4
Scene Score:      640/  640
Running Score:  68080/76000
Bonus:

Notes:
I used to hate this part because I would waste so many bullets, and even take damage occasionally, until I found this strat.

Shoot the left oil drum twice and then the right arm of the Bentley on the right [3] then reload.  This will stun the right Bentley and give you enough time to kill the left one without worrying.


While the right one is stunned, take two shots on the left Bentley as it comes charging in then two shots on the right one when that one comes charging in.
|
Aggressive Headshot Strategy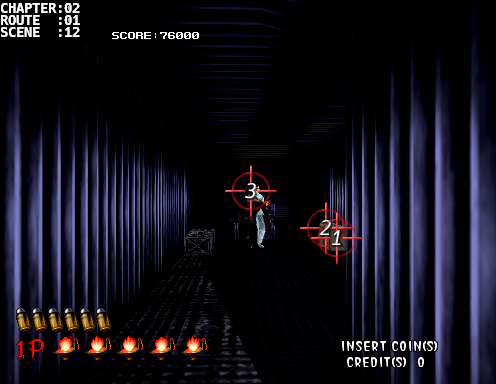 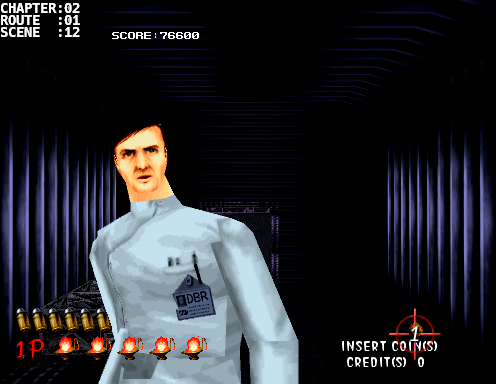 Safe Normal Strategy 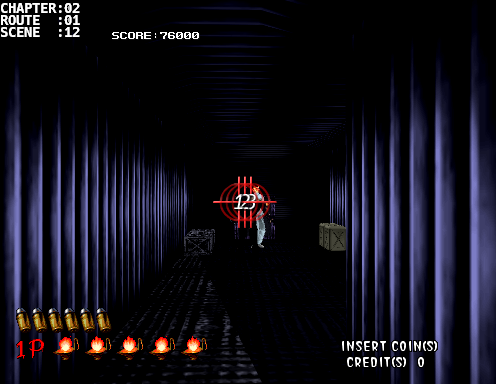 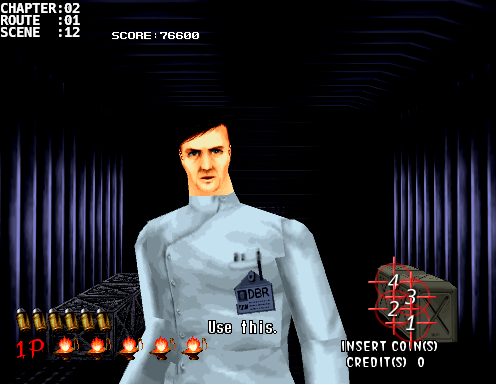 |
Scene: [02:01:12]
Difficulty: A
Number of Creatures: 1
Number of Headshots: 0/1
Scene Score:      680/  800
Running Score:  68760/76800
Bonus: 400 (Researcher)

Notes:
This is where the two elevator routes converge.

If you trust your aim then this is an aggressive strat that takes out the bins hiding the coin and then tagging the headshot.  Just as you enter the corridor you have just enough time to shoot the two bins on the right hand side while leaving yourself just enough time to get the headshot.  In the next scene you'll clearly see the coin for an easy 200 to collect.


The safe strat, and the one I always take, is to take three shots at the upper back/left shoulder (away from the researcher).

When the researcher gives you the security card, shoot the bins like crazy and hopefully you'll grab the coin before the scene moves on.  Keep in mind that you're moving to the right as you do this so move your aim towards the left as the scene moves.
|
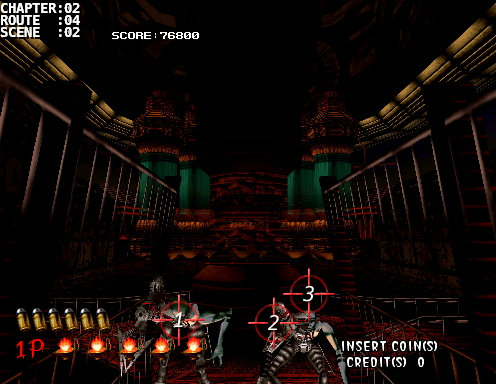 |
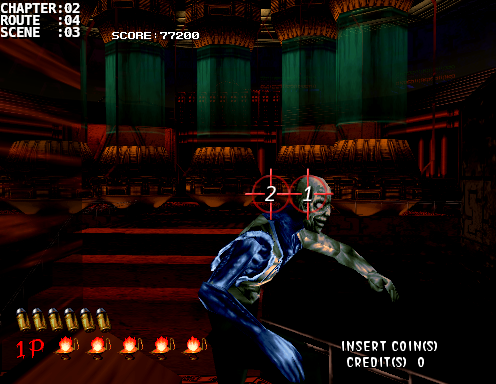
Scene: [02:04:02]
Difficulty: B
Number of Creatures: 2
Number of Headshots: 2/2
Scene Score:      400/  400
Running Score:  69160/77200
Bonus:

Notes:
Another pair of Moodys.  The only difference is that they can cling onto the railing on either side and might be slightly off screen when the camera focuses on them.  Don't try to go for the headshot while they're on the railing unless you have a clear shot.  Instead, while they're hanging on the railing, take one shot to their body before the clawshot goes off to get them centered on the bridge again and hope you'll get another chance at a clean shot.
|
 |
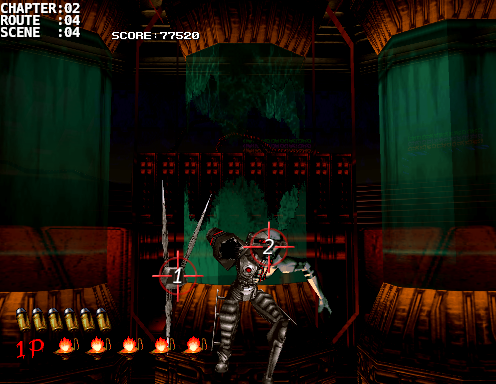
Scene: [02:04:03]
Difficulty: C
Number of Creatures: 1
Number of Headshots: 2/2
Scene Score:      320/  320
Running Score:  69480/77520
Bonus:

Notes:
This next creature is similar to Bourbon (the greenish one that I usually use a full clip on).  AHH and HAH doesn't work to get both headshots so you'll just have to spam a full clip to guarantee this one.
|
 |
Scene: [02:04:04]
Difficulty: C
Number of Creatures: 1
Number of Headshots: 1/1
Scene Score:      200/  200
Running Score:  69680/77720
Bonus:

Notes:
A single Moody will jump out from the capsule, it can't get any easier.  Just don't behead it mid-air.  Now prepare yourself for the next scene though because it's gonna go quick and you can grab over 1000 points.
|
 Charge Attack 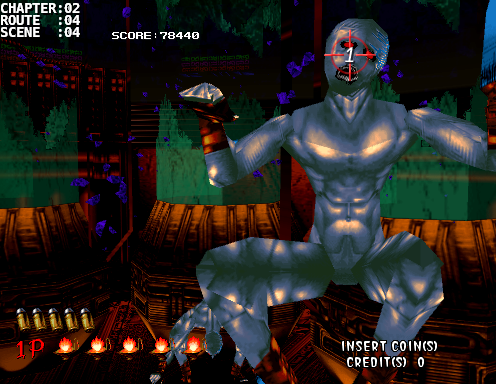 Projectile Attack 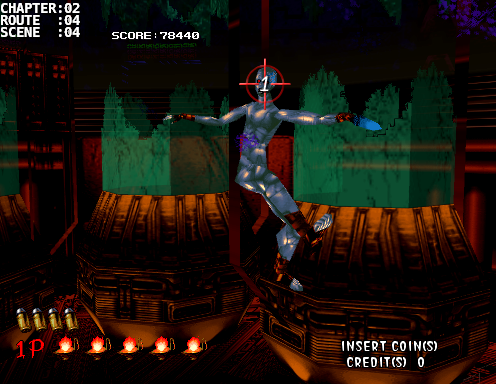 |
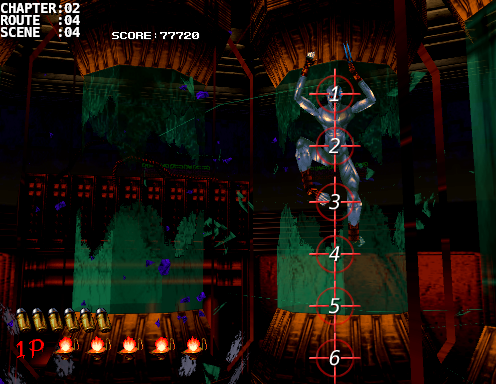
Scene: [02:04:04]
Difficulty: S
Number of Creatures: 1
Number of Headshots: 2/8
Scene Score:      320/ 1040
Running Score:  70000/78760
Bonus:

Notes:
As soon as you defeat the Moody, a blueish-grayish creature (Parlor) will jump out from the capsule to the right.  This is one of two places where you need to blast the heck out of its head while it's mid-air.  Since this creature will NOT lose its head on a headshot, every shot to the head during the aerial start animation will give you bonus points.  Try to rack up as many shots as possible before the landing animation ends.  (I was only able to snag 6 shots during this guides run but it's definitely possible to get more).

Parlor has 3 attacks with 2 of them being the familiar backflip and charge attack.  It's 3rd type of attack is a projectile attack similar to Drake but a bit slower.

After it lands don't kill it right away as you won't get the 80 kill points since you took the headshot while it was mid-air but it's a good trade off for 720 points.  Just wait and use the typical strat for the backflip and charge attacks.  For the projectile attack, instead of waiting for the projectile to be released, tag it in the face while its wide open.  This will get you the headshot and stop the projectile from releasing.  Be ready to gun the projectile down though if you miss the headshot.
|
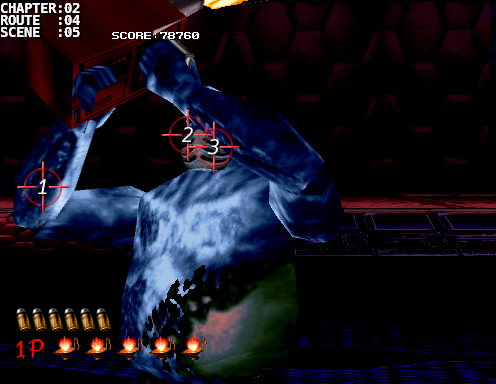 |
Scene: [02:04:05]
Difficulty: C
Number of Creatures: 1
Number of Headshots: 2/2
Scene Score:      320/  320
Running Score:  70320/79080
Bonus:

Notes:
Burner is similar to Samson but uses a firesaw instead of a chainsaw.  Use the same rAHH strat.
|
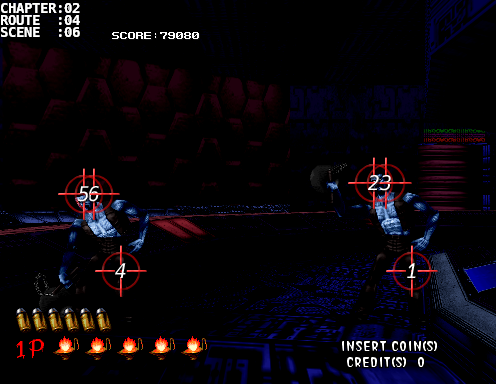 |
Scene: [02:04:06]
Difficulty: B
Number of Creatures: 2
Number of Headshots: 4/4
Scene Score:      640/  640
Running Score:  70960/79720
Bonus:

Notes:
Another pair of Harris' except this time they mean business.  This one will be really technical and requires precise timing.  You'll want to go for the right one first and aim at its left thigh while the ball and chain is behind it (take more than one shot if you have to).  While it's stunned go for 2 quick headshots.  Repeat this for the one on the left and prepare yourself for another pair of Parlors in the next scene.
|
 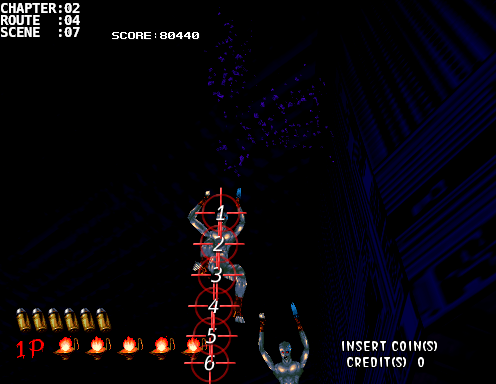 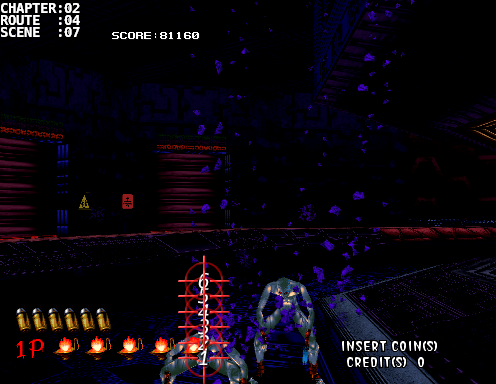 Two-Pronged Attack 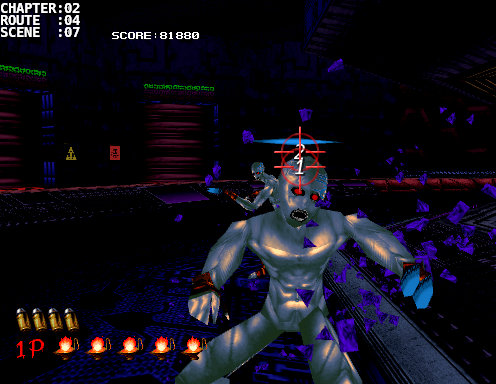 |
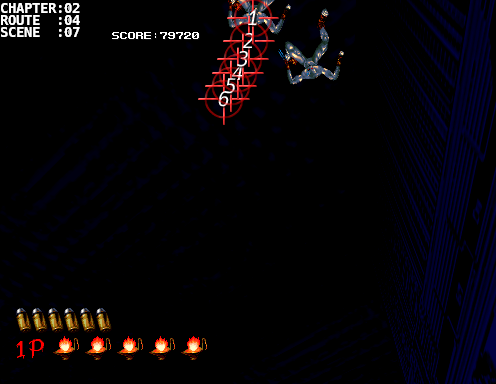
Scene: [02:04:07]
Difficulty: C/S
Number of Creatures: 1
Number of Headshots: 5/20
Scene Score:      680/ 2480
Running Score:  71640/82200
Bonus:

Notes:
This scene isn't hard but racking up those headshots is.  If done right, you can walk away with 2000+ points after this scene.  Getting 5 or more total headshots during this scene is already good for the 100k but you'll want more to give you a good score buffer.

When you look up, take 6 shots in those exact placements. RELOAD!


As it falls, you have 6 frame perfect chances at 6 more headshots.  RELOAD again!


Finally when it lands, keep going at the headshots for another 6. RELOAD!!!


After the 18 shots, don't go for the headshot kill yet just like last time.  (The 80 points will not be rewarded so you want to guarantee you kill it off with another headshot)  It will most likely charge at you, so be ready for that, but keep your eye on the right one.  It might sneak a projectile attack behind the front one so don't get caught by the two-pronged attack.
|
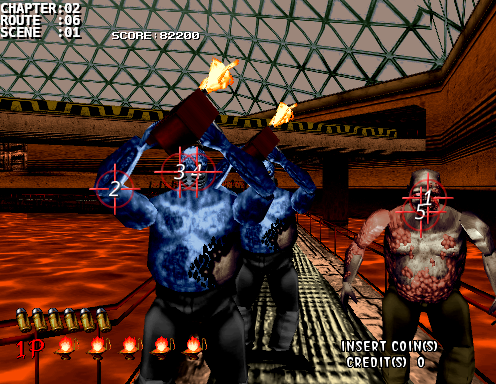 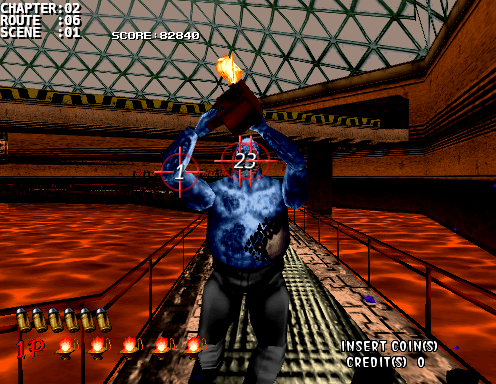 |
Scene: [02:06:01]
Difficulty: C
Number of Creatures: 3
Number of Headshots: 6/6
Scene Score:      960/  960
Running Score:  72600/83160
Bonus:

Notes:
The easier route is the right hanger door.  You can enter it by not shooting at any of the doors.

The simple strat here is to take one headshot on Bentley [1] then rAHH the left Burner, go back and take one more shot on Bentley [5], reload, then rAHH the remaining Burner.

Or if you got the skill, double headshot Burner, double headshot Bentley, and double headshot Burner without reloading.
|
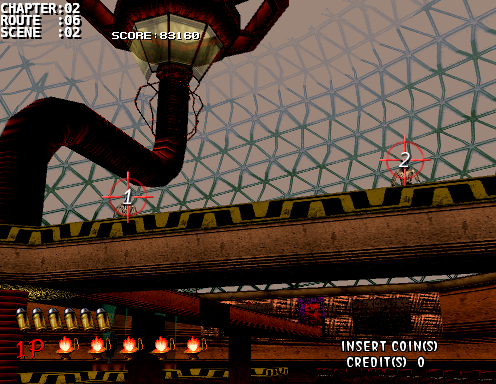 |
Scene: [02:06:02]
Difficulty: B
Number of Creatures: 2
Number of Headshots: 1/2
Scene Score:      280/  400
Running Score:  72880/83560
Bonus:

Notes:
Time for more pixel perfect shots.  Great if you can get them both but more importantly, great if you don't take damage.  Be sure to fend off any hatchets flying in the air if you miss those headshots.  The scene will continue on even if you don't kill them off.
|
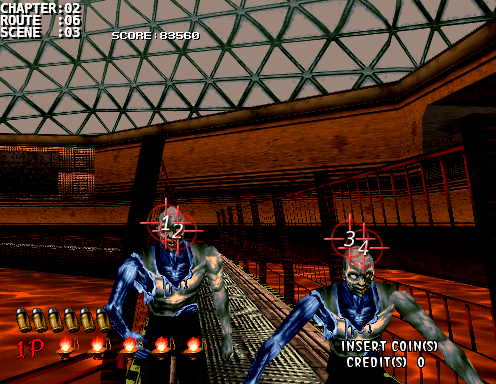 |
Scene: [02:06:03]
Difficulty: C
Number of Creatures: 2
Number of Headshots: 4/4
Scene Score:      640/  640
Running Score:  73520/84200
Bonus:

Notes:
No time to get fancy again.  Use a full clip to get two headshots each.  Go for the left one first, then the right.
|
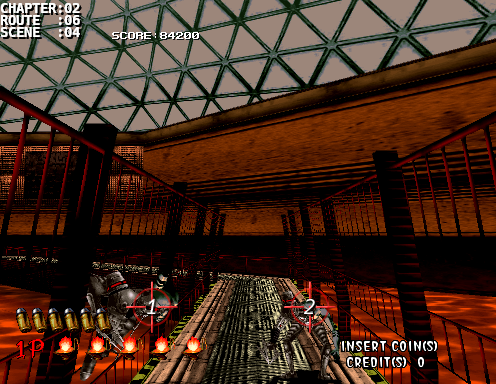 |
Scene: [02:06:04]
Difficulty: C
Number of Creatures: 2
Number of Headshots: 2/2
Scene Score:      400/  400
Running Score:  73920/84600
Bonus:

Notes:
A pair of Moodys again.  Just like the room earlier, these can cling on the railing so follow the same strat as before.
|
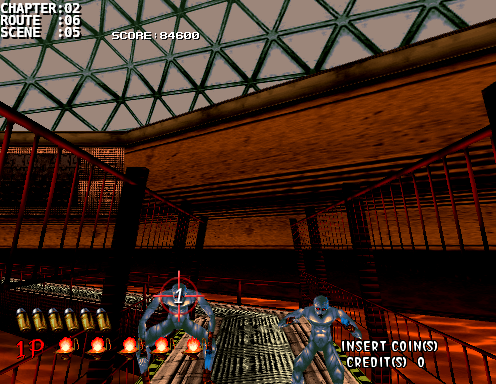 Charge Attack 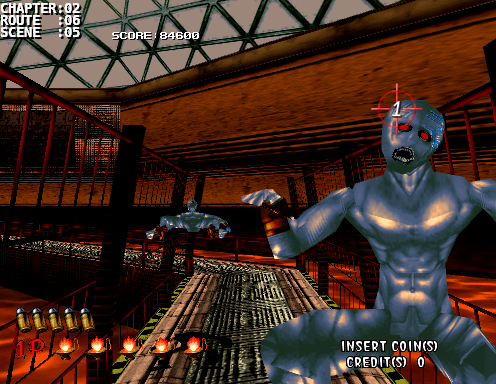 Projectile Attack 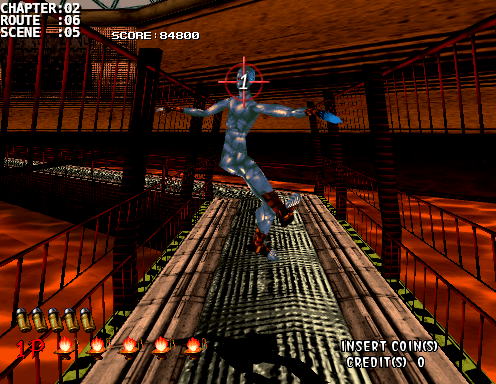 |
Scene: [02:06:05]
Difficulty: C
Number of Creatures: 2
Number of Headshots: 2/2
Scene Score:      400/  400
Running Score:  74320/85000
Bonus:

Notes:
A pair of Parlors will fall from above.  Don't try to go for the falling headshots because it won't connect.  Instead, try to offset their attack patterns when they land by shooting the left one straight away.  Do your best to recognize the type of attack coming up and get those headshots.
|
 |
Scene: [02:06:06]
Difficulty: C
Number of Creatures: 1
Number of Headshots: 0/0
Scene Score:       80/80
Running Score:  74400/85080
Bonus:

Notes:
There's a straggler off in the distance, take a few shots to guarantee a hit (no headshot).
|
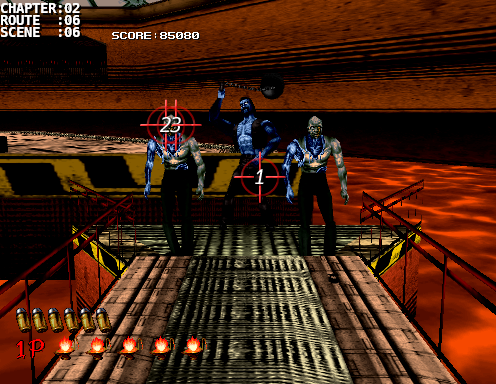 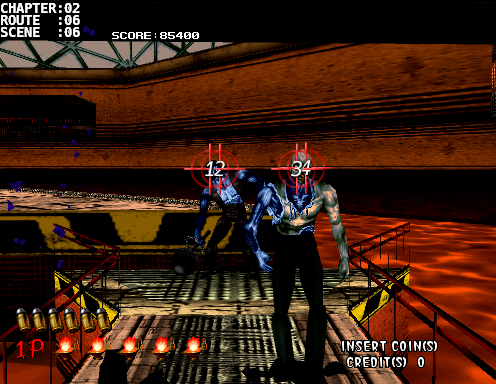 |
Scene: [02:06:06]
Difficulty: C
Number of Creatures: 3
Number of Headshots: 6/6
Scene Score:      960/  960
Running Score:  75360/86040
Bonus:

Notes:
Shoot at Harris' left thigh straight away, use as many bullets until it gets stunned.  Then take two quick shots on the left creature.  Reload.


Now take Harris out with 2 quick headshots before it recovers and starts swinging again and lastly two quick headshots on the remaining creature.
|
 |
Scene: [02:06:07]
Difficulty: C
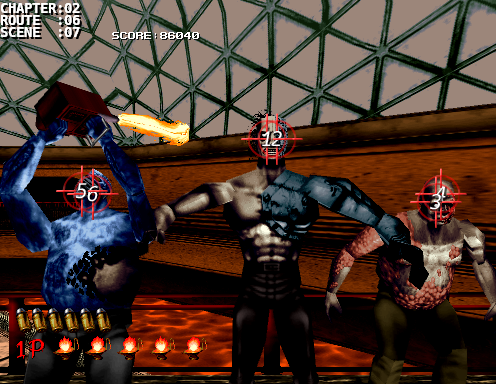
Number of Creatures: 3
Number of Headshots: 6/6
Scene Score:      960/  960
Running Score:  76320/87000
Bonus:

Notes:
Almost there.

Take out Robert with a HPH combo, then Bentley to the right and finally two quick shots at Burner to the left (or you can reload and HrAH or rAHH it) Just make sure you get passed this scene without taking damage.
|
Phase 1 - 1st Bullet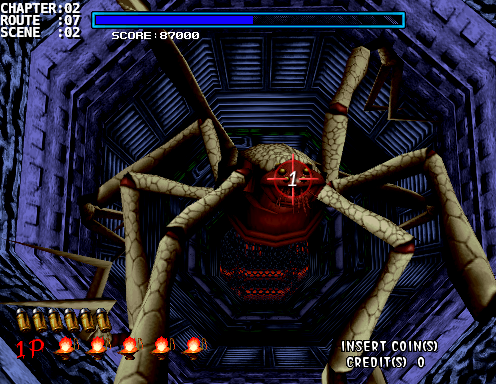 Phase 1 - 2nd/3rd Bullet 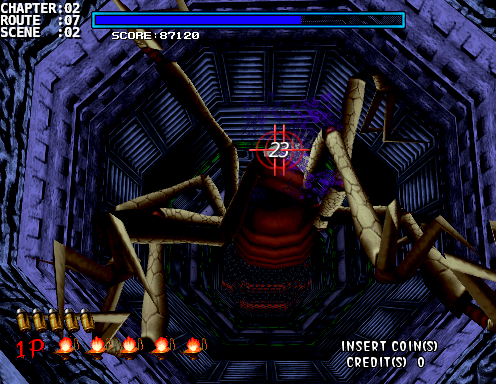 Phase 1 - Wait 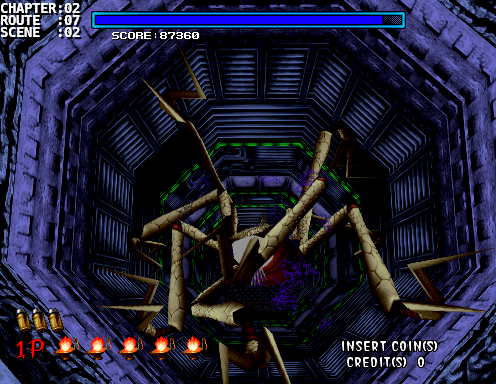 Phase 1 - 4th/5th Bullet 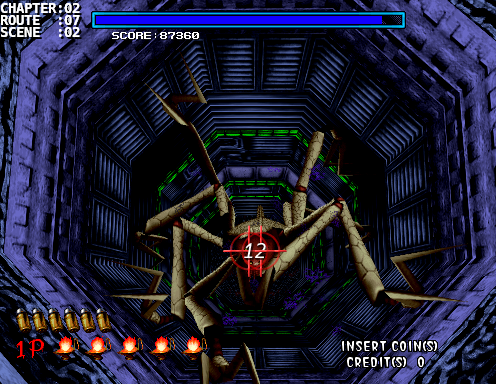 Phase 2 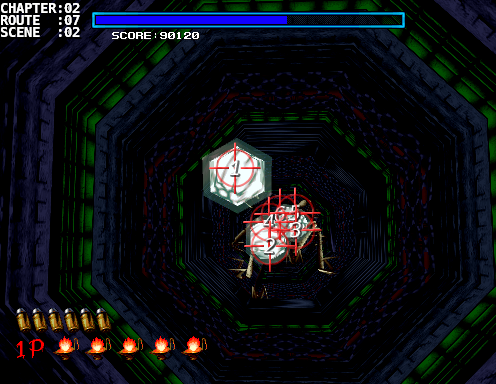 Phase 3 - 1st/2nd/3rd Attack 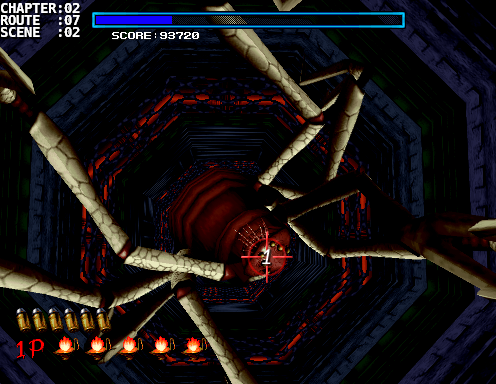 Phase 3 - Last Attack 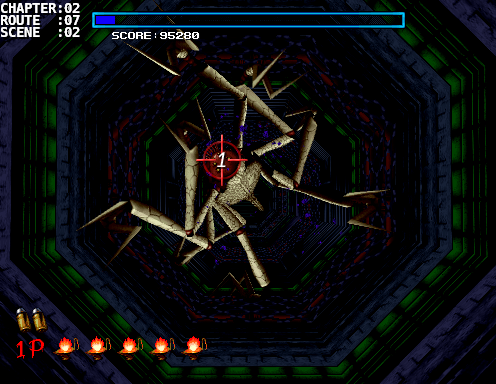 Ending Phase 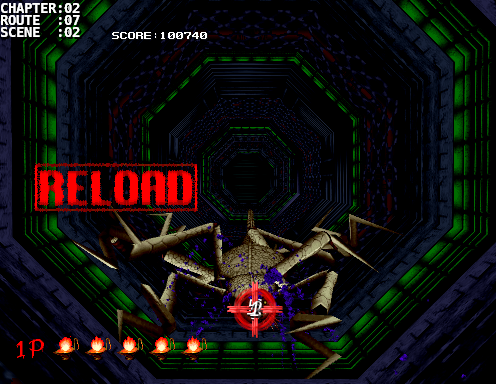 |
Scene: [02:07:02]
Difficulty: B
Number of Creatures: 1
Number of Headshots: 30/102
Scene Score:     5100/ 13740
Running Score:  81420/100740
Bonus: 1500 (Defeating Hermit)

Notes:
So Hermit is another boss that will reward you for headshots.  You're guaranteed at least 1920 points regardless since its head is the only weak point and it takes 16 shots to defeat it.  Timing and placement is key here because Hermit will use its legs to defend its head after an attack.


Phase 1:
During phase 1 Hermit will approach you, with its head wide open, and slash at you if its close enough.

Just as the scene starts take a quick headshot while its just standing there (1st Bullet).  Now this is the crucial part, after you make contact, immediately take 2 shots just above where its head used to be (2nd/3rd bullet) You can actually sneak in a 4th shot during a critical hit.


Now wait a bit while it uses its legs to block its head. Use this time to reload.


Once its legs are out of the way quickly sneak in 2 more shots before the shot counts as damage.  Now let it approach you again and follow the same steps.  You'll do this for 6 damage attacks with 5 chances at 4 quick bonus headshots in between.


Phase 2 Projectile Attacks:
This time it will spew out web balls but don't worry, specialized AMS bullets will disintegrate these web balls like marshmellows.  The webs will increase in numbers after each successful damage attack starting with 6 webs and going up to 11.  Once you finished off the web it'll start approaching you like before.  Follow the same bullet strategy for a total of 6 damage attacks.


Phase 3 Positioned Attack:
During this final attack phase, Hermit will choose to position itself and crawl along 1 of the 8 octagonal walls in the tunnel as it approaches.  During the approach it will cover its head with its legs until it gets up close.  Take note of which wall its on as its head will be offset from center going toward the opposite wall.  For example, if it's crawling along the top left then it's head will be off center going bottom right [1].  Once it takes damage it'll recenter itself on the bottom use this time to try for 4 shots with the bullet strat.  Let it recover and reposition itself so that you can also reload and ready yourself for the next attack.  Do this for a total of 3 damaging shots.


After the 3rd damaging shot of this phase DO NOT LET IT RECOVER.  At the end of the bullet strat keep shooting to kill it off.  Why? Because you can still get headshot points while it's flailing around in defeat and this is the best position for Hermit to be at.  Any closer and its head will be offscreen when its head hits the ground.  Any further back and you lose precious head pixels that you could've shot at.  Shoot fast and remember to reload!!! While Hermit is flailing around, its head will not be stationary in one position so you'll need to try and follow it around behind all the spewing "blood?" by using the angle of its body.  Don't stop!  Keep shooting until the black bars come down for the ending cutscene.
|
 |
Scene: [02:07:03]
Difficulty:
Number of Creatures:
Number of Headshots:
Scene Score:
Running Score:  81420/100740
Bonus:

Notes:
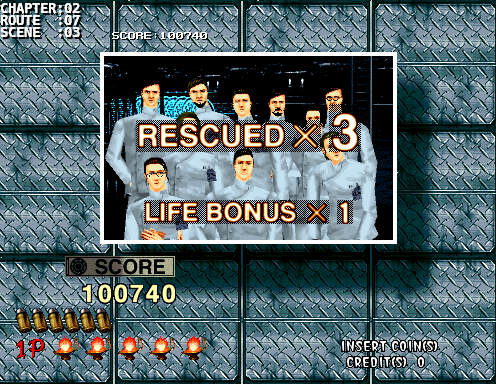
And after a good trigger workout you can end the 3rd chapter with a huge sigh of relief.  In an ideal world you can reach 100k by this point but anything greater than 80k will put you in good running for 100k as a typical final chapter run will be roughly 20k in points.  My highest score after this chapter was 90720 which was done during my 110k run.  The things that set that run aside from all the rest were precise Parlor headshots and better timing on Hermit.

Let's not rest here.  We've got one final chapter to go.
The Final ChapterThe house of the dead |
Stage Gallery
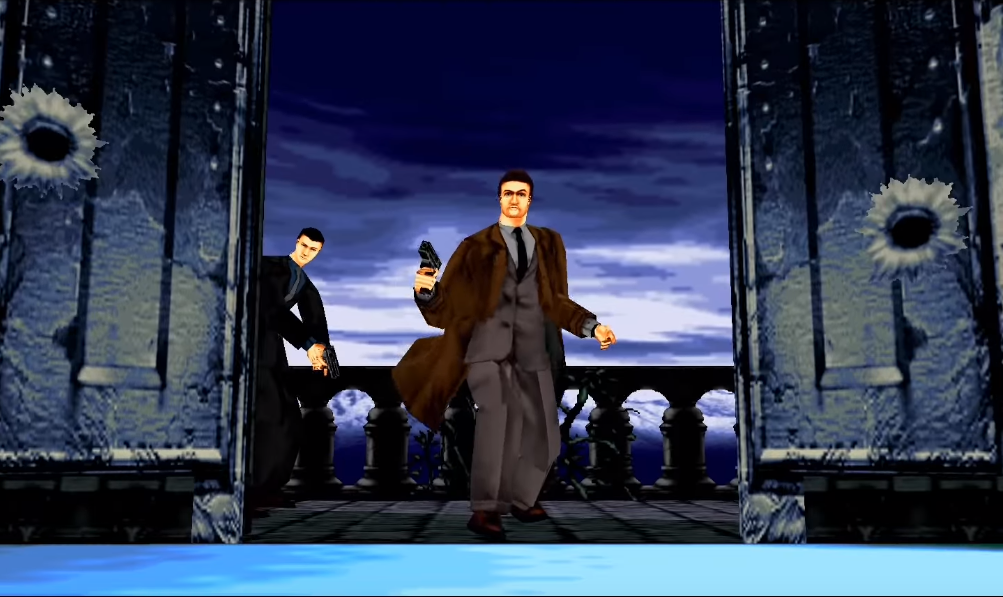
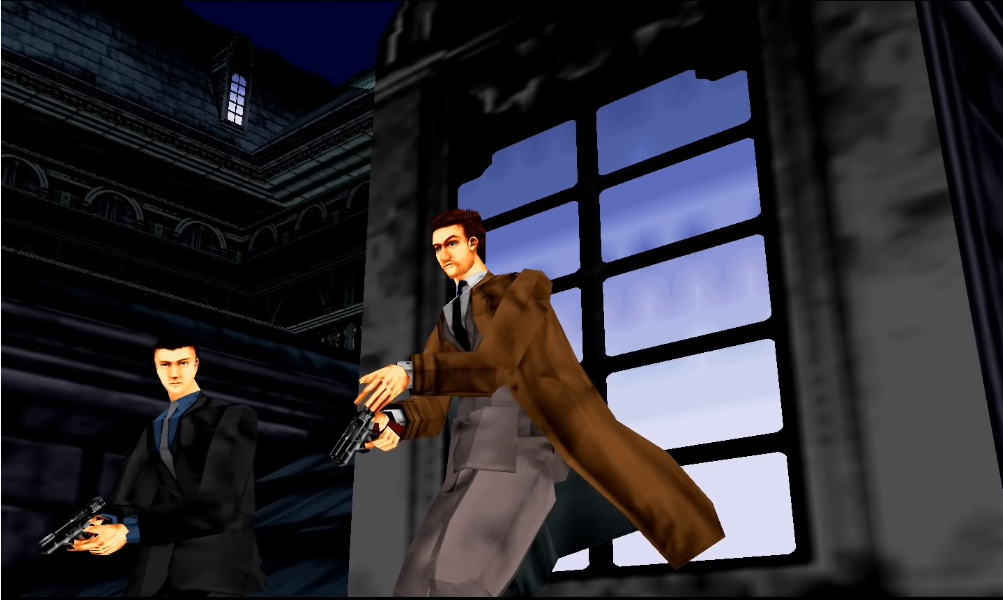
“This is as far as you go, I’ll finish you here!”
With revenge on Dr. Curien in mind, Rogan and G proceed further into the mansion filled with atrocious creatures. The story truly begins when the agents fight against a slither monster that will not allow them to enter into the deepest part of the mansion in order to achieve Rogan’s personal grudge.
Creatures


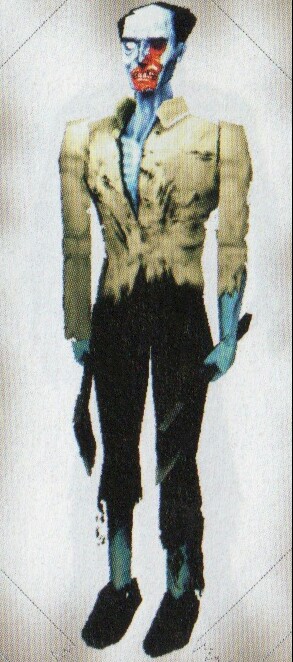
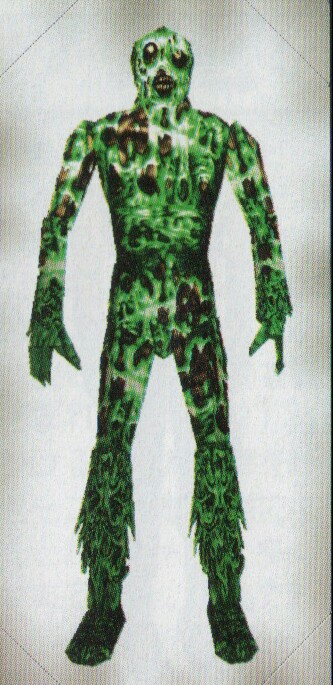
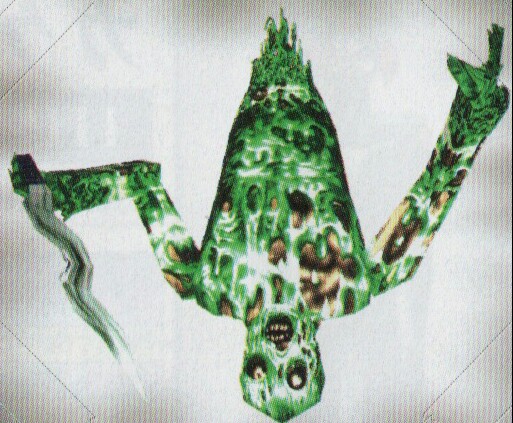
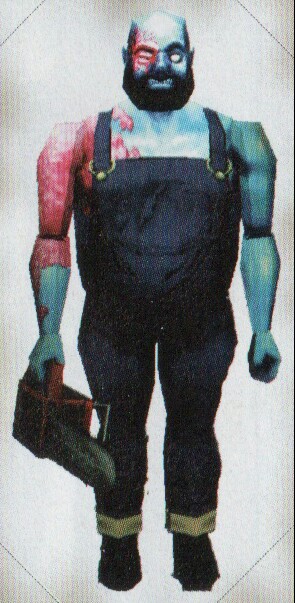




Boss: HangedMan type 041
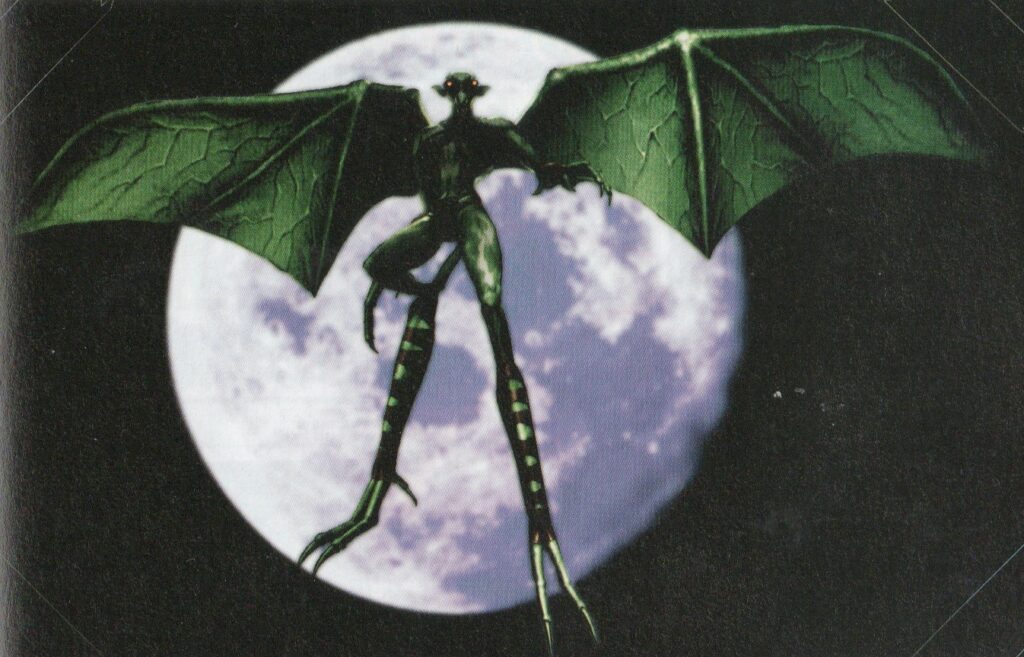
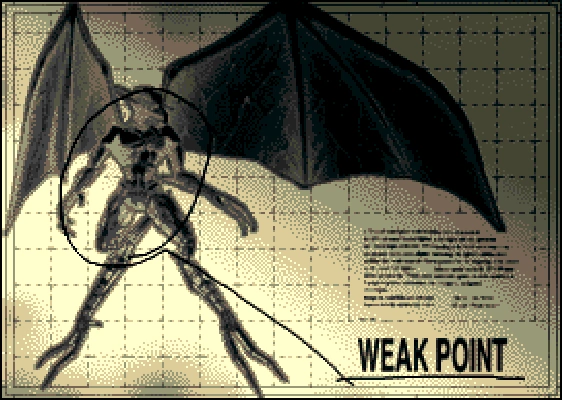
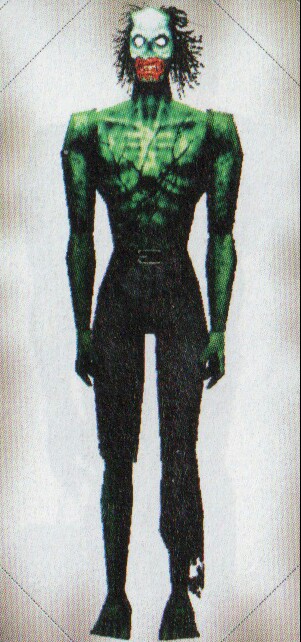
HP:800 Weakness: The Body
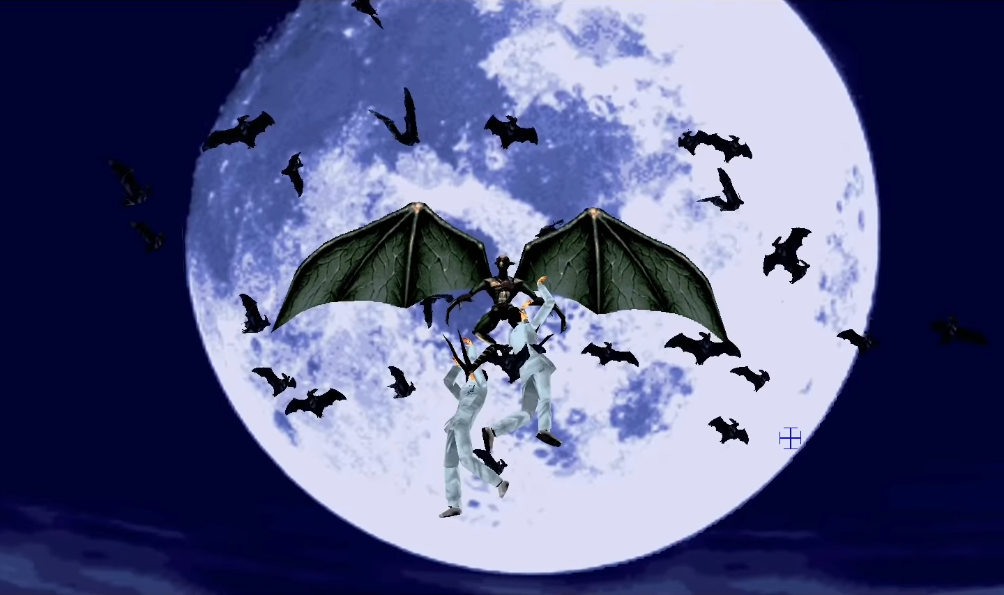
Dr. Curien’s imaginative use of the Bioreactor seems to know no bounds. The Hangedman is thought to be a unique bat/human hybrid as evidence by its wingspan, nocturnal dwelling and hyper sonic navigational abilities. AMS Intelligence Division have observed the Hangedman during night flights and noted a “cloud of vampire bats” shrouding this monster. Its weak point is the whole body other than the wings, but even if you play alone, you can not cancel the attack unless you fire several shots. Like normal enemies, you can get high points by shooting its head.
High Score Guide
| Introduction | The First Chapter Tragedy |
The Second Chapter Revenge |
The Third Chapter Truth |
The Final Chapter The house of the dead |
Alternate High Scoring Paths |
Special Thanks |
|---|---|---|---|---|---|---|
| AIM | DESCRIPTION | |||||
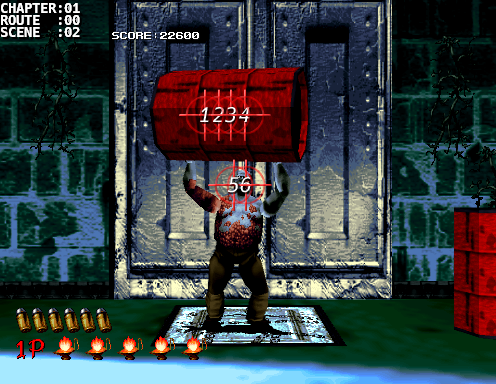 |
Scene: [01:00:02]
Difficulty: C
Number of Creatures: 1
Number of Headshots: 2/2
Scene Score:      320/  320
Running Score:  21800/22920
Bonus:

Notes:
Just as the scene begins a Bentley will throw an oil drum right at you.  Play it safe by taking 4 shots to the oil drum then 2 shots to the head.  Do note that its head will be a bit lower if it starts to run at you.
|
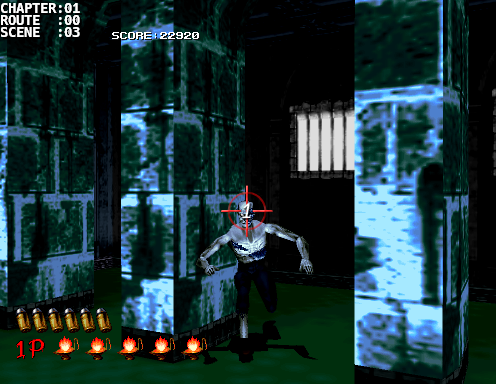 |
Scene: [01:00:03]
Difficulty: C
Number of Creatures: 1
Number of Headshots: 1/1
Scene Score:      200/  200
Running Score:  22000/23120
Bonus:

Notes:
Nothing fancy here.
|
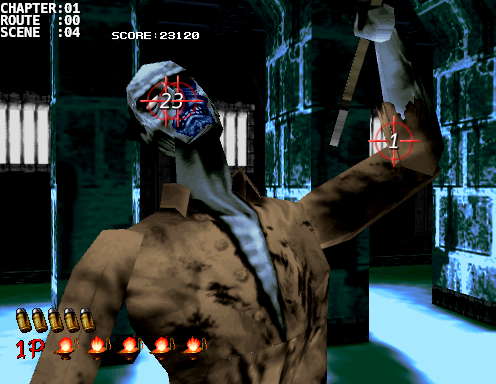 |
Scene: [01:00:04]
Difficulty: B
Number of Creatures: 1
Number of Headshots: 2/2
Scene Score:      320/  320
Running Score:  22320/23440
Bonus:

Notes:
Take note of which arm Cyril attacks with and shoot it quickly.  While stunned, you'll be able to get a couple of quick shots to the head.
|
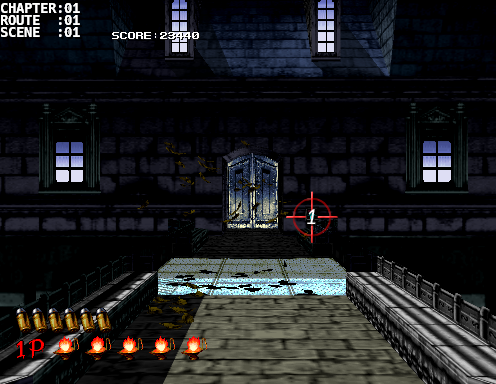  |
Scene: [01:01:01]
Difficulty: A
Number of Creatures: 4
Number of Headshots: 0/0
Scene Score:        0/  320
Running Score:  22320/23760
Bonus:

Notes:
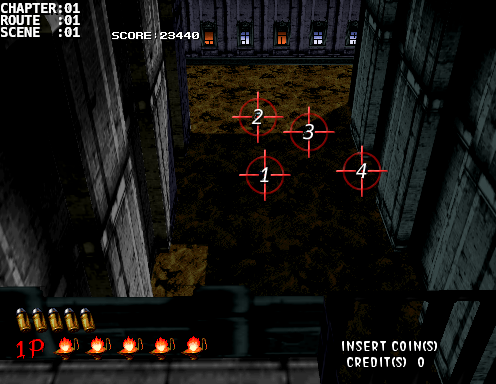
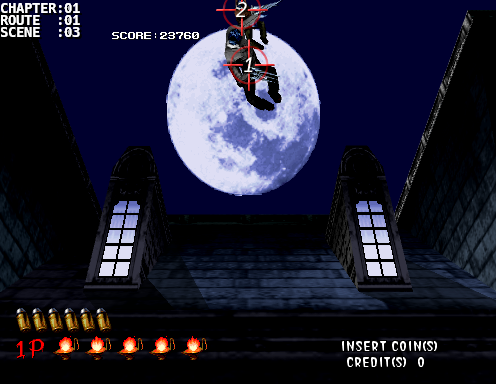
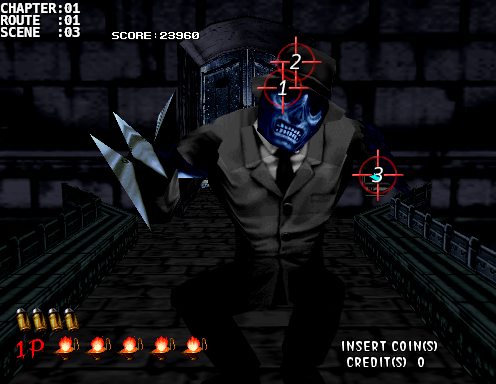
As you pace over the bridge you'll see an elevator arrow to the right of the double doors.  Shoot it an odd number of times, preferably once, so that you take the route going down.  If you missed it here then you'll have one quick shot at it again after a couple of scenes.


As you turn left you'll see 4 creatures off in the distance.  No headshots for these so do your best to grab any of them.  I tend to only aim for the ones labeled [1] and [3] with two shots each but it's definitely possible to get all four.
|
  |
Scene: [01:01:03]
Difficulty: C
Number of Creatures: 2
Number of Headshots: 2/2
Scene Score:      400/  400
Running Score:  22720/24160
Bonus:

Notes:
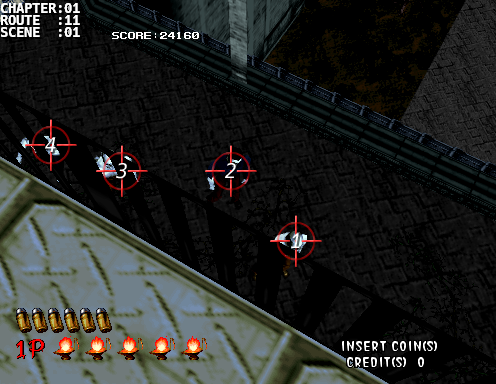
You'll face the double doors again and two Rubins will fall from the sky.  Shoot the first one anywhere but the head and then take out the second one with a headshot mid-air.  Once the first Rubin lands it'll either do a backflip or it'll charge at you.  If it does a backflip then wait until it does a complete flip and then tag it while its head is facing down.  If it charges at you then wait until it leaps and then take a couple shots at the upper part of the screen [1] or [2] to guarantee a headshot.  This is will be a common strat for a lot of the creatures later on in the game.
|
 |
Scene: [01:11:01]
Difficulty: B
Number of Creatures: 4
Number of Headshots: 0/0
Scene Score:      240/  320
Running Score:  22960/24480
Bonus:

Notes:
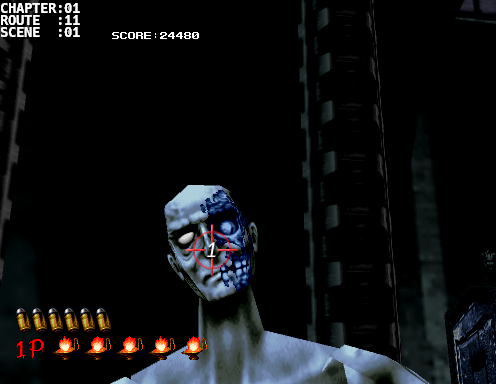
As you turn right you'll see 4 more creatures down below.  No headshots for these either but they're in reasonable range to tag 3 or more.
|
 |
Scene: [01:11:01]
Difficulty: C
Number of Creatures: 1
Number of Headshots: 1/1
Scene Score:      200/  200
Running Score:  23160/24680
Bonus:

Notes:
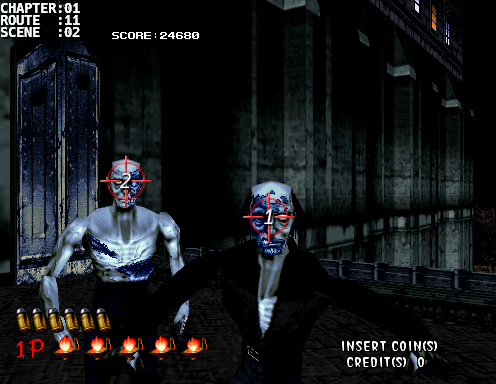
One will pop up as you turn back to your left.  Sometimes I forget about this guy because I'm worried about the next scene.
|
 |
Scene: [01:11:02]
Difficulty: C
Number of Creatures: 2
Number of Headshots: 2/2
Scene Score:      400/  400
Running Score:  23560/25080
Bonus:

Notes:
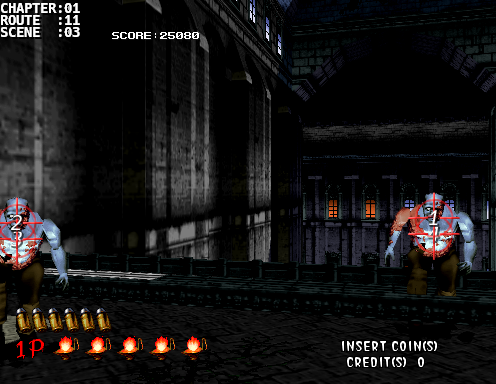
Nail (the center one) will attack fast in this scene so just as you land and turn right aim towards the center and give it a good 4 shots or more for good measure even though it only takes one (trust me, you don't want to take an early hit) Then take out Sam with one more shot.
|
 |
Scene: [01:11:03]
Difficulty: C
Number of Creatures: 2
Number of Headshots: 4/4
Scene Score:      640/  640
Running Score:  24200/25720
Bonus:

Notes:
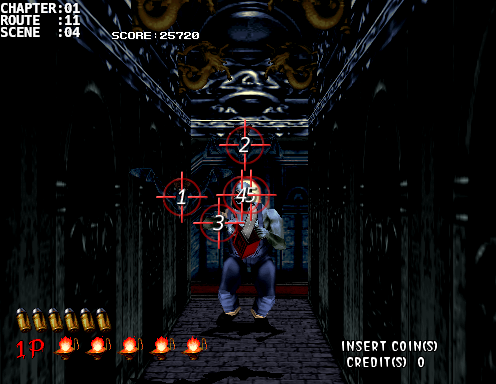
Bentley's will always lean forward while they run so don't aim above their shoulders.  The proper location is shoulder height for the first shot and then above the shoulders for the second shot while they're recovering.  I tend to take a quick shot on the right one first, then 2 shots on the left one, and then back to the right for the final shot.
|
 |
Scene: [01:11:04]
Difficulty: C
Number of Creatures: 3
Number of Headshots: 2/2
Scene Score:      480/  480
Running Score:  24680/26200
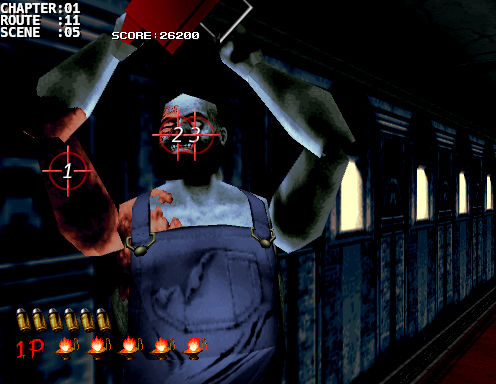
Bonus:

Notes:
As you make your way in two bats will charge at you straight away [1] and [2].  Next deal with Samson with the typical AHH strat.
|
 |
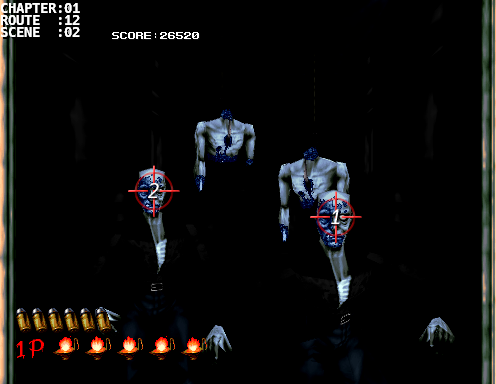
Scene: [01:11:05]
Difficulty: C
Number of Creatures: 1
Number of Headshots: 2/2
Scene Score:      320/  320
Running Score:  25000/26520
Bonus:

Notes:
When you turn right this Samson will do a fake attack for a split second (to block any quick shots) and then pull its arms up again momentarily.  Use this small opportunity to take the AHH.
|
 |
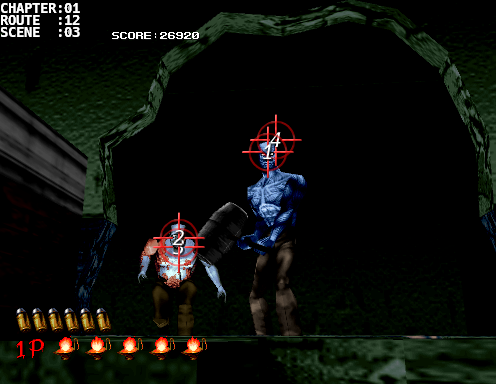
Scene: [01:12:02]
Difficulty: C
Number of Creatures: 2
Number of Headshots: 2/2
Scene Score:      400/  400
Running Score:  25400/26920
Bonus:

Notes:
As you enter the kitchen you'll turn left and the walk-in fridge door will burst open with two Nail's storming out craving fresh flesh as they've already eaten up both of the hanging Sam's (which btw don't give extra points).  Take out the right one then left, one shot each.
|
 |
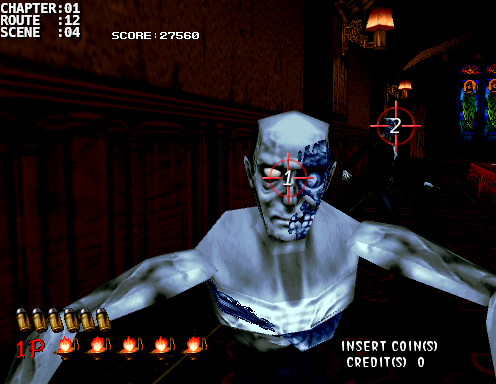
Scene: [01:12:03]
Difficulty: C
Number of Creatures: 2
Number of Headshots: 2/4
Scene Score:      400/  640
Running Score:  25800/27560
Bonus:

Notes:
As you make your way out of the kitchen the wall to your left will come crashing down and send you flying to the ground.  From this vantage point you'll see a Gilmore (the fellow that has a huge sledgehammer resembling Usopp's 5t hammer) and a Bentley in the back.  I like to take one shot on Gilmore first, then take out Bentley, then a final shot on Gilmore.  Otherwise, take out Gilmore first with two shots, then Bentley.
|
 |
Scene: [01:12:04]
Difficulty: B
Number of Creatures: 2
Number of Headshots: 2/2
Scene Score:     1100/ 1100
Running Score:  26900/28660
Bonus: 400 (Researcher) +
       300 (Max Life Bonus)

Notes:
You'll need to get through this scene quickly otherwise the researcher will get attacked by a Nail in the back.  As the door opens, quickly take care of the one in your face (take more than one shot if you have to just to be safe) and then take out the one creeping up on the lady researcher on the table.
|
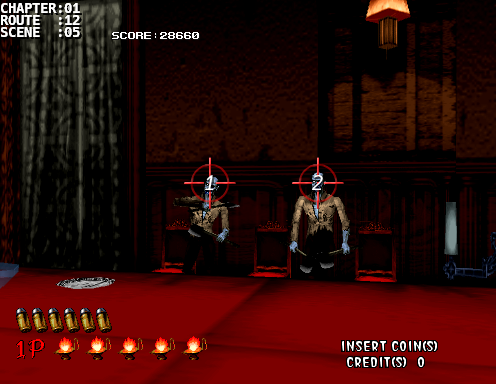 |
Scene: [01:12:05]
Difficulty: B
Number of Creatures: 2
Number of Headshots: 2/2
Scene Score:      400/  400
Running Score:  27300/29060
Bonus:

Notes:
This scene can get hectic just like all the previous times when where there are a pair of Cyril's.  Take out the left one first then the right.  A heed of caution, if you miss the kills then be ready for a hatchet frenzy. Take note of which hand the hatchets will be thrwon from (because they'll be coming in hot) and gun those down before trying at the headshots again.
|
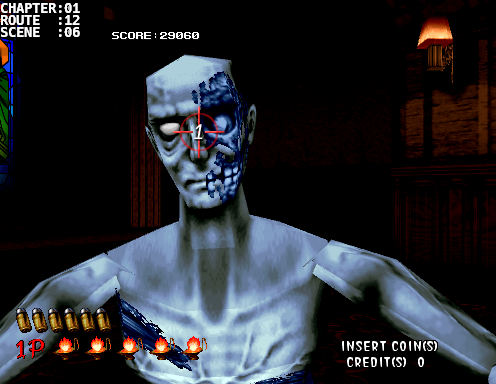 |
Scene: [01:12:06]
Difficulty: C
Number of Creatures: 1
Number of Headshots: 1/1
Scene Score:      200/  200
Running Score:  27500/29260
Bonus:

Notes:
An easy 1 shotter.
|
 Dagger Attack 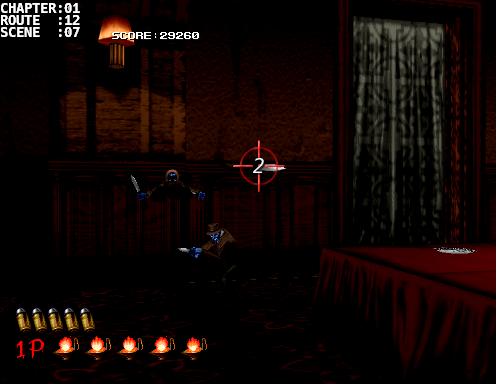 Backflip 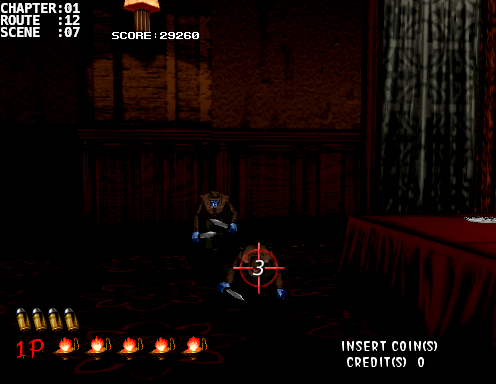 Charge Attack 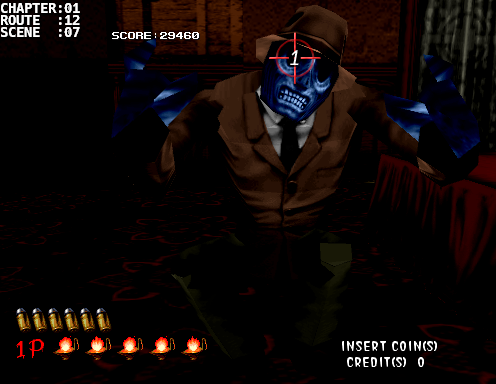 |
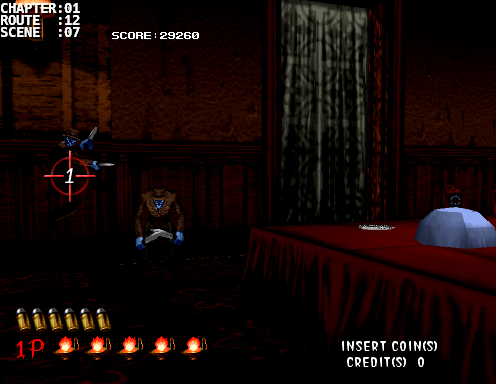
Scene: [01:12:07]
Difficulty: C
Number of Creatures: 2
Number of Headshots: 2/2
Scene Score:      400/  400
Running Score:  27900/29660
Bonus:

Notes:
Shortly after that you'll see 2 Drakes hanging upside down from the ceiling.  These guys are a bit different than Rubin as they will throw daggers at you.  Also, don't shoot their head off until after they land because you won't guarantee yourself the 80 kill points if you take the headshots early and then take too long to kill them off.

As they land they will head left and passed the table.  The one on the left will most likely jump vertically to throw a dagger at you.  Land a single shot on it before it throws the dagger (it doesn't have to be a headshot because a headshot will behead it but not kill it)  This will offset their attack patterns so you don't get bombarded.  The one to the right will then do 1 of 3 things:
- A dagger attack like the left one
- A backflip
- A charge attack (this usually occurs when both daggers have been thrown)

If it does a backflip then aim at its head when it lands for an easy headshot.  If it does a dagger attack then shoot the dagger before it hits you and then go for the headshot or lastly wait until it charges at you and then aim towards the upper portion of the screen for an easy headshot.
|
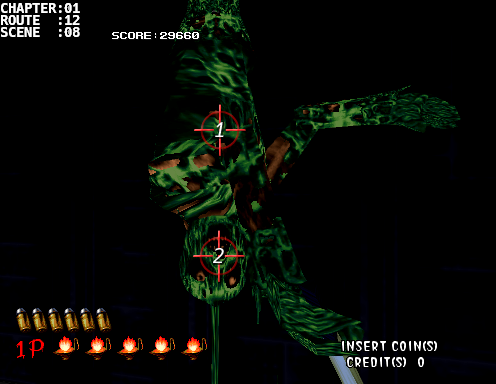 |
Scene: [01:12:08]
Difficulty: C
Number of Creatures: 1
Number of Headshots: 1/1
Scene Score:      200/  200
Running Score:  28100/29860
Bonus:

Notes:
As you enter the door an Ebitan will hang down from the ceiling.  Take one shot to the body or arm to block its initial attack [1] then give it one more shot to the head [2].
|
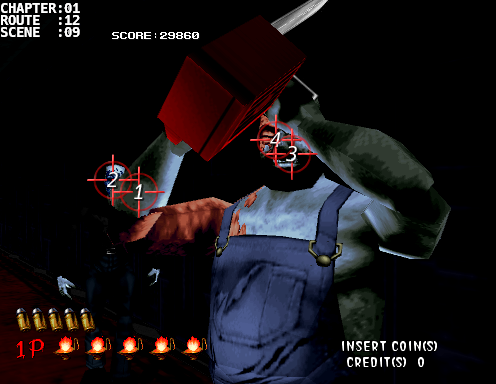 |
Scene: [01:12:09]
Difficulty: C
Number of Creatures: 2
Number of Headshots: 3/3
Scene Score:      520/  520
Running Score:  28620/30380
Bonus:

Notes:
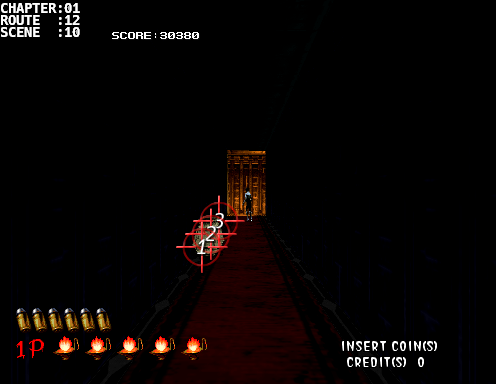
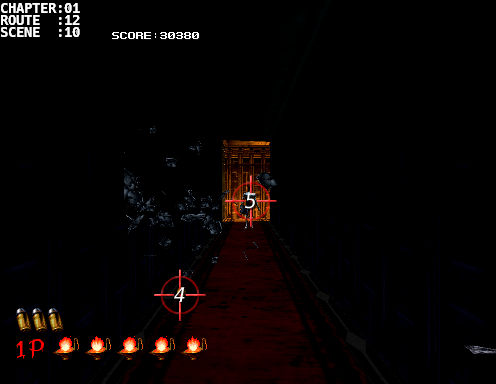
Do an AHH for Samson but after the arm shot [1] and before the two headshots [3][4] take out the Nail towards the back left [2].  Do this strat will give a bit more time for the next scene.
|
  |
Scene: [01:12:10]
Difficulty: C
Number of Creatures: 1
Number of Headshots: 0/0
Scene Score:      280/  280
Running Score:  28900/30660
Bonus:

Notes:
Another one of Dr. Curien's beloved coins is hidden in the jars to the left.  Take three shots to shatter the vases, which will reveal the coin, and one final shot to collect it. Afterwards, take out the creature in the back.  No headshot on this one so aim for its back.
|
 |
Scene: [01:12:11]
Difficulty: C
Number of Creatures: 1
Number of Headshots: 1/1
Scene Score:      900/  900
Running Score:  29800/31560
Bonus: 400 (Researcher) +
       300 (Max Life Bonus)

Notes:
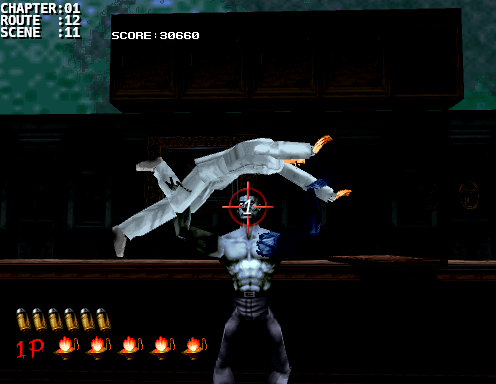
This can be a bit scary if you don't trust your aim or if the guns aren't calibrated well.  Once shot to the face is all you need.  If you're not confident enough then 3 quick shots to the chest will do.  Just don't take your time because you don't want the researcher to be thrown at you and lose the bonus room, a health torch, and -200 damage points.
|
 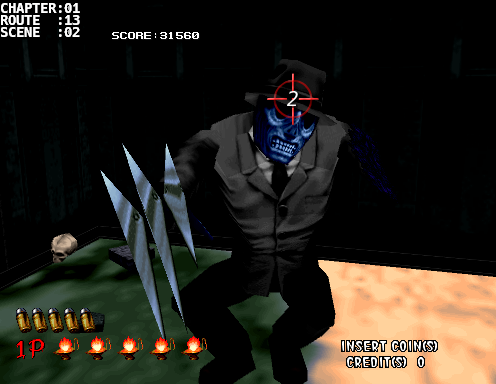 |
Scene: [01:13:02]
Difficulty: C
Number of Creatures: 1
Number of Headshots: 1/1
Scene Score:      200/  200
Running Score:  30000/31760
Bonus:

Notes:
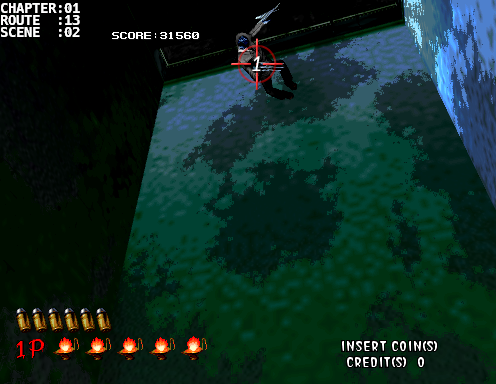
A Rubin will fall from above.  Tag it with one shot and let it land.  Then when it comes charging at you, tag it once more in the face when it leaps at you.
|
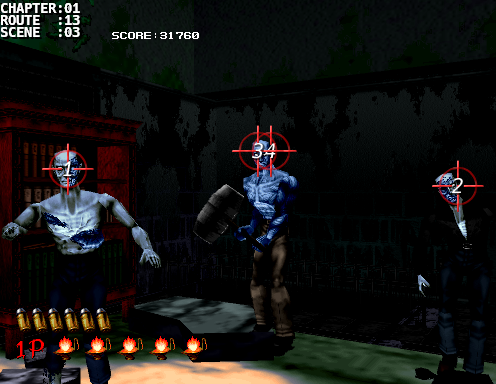 |
Scene: [01:13:03]
Difficulty: C
Number of Creatures: 3
Number of Headshots: 4/4
Scene Score:      720/  720
Running Score:  30720/32480
Bonus:

Notes:
An easy combo.  Left one once, Right one once, Twice down the middle.

Don't rest easy yet as the next part will is very important and goes by really quick.
|
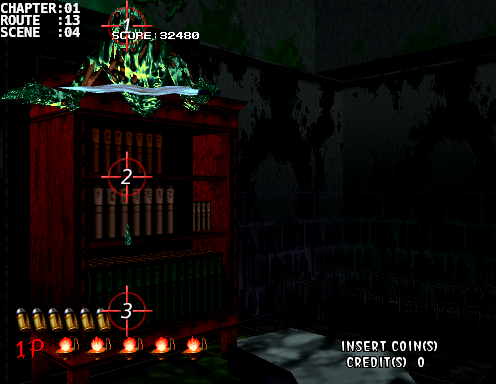 |
Scene: [01:13:04]
Difficulty: C
Number of Creatures: 0
Number of Headshots: 0/3
Scene Score:        0/  360
Running Score:  30720/32840
Bonus:

Notes:
You'll face the bookshelf but pause a bit because of a drop of slime from above.  That's your cue to start shooting.  You can get a total of 3 headshots on this falling Ebitan (no kill points though).  Don't relax yet as the next scene occurs straight away.
|
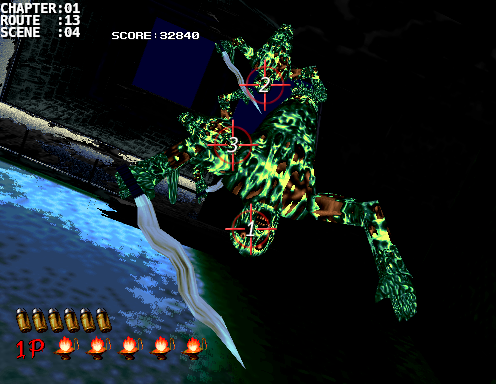 |
Scene: [01:13:04]
Difficulty: C
Number of Creatures: 3
Number of Headshots: 3/3
Scene Score:      840/  840
Running Score:  31560/33680
Bonus: 120 x 2

Notes:
You'll then look up to see 3 Ebitans.  The first 2 are very important [1] and [2].  They only take 1 headshot each but give you an extra headshot bonus for some odd reason.  The 3rd one just gives you a single headshot score though.  So 5 headshot points for the price of 3.  Not too bad.
|
 |
Scene: [01:13:06]
Difficulty: C
Number of Creatures: 3
Number of Headshots: 0/0
Scene Score:      240/  240
Running Score:  31800/33920
Bonus:

Notes:
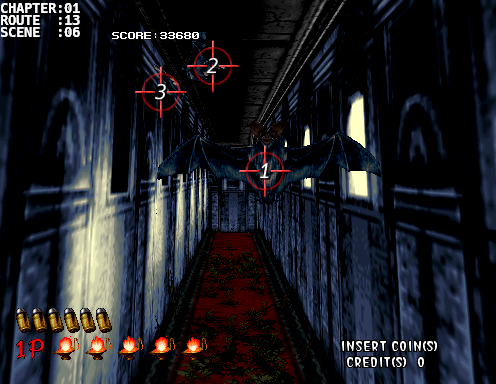
As you kick the bookshelf down, like a boss, 3 bats will rush you. The first bat [1] will come almost immediately while bats [2] and [3] will swoop in a short time after.
|
 |
Scene: [01:13:08]
Difficulty: C
Number of Creatures: 1
Number of Headshots: 1/1
Scene Score:      200/  200
Running Score:  32000/34120
Bonus:

Notes:
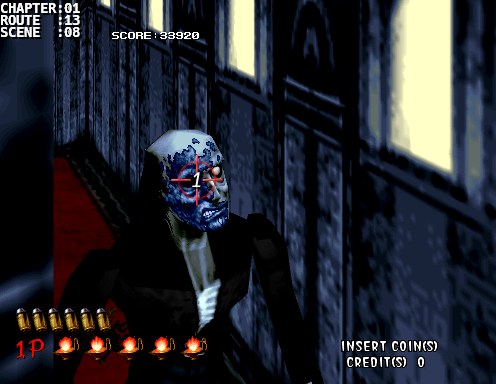
The first turn around the corner will be clear but a Nail will await you around the second turn.
|
 |
Scene: [01:13:09]
Difficulty: C
Number of Creatures: 2
Number of Headshots: 2/2
Scene Score:      400/  400
Running Score:  32400/34520
Bonus:

Notes:
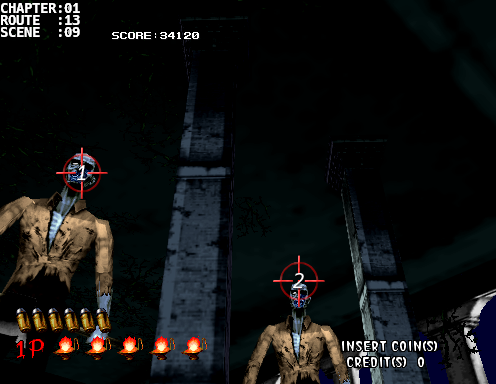
You'll turn the corner once more and then when you reach the top floor you'll look left and a pair of Cyrils will be staring at you.  Aim at [1] before you reach the scene and then adjust your shot for the left one first then the right (one shot each).  Again, if you miss the headshots be ready to shoot off the flying hatchets.
|
 |
Scene: [01:13:10]
Difficulty: A
Number of Creatures: 3
Number of Headshots: 0/0
Scene Score:      240/  240
Running Score:  32640/34760
Bonus:

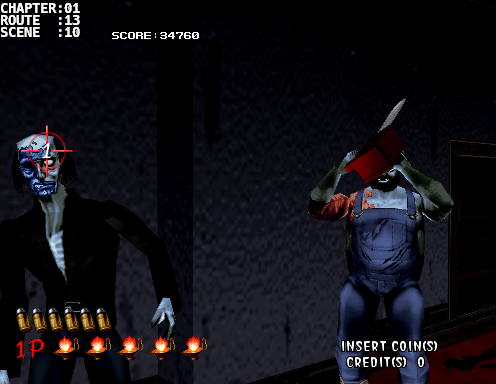
Notes:
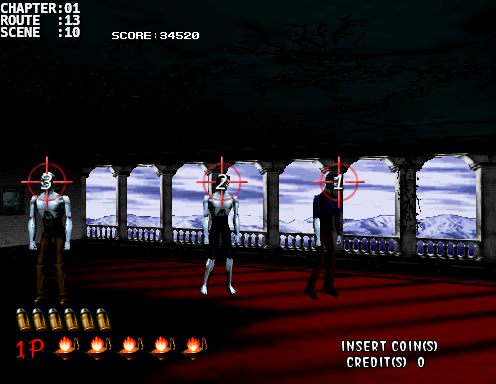
No headshots on this trio of creatures so take them out as soon as possible as the scene goes by fast.  Sometimes they will be standing straight up, other times they'll be a slouched over, and sometimes they'll be walking towards the right.
|
  |
Scene: [01:13:10]
Difficulty: C
Number of Creatures: 2
Number of Headshots: 3/3
Scene Score:      520/  520
Running Score:  33160/35280
Bonus:

Notes:
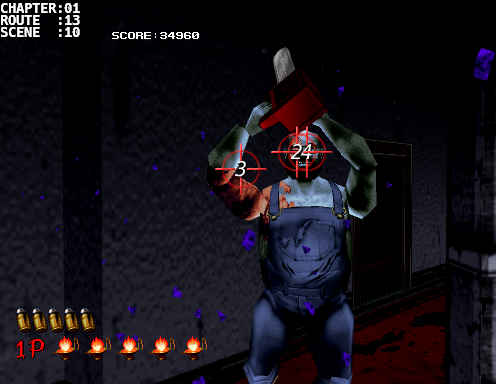
The Nail to the left will appear from off the screen so be ready.  Then once you move over to Samson do a HrAH combo for a couple of easy headshots.
|
 |
Scene: [01:04:01]
Difficulty: C
Number of Creatures: 4
Number of Headshots: 0/0
Scene Score:      320/  320
Running Score:  33480/35600
Bonus:

Notes:
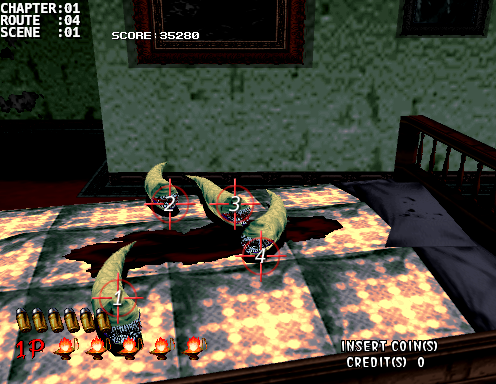
4 shots in any order.
|
 |
Scene: [01:04:02]
Difficulty: C
Number of Creatures: 0
Number of Headshots: 0/0
Scene Score:      700/  700
Running Score:  34180/36300
Bonus: 400 (Researcher) +
       300 (Max Life Bonus)

Notes:
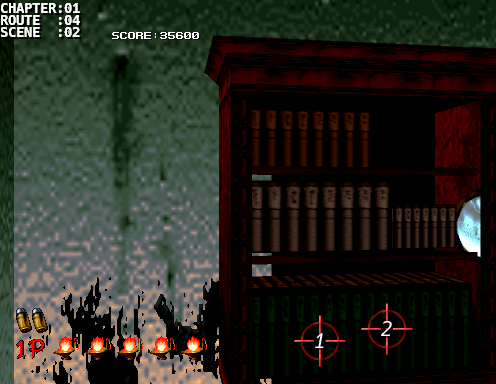
A researcher is hiding behind the bookshelf.  Save her by shooting the bottom of the shelf twice.
|
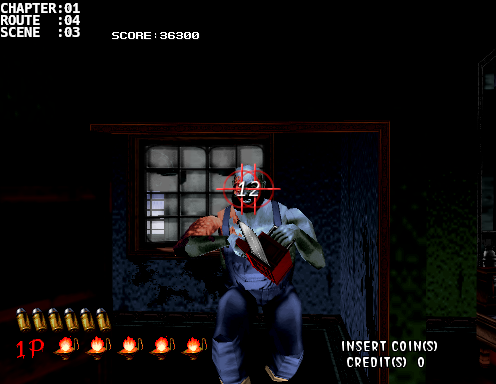 |
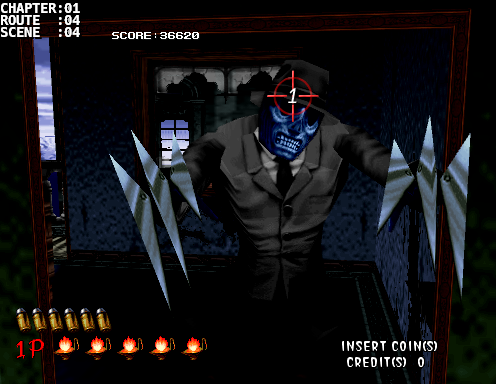
Scene: [01:04:03]
Difficulty: C
Number of Creatures: 1
Number of Headshots: 2/2
Scene Score:      320/  320
Running Score:  34500/36620
Bonus:

Notes:
Take a quick headshot just as the door opens, pause a bit to let it recover, then take another headshot.
|
 |
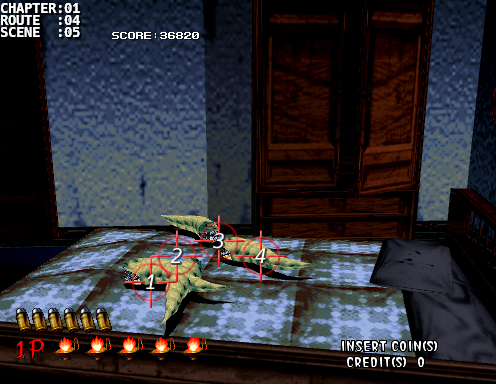
Scene: [01:04:04]
Difficulty: C
Number of Creatures: 1
Number of Headshots: 1/1
Scene Score:      200/  200
Running Score:  34700/36820
Bonus:

Notes:
Wait until the Rubin lands and take the quick headshot or wait until it charges at you and then take the aerial headshot.
|
 |
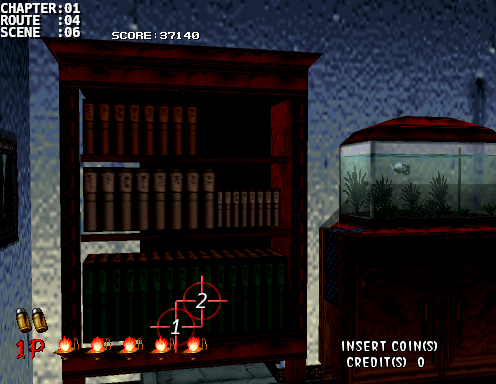
Scene: [01:04:05]
Difficulty: C
Number of Creatures: 4
Number of Headshots: 0/0
Scene Score:      320/  320
Running Score:  35020/37140
Bonus:

Notes:
4 more.
|
 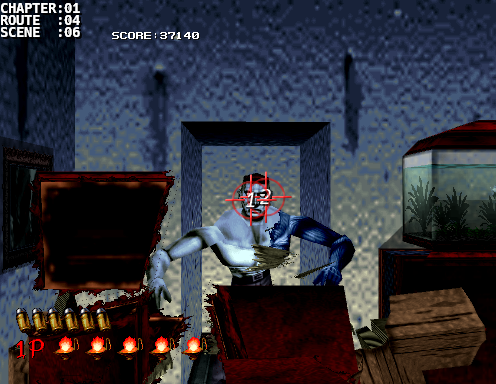 |
Scene: [01:04:06]
Difficulty: C
Number of Creatures: 1
Number of Headshots: 2/2
Scene Score:      320/  320
Running Score:  35340/37460
Bonus:

Notes:
Breaking down the bookshelf will reveal a Simon.  Take two quick headshots, no pause in between. (Come on let's jam.)
|
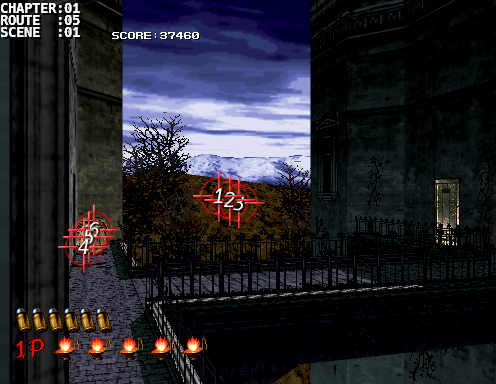 |
Scene: [01:05:01]
Difficulty: A
Number of Creatures: 1
Number of Headshots: 0/0
Scene Score:      280/  280
Running Score:  35620/37740
Bonus:

Notes:
As you leave the bedroom there'll be a creature off in the distance.  You only need 1 shot but I suggest to take at least 3 or more for good measure.  Then quickly shoot down the 2 jars and snag another coin.
|
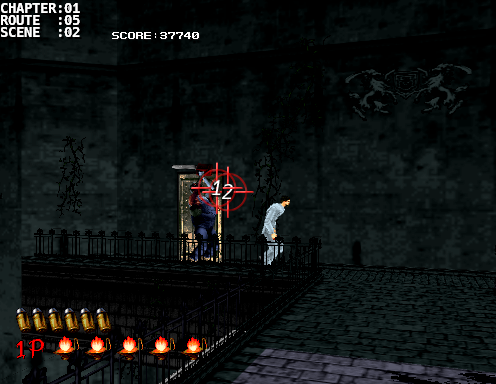 |
Scene: [01:05:02]
Difficulty: B
Number of Creatures: 1
Number of Headshots: 1/1
Scene Score:      600/  600
Running Score:  36220/38340
Bonus: 400 (Researcher)

Notes:
This scene used to give me a lot of trouble but it's actually quite easy.  Don't shoot at Samson.  Instead, wait for it to start walking and shoot a whole round in front of it and let it walk into your shot.  It's a lot easier for it to walk into your path than to chase after it.
|
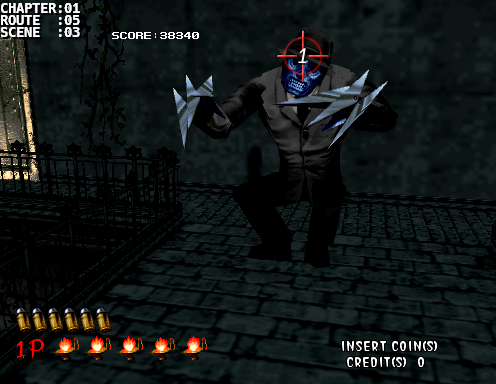 |
Scene: [01:05:03]
Difficulty: C
Number of Creatures: 1
Number of Headshots: 1/1
Scene Score:      200/  200
Running Score:  36420/38540
Bonus:

Notes:
Another Rubin will jump from the under the bridge to the left.  Don't shoot its head off in the air because, again, you aren't guaranteed 80 kill points.  Instead wait for it to land, as usual, and aim at [1] right away.  Most of the time it'll charge and you'll snag the headshot.  Other times it'll just wait on the bridge so just wait until it charges at you and then snag the headshot while its mid-air.
|
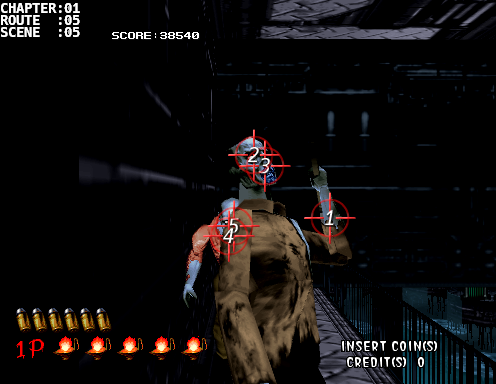 |
Scene: [01:05:05]
Difficulty: B
Number of Creatures: 2
Number of Headshots: 4/4
Scene Score:      640/  640
Running Score:  37060/39180
Bonus:

Notes:
When you enter the door you'll look left and a Cyril will be ready to attack you.  Take note of which arm it's going to attack with and shoot that off and tag it with a couple of headshots.  Then immediately go for the Bentley behind by shooting where Cyril's chest was, don't aim too high.
|
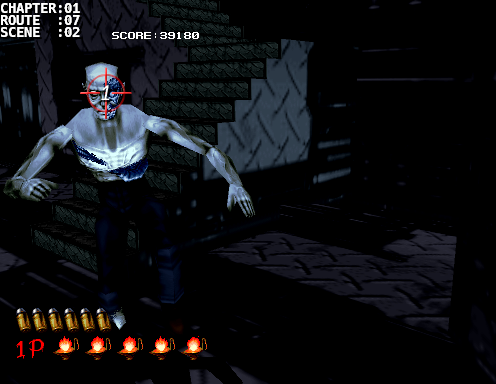 |
Scene: [01:07:02]
Difficulty: C
Number of Creatures: 1
Number of Headshots: 1/1
Scene Score:      200/  200
Running Score:  37260/39380
Bonus:

Notes:
Let the elevator point down so that we can grab more points.

Take one easy shot to take Sam out.
|
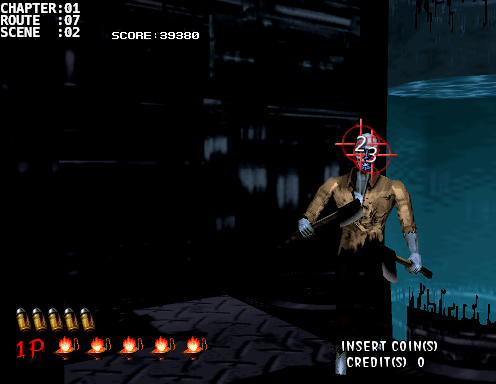 |
Scene: [01:07:02]
Difficulty: C
Number of Creatures: 1
Number of Headshots: 2/2
Scene Score:      320/  320
Running Score:  37580/39700
Bonus:

Notes:
You'll then turn to the right.  Take two more on this Cyril.
|
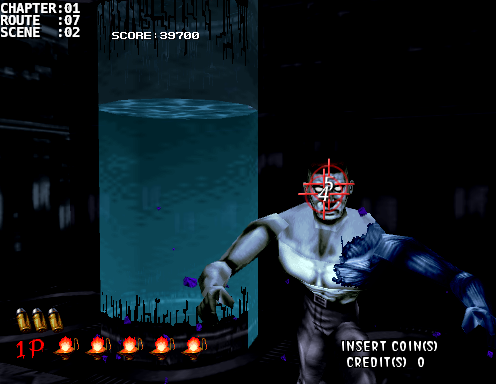 |
Scene: [01:07:02]
Difficulty: C
Number of Creatures: 1
Number of Headshots: 2/2
Scene Score:      320/  320
Running Score:  37900/40020
Bonus:

Notes:
You'll turn to the right once more and then take one shot, pause a bit, then take the second.

If done correctly, you'd be able to handle these 3 scenes without reloading.
|
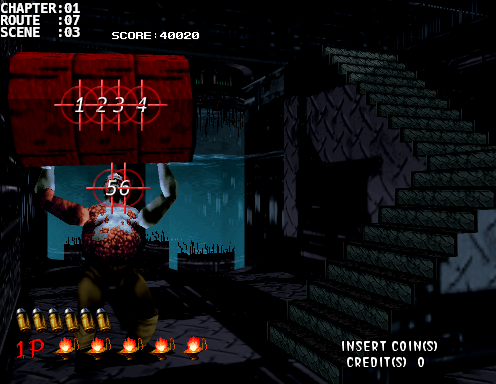 |
Scene: [01:07:03]
Difficulty: B
Number of Creatures: 1
Number of Headshots: 2/2
Scene Score:      320/  320
Running Score:  38220/40340
Bonus:

Notes:
Take 4 quick shots to the oil drum then 2 shots to the face.
|
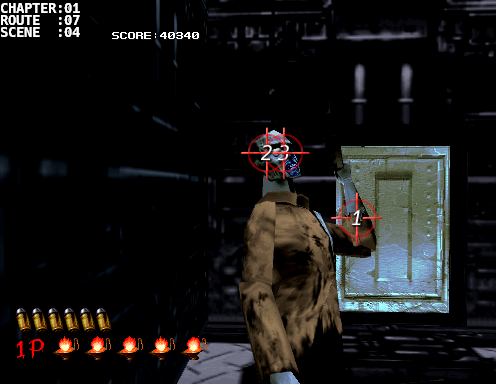 |
Scene: [01:07:04]
Difficulty: C
Number of Creatures: 1
Number of Headshots: 2/2
Scene Score:      320/  320
Running Score:  38540/40660
Bonus:

Notes:
As you walk up the stairs Cyril will try to sneak an attack on you.  Watch the arm as usual and then go for the double headshot.
|
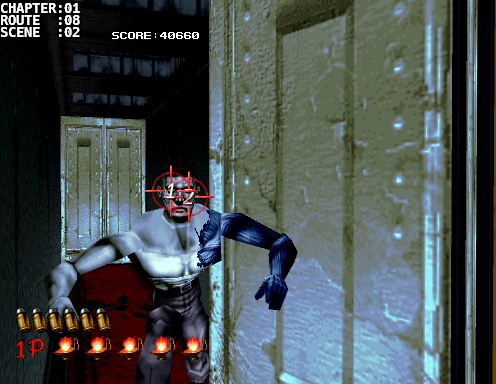 |
Scene: [01:08:02]
Difficulty: C
Number of Creatures: 1
Number of Headshots: 2/2
Scene Score:      320/  320
Running Score:  38860/40980
Bonus:

Notes:
Next you'll enter a door and walk down a narrow hallway.  As you open the door to the right, take a quick shot to stun the Simon then finish it off with another shot.
|
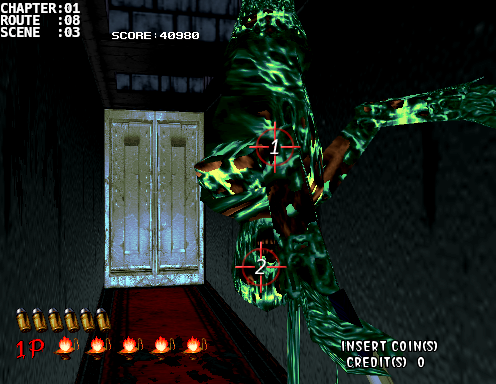 |
Scene: [01:08:03]
Difficulty: C
Number of Creatures: 1
Number of Headshots: 1/1
Scene Score:      200/  200
Running Score:  39060/41180
Bonus:

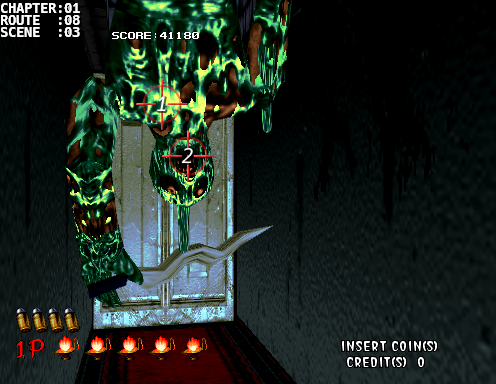
Notes:
An Ebitan will hang down like last time so take one shot to block the attack and then a shot to the head.
|
 |
Scene: [01:08:03]
Difficulty: C
Number of Creatures: 1
Number of Headshots: 1/1
Scene Score:      200/  200
Running Score:  39260/41380
Bonus:

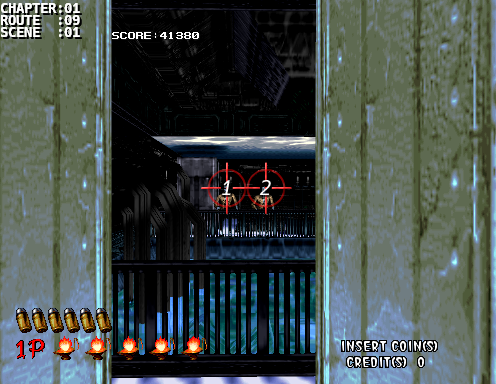
Notes:
Another one will drop down so repeat the same attack.
|
 |
Scene: [01:09:01]
Difficulty: B
Number of Creatures: 2
Number of Headshots: 0/2
Scene Score:      160/  400
Running Score:  39420/41780
Bonus:

Notes:
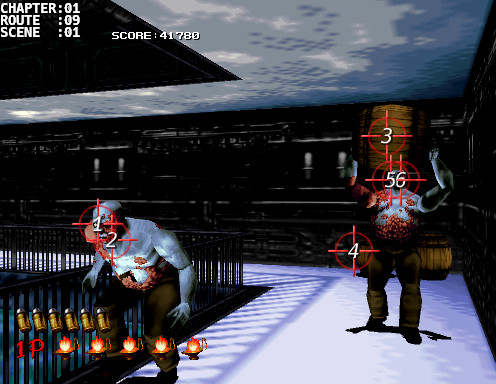
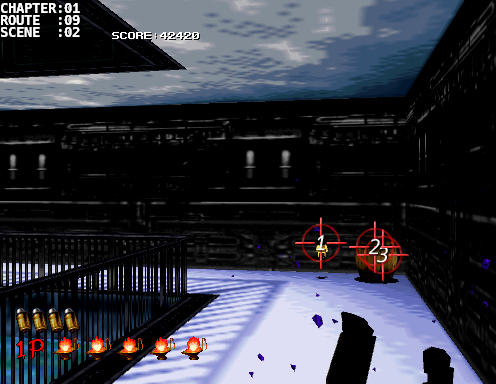
Two Cyrils will be throwing hatchets from behind the rails in the back.  They take one shot each but will walk away if you don't kill them fast enough.
|
  |
Scene: [01:09:01]
Difficulty: B
Number of Creatures: 2
Number of Headshots: 4/4
Scene Score:     1640/ 1640
Running Score:  41060/43420
Bonus:

Notes:
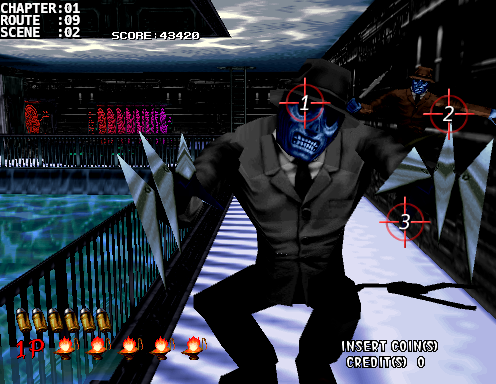
I give this scene a B difficultly because there's a chance that you can miss the gold frog.
Use 2 shots to kill the left Bentley then take one shot at the wooden barrel above the other Bentley [3], then the left wooden barrel behind it [4].  At this point take note whether a gold frog is leaping up and down at [4].  Next take out the Bentley with two shots.


Now if the gold frog is at [1] then shoot at it to pick up 1000 points. If it's not there then it's in the barrel in the corner [2][3] so shoot the barrel to break it and then pick up the gold frog there.
|
 |
Scene: [01:09:02]
Difficulty: C
Number of Creatures: 2
Number of Headshots: 2/2
Scene Score:      400/  400
Running Score:  41460/43820
Bonus:

Notes:
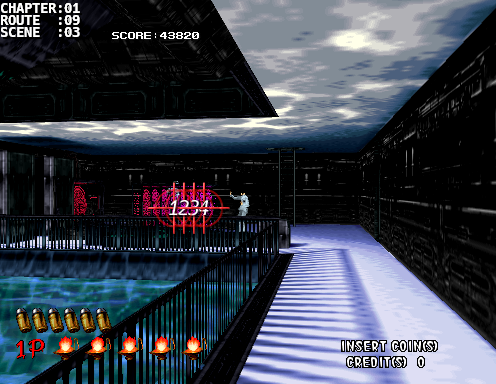
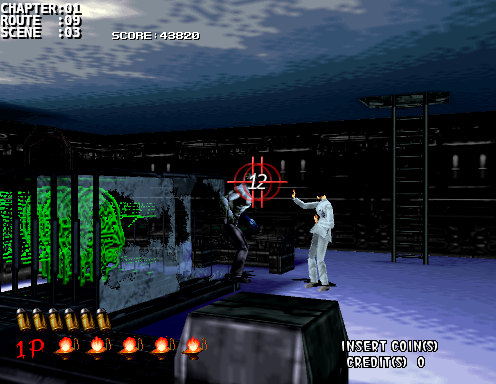
A Drake and a Rubin will jump out of the liquid pool from the left.  The left one (Rubin) will almost always jump right at you so take a headshot while it's mid-air, do note that this headshot won't kill it.  At the same time check to see what the Drake is doing in the back (it's either going to throw a dagger or do a backflip).  If it's throwing a dagger then shoot it down right after the headshot on Rubin.  If it did a backflip then aim at [3] for the headshot.
|
  |
Scene: [01:09:03]
Difficulty: C
Number of Creatures: 1
Number of Headshots: 2/2
Scene Score:      720/  720
Running Score:  42180/44540
Bonus: 400 (Researcher)

Notes:
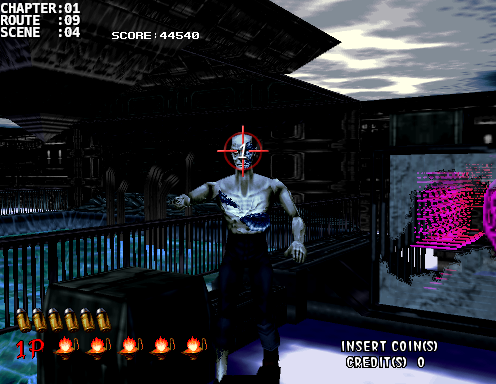
As you're walking towards the researcher shoot the glass screens in order to get a clear shot on the Simon that's making its way to the lady.


Once you get close enough, take two shots to take it down.
|
 |
Scene: [01:09:04]
Difficulty: C
Number of Creatures: 1
Number of Headshots: 1/1
Scene Score:      200/  200
Running Score:  42380/44740
Bonus:

Notes:
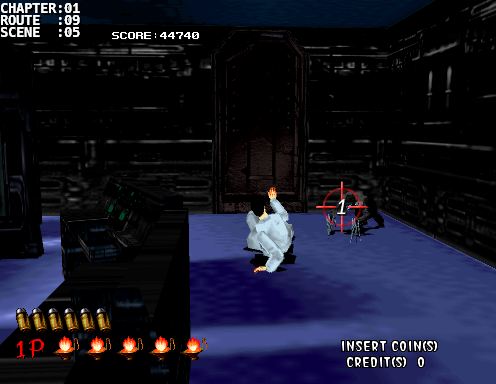
An easy 1 shotter.
|
 |
Scene: [01:09:05]
Difficulty: C
Number of Creatures: 1
Number of Headshots: 0/1
Scene Score:      480/  600
Running Score:  42860/45340
Bonus: 400 (Researcher)

Notes:
It's easy to miss the headshot here so aim at [1] and wait for it to enter your line of sight and take the shot.
|
Phase 1 - Bat Attack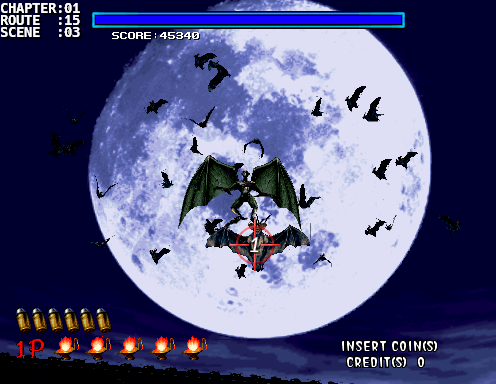 Phase 2 - 1st Attack 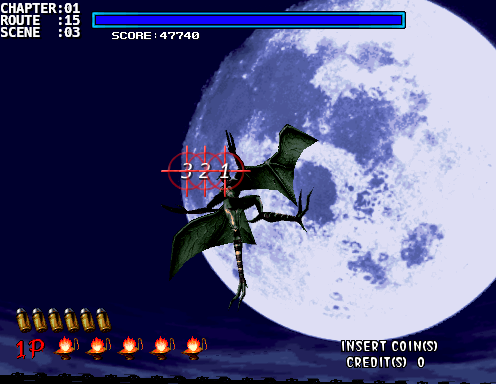 Phase 2 - 2nd Attack 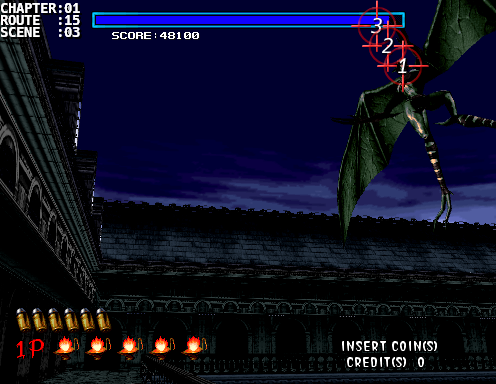 Phase 2 - 3rd Attack 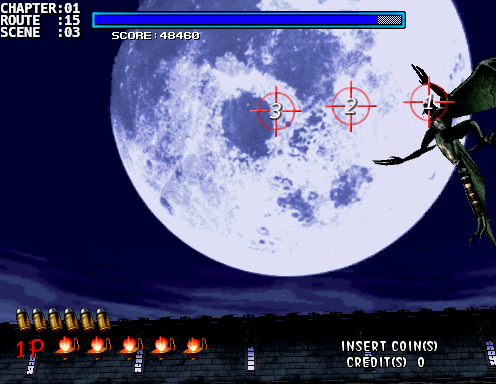 Phase 2 - 4th Attack 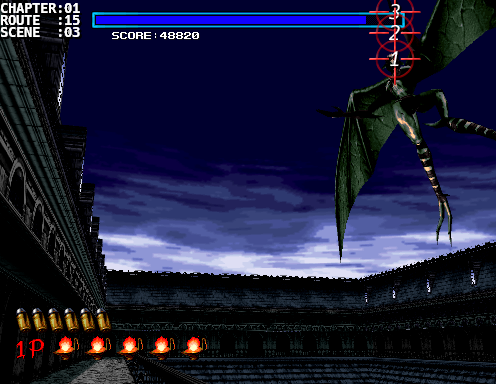 Phase 2 - 5th Attack 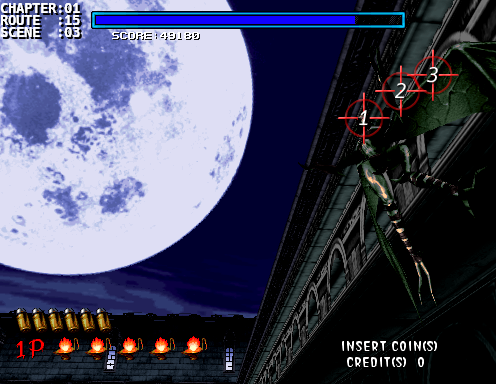 Phase 2 - Repetitive Attack 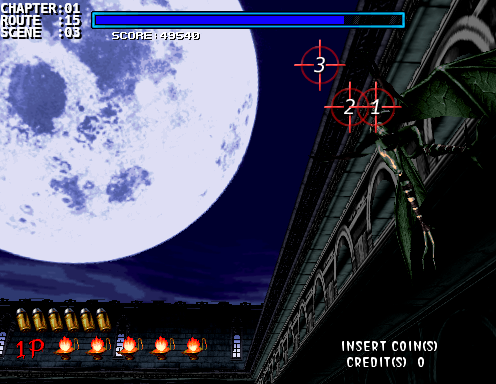 Phase 3 - 1st Attack 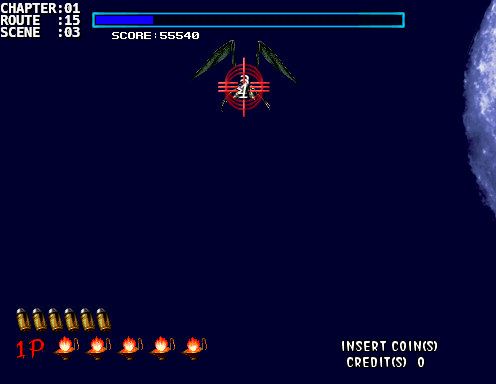 Phase 3 - 2nd Attack 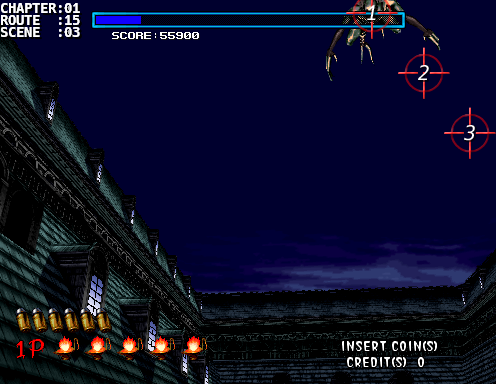 Phase 3 - 3rd Attack 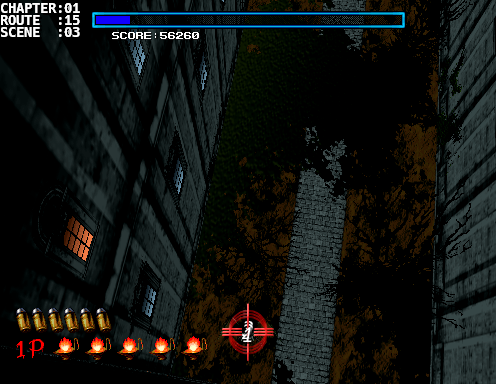 Phase 3 - 4th Attack 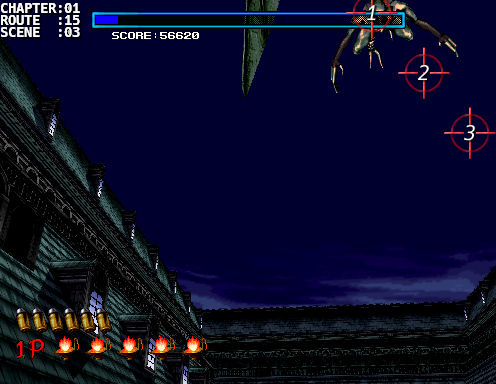 Phase 3 - 5th Attack 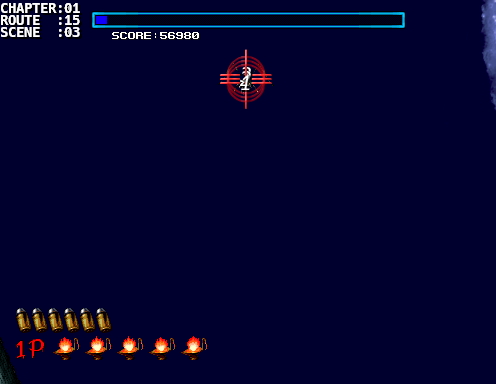 |
Scene: [01:15:03]
Difficulty: A
Number of Creatures: 31
Number of Headshots: 42/80
Scene Score:     8940/13500
Running Score:  51800/58840
Bonus: 1500 (Defeating Hangedman)

Notes:
Overall, Hangedman isn't a hard boss.  It only needs 80 hits to take it down.  The hard part is racking up headshot points to boost your score.  Yes, all headshots to Hangedman "while it's active" counts for headshot points. The bats will also give points so we'll take down all of them to increase our score.

Phase 1 - Bat Attack:

There are 30 bats that come in waves starting with 1 and moving up to 4 then it repeats starting at 1 for a total of 12 waves.  Be on the look out for a bat hiding behind Hangedman's wings.  Sometimes they pop up so late that it can startle you a bit especially during a 4 bat wave.

Some people who trust their aim will try to snipe some headshots on Hangedman during this phase.  If you're confident then, by all means, go for it.  I choose not to as it breaks my rhythm during the fight.

After you defeat all 30 bats, Hangedman will start swoop in and slash at you wiht different attack patterns.  During these attacks it take 3 shots to back it off.  [1] represents the start point of Hangedman's head and [3] is the end point before the attack.  The path inbetween is labelled as [2].  Use up all your shots during each attack to guarantee damage.  Getting 3 headshots consistently is very difficult but try your best without taking any damage.

Phase 2 - 1st Attack:
Move horizontally to the left very slightly.

Phase 2 - 2nd Attack:
Move up and diagonally to the left, finishing your last shot in the health bar.


Phase 2 - 3rd Attack:
This is a wide attack so move horizontally to the left with your last shot towards the middle of the screen.


Phase 2 - 4th Attack:
This one goes vertically up the last shot almost outside of the screen.  Don't wait too long on this one because it head will actually go offscreen.


Phase 2 - 5th Attack:
It stays to the right of the screen this time and moves to up-right very slightly.


Phase 2 - Repetitive Attack:
The remaining attack pattern at this point will be the same for the next 50 shots (16 waves of 3 shots + 1 wave of 2 shots).  Aim in an arc diagonally upwards to the left, make sure your final shot is at [3] to guarantee a headshot.


Phase 3 - 1st Attack:
Fairly easy.  It'll dive down from the top of the scren, you want it to get close so you can get a good shot off but just don't wait too long.


Phase 3 - 2nd Attack:
It'll come in with a full head of steam from the top left.  Again, don't wait too long otherwise its head will be offscreen and you might even take damage.


Phase 3 - 3rd Attack:
Just like the 1st attack except from the bottom.


Phase 3 - 4th Attack:
A repeat of the 2nd attack.


Phase 3 - 5th Attack:
A repeat of the 1st attack.
|
 |
Scene: [01:15:04]
Difficulty:
Number of Creatures:
Number of Headshots:
Scene Score:
Running Score:  51800/58840
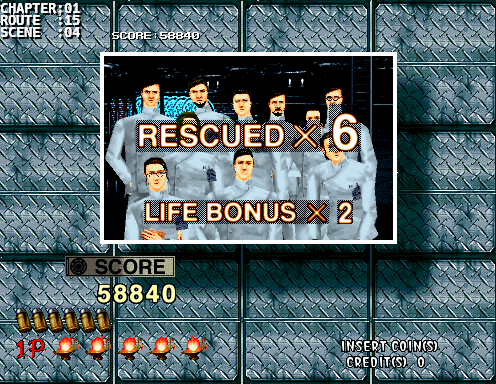
Bonus: LIFE BONUS x 2

Notes:
Breathe.  You made it passed the 2nd chapter.  If you're around 52000 then you're in good shape.  I only scored 54620 during my 110k run, I obviously still need to work on the Hangedman battles because I could have had a much higher top score if I only practiced a bit more.  My highest score was again back in 2003 with a score of 55580 which is 8 headshots more than my 110k run.  But even with a decent score, the Third Chapter will either make it or break it for you.  Off we go.
The Third ChapterTruth |
Stage Gallery
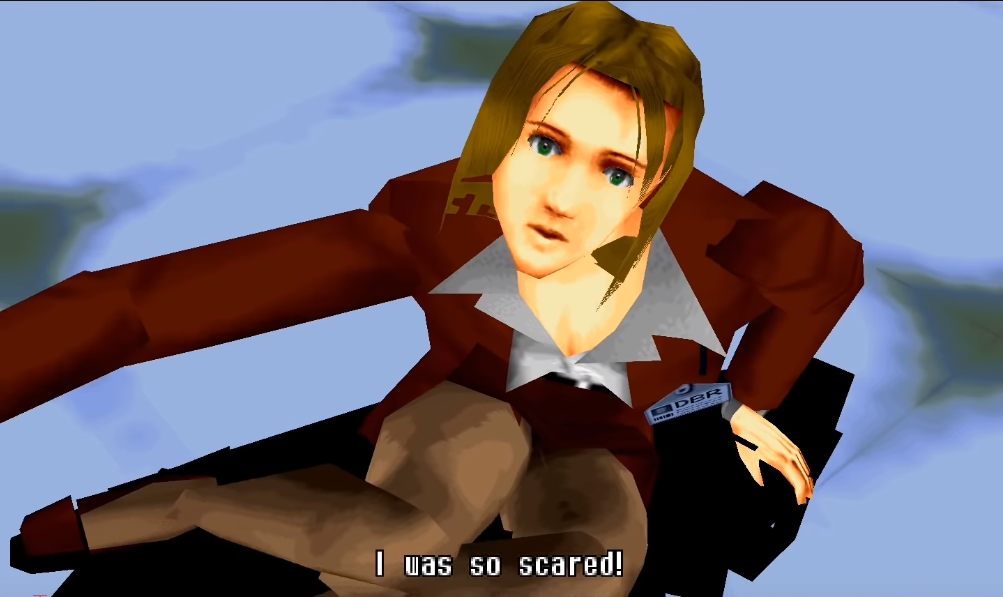
“Others are still inside. Help them.“
The first stage depicts everything from the agents arriving towards the mansion to the tragic reunion with Sophie, which is the highlight of the tragedy. It’s a deep area where there are a lot of branch routes and it is not possible to grasp the whole scene by playing once or twice.
Creatures

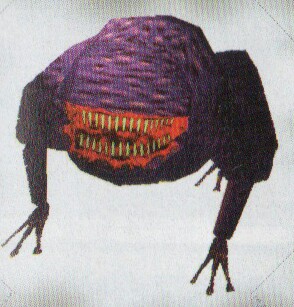


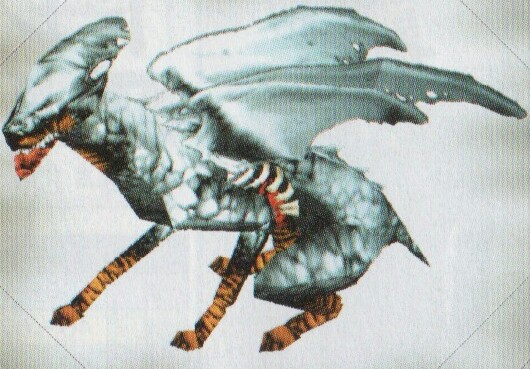
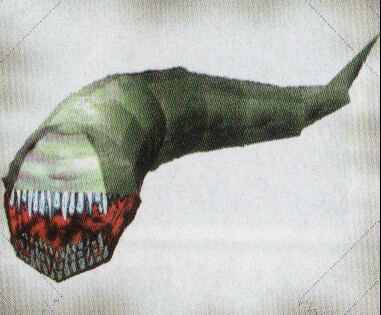

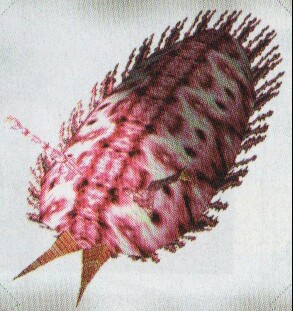


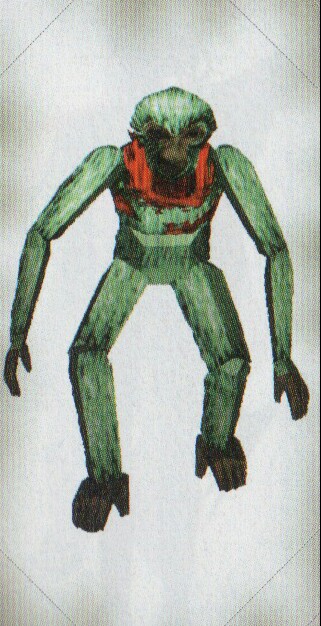
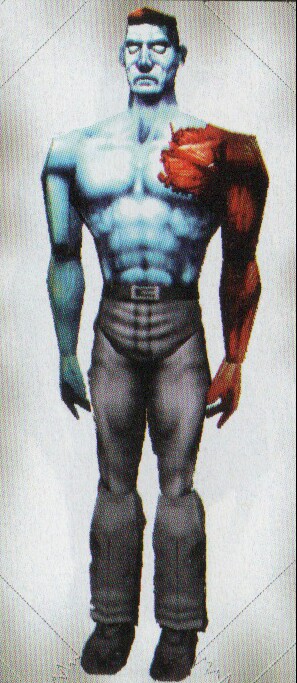
Boss: Chariot type 27
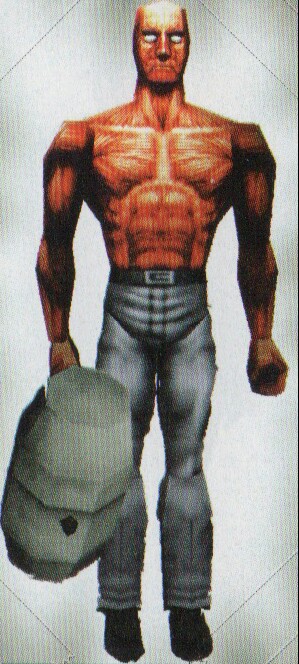
HP: 480 Weakness: Chest
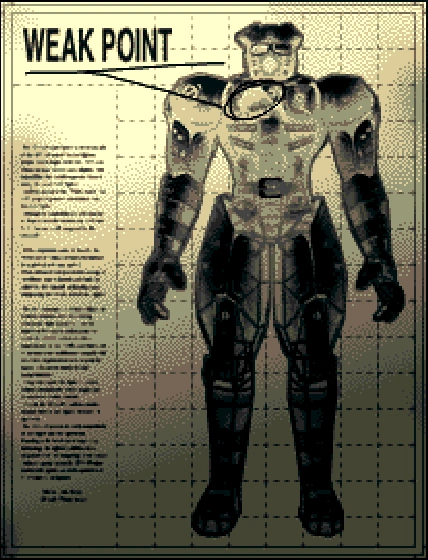
Originally designed to act as Dr. Curien’s personal bodyguard, the creature know as Chariot is an unstoppable powerhouse. Chemically treated skin has been enhanced with high tensile steel, acting as an impenetrable armored shell. Chariot’s speed and strength are devastating when combined with his razor-sharp battle staff. It’s weak point is the damaged part of the armor on the right chest, which seems to have been the result of a fierce death battle by a previously infiltrated agent.
High Score Guide
| Introduction | The First Chapter Tragedy |
The Second Chapter Revenge |
The Third Chapter Truth |
The Final Chapter The house of the dead |
Alternate High Scoring Paths |
Special Thanks |
|---|---|---|---|---|---|---|
| AIM | DESCRIPTION | |||||
 |
Scene: [00:00:02]
Difficulty: C
Number of Creatures: 1
Number of Headshots: 1/1
Scene Score:      200/  200
Running Score:  00200/00200
Bonus:

Notes:
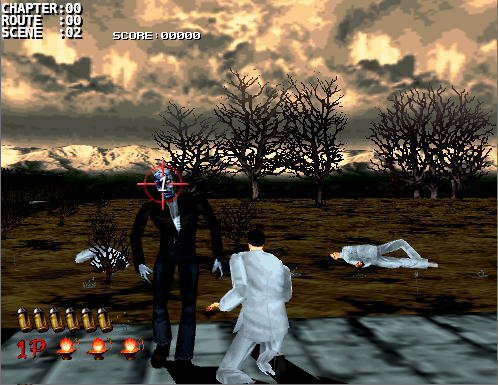
Your first headshot.  If you can't get this one consistently then you'll need to work on your aim as it'll only get tougher from here on out.
|
 |
Scene: [00:00:03]
Difficulty: C
Number of Creatures: 1
Number of Headshots: 2/2
Scene Score:      320/  320
Running Score:  00520/00520
Bonus:

Notes:
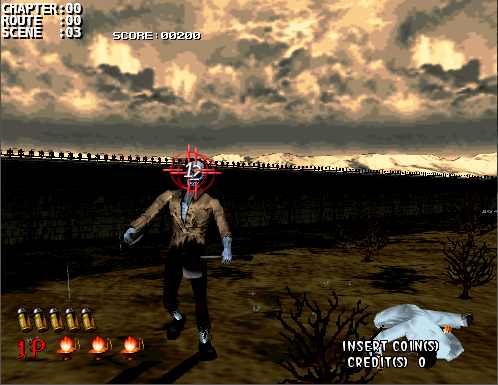
Some creatures take more than one headshot.  Cyril usually takes two to take it down.
|
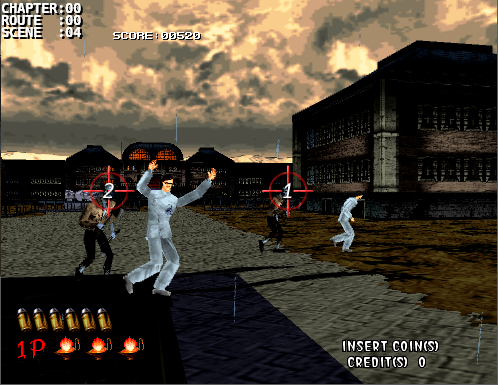 |
Scene: [00:00:04]
Difficulty: A
Number of Creatures: 2
Number of Headshots: 1/2
Scene Score:     1080/ 1200
Running Score:  01600/01720
Bonus: 400 x 2 (Researchers)

Notes:
Time to save those researchers.  This scene goes by really fast and getting those headshots takes precise timing and aim.  I typically shoot down the right one first and then the left but I've seen it done the other way as well.  Getting at least 1 headshot here is preferred.  An alternate strategy exists if the left reseacher is attacked which will be discussed at the end.
|
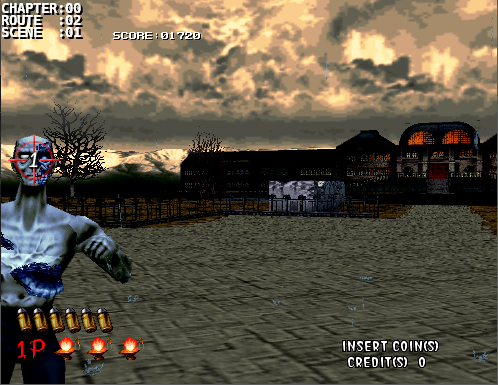 |
Scene: [00:02:01]
Difficulty: C
Number of Creatures: 1
Number of Headshots: 1/1
Scene Score:      200/  200
Running Score:  01800/01920
Bonus:

Notes:
Aim towards the left of the side of the screen, just a bit off from the edge.
|
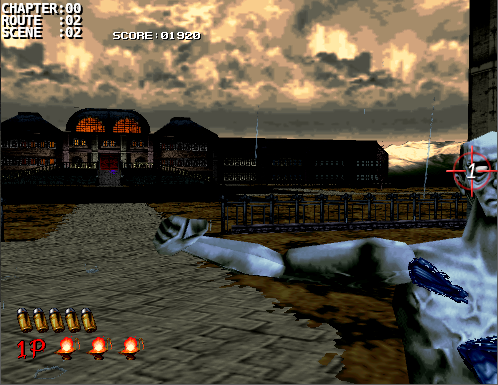 |
Scene: [00:02:02]
Difficulty: C
Number of Creatures: 1
Number of Headshots: 1/1
Scene Score:      200/  200
Running Score:  02000/02120
Bonus:

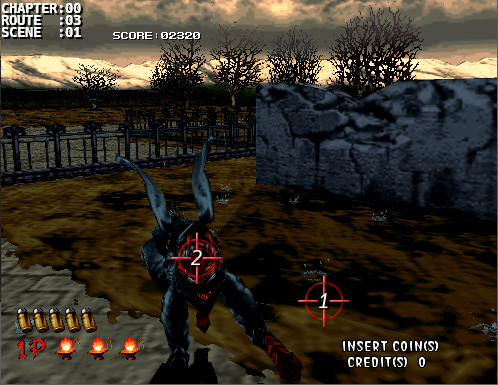
Notes:
This one comes from the very edge of the right of the screen.
|
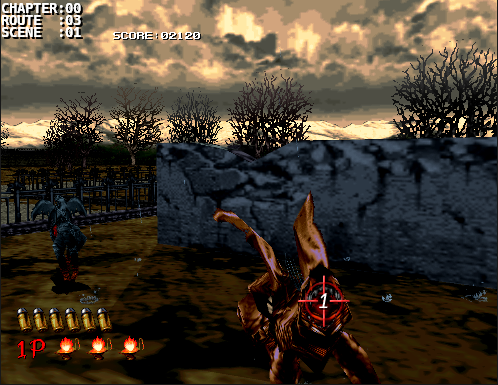  |
Scene: [00:03:01]
Difficulty: C
Number of Creatures: 2
Number of Headshots: 2/2
Scene Score:      400/  400
Running Score:  02400/02520
Bonus:

Notes:
The strat for this one is to let them run around until they decide to rush at you.  The red one will come at you first so shoot it in the mouth when it lunges at you.  The camera will then pan to the blue one.  Wait until it's done staggering and shoot that one in the mouth too.
|
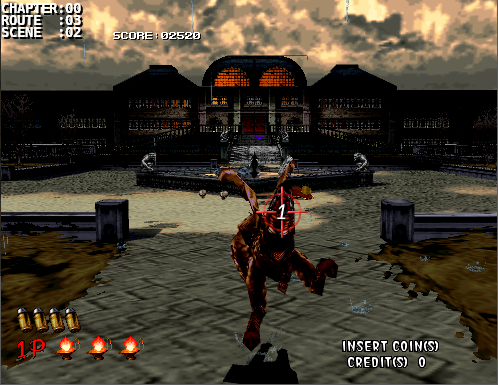 |
Scene: [00:03:02]
Difficulty: C
Number of Creatures: 1
Number of Headshots: 1/1
Scene Score:      200/  200
Running Score:  02600/02720
Bonus:

Notes:
Same idea as the last scene but it lunges at you almost immediately.  The aim for this is just slightly to the right of center.  If you shoot dead center then you'll most likely miss the headshot.
|
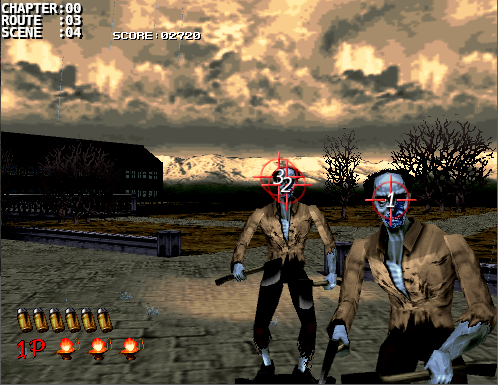 |
Scene: [00:03:04]
Difficulty: C
Number of Creatures: 2
Number of Headshots: 3/3
Scene Score:      520/  520
Running Score:  03120/03240
Bonus:

Notes:
After being horrified seeing Hangedman swoop down and taking Sophie away, the camera will pan to the right and 2 Cyrils will appear with the right one attacking first and quickly. A single shot will take it down while you'll need two for the next one.
|
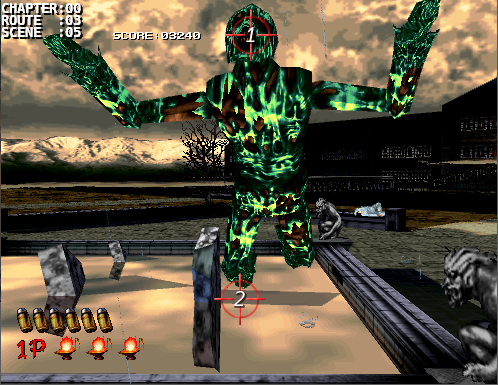 |
Scene: [00:03:05]
Difficulty: C
Number of Creatures: 1
Number of Headshots: 1/1
Scene Score:      200/  200
Running Score:  03320/03440
Bonus:

Notes:
An Ebitan will jump scare you from the fountain.  You can show off by tagging it while it's mid-air and watch it do a 720 face first back into the fountain [1] otherwise you can let it land and take your shot there [2].
|
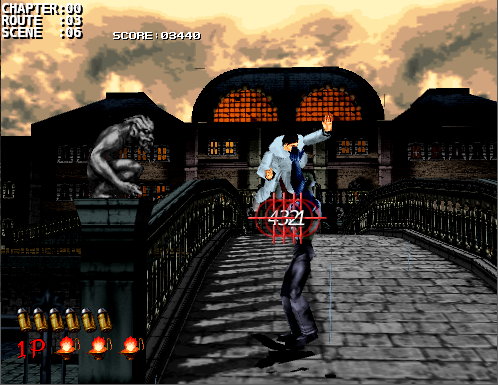 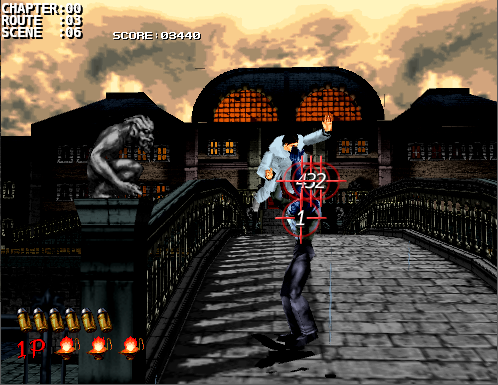 |
Scene: [00:03:06]
Difficulty: B / S
Number of Creatures: 1
Number of Headshots: 0/1
Scene Score:      480/  600
Running Score:  03800/04040
Bonus: 400 (Researcher)

Notes:
This part can be quite difficult if you don't know the correct approach.  In addition to that, it'll be much harder to reach 100K if you allow the researcher to be thrown off of the bridge as you will take a route with less scoring potential not to mention that you no longer have access to the bonus room at the end.

Easy approach:
4 shots to the chest. Simple.  Do not shoot at the arms because it will not reduce its HP fast enough and the researcher will get tossed over.


Headshot approach:
While it is possible to get 2 headshots, there is only about a 15-20 frame window with high precise shots and to do it in realtime is most nearly impossible as you run the risk of either shooting the researcher or not getting enough shots off to kill the creature.  The best approach is to shoot the chest once to reduce its HP then when takes a step forward with its left leg its head will then be visible behind its arms for a slight moment.  During this time you have a chance for three quick shots for the head.  If you don't manage to get the headshot then use the last two bullets to finish it off in the chest.
|
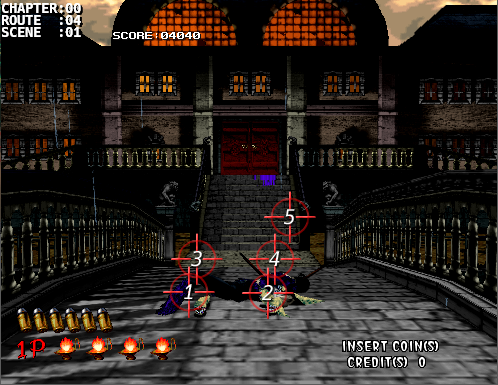 |
Scene: [00:04:01]
Difficulty: C
Number of Creatures: 5
Number of Headshots: 0/0
Scene Score:      400/  400
Running Score:  04200/04440
Bonus:

Notes:
Fairly simple, 5 creatures 5 bullets.  The first 4 murrers come in pairs with a bit of a pause between their attacks so don't try to shoot them all right away.  The last straggler will then come out alone to join the fun only rest in peace with its fellow companions.  No headshot bonus for these creatures.
|
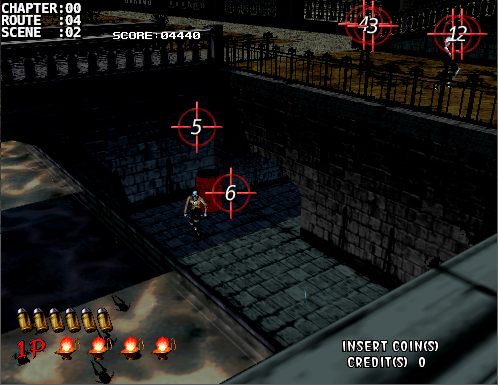 |
Scene: [00:04:02]
Difficulty: B
Number of Creatures: 3
Number of Headshots: 1/3
Scene Score:      360/  600
Running Score:  04560/05040
Bonus:

Notes:
You can also get headshot bonuses for creatures in the background.  Use 2 bullets each to attempt the headshots on the creatures above.  The camera will then pan a bit to the left to focus on the one at the bottom.  There will most likely be a hatchet flying at you at this point so shoot that down right away [5] and use your last bullet to get the single headshot.
|
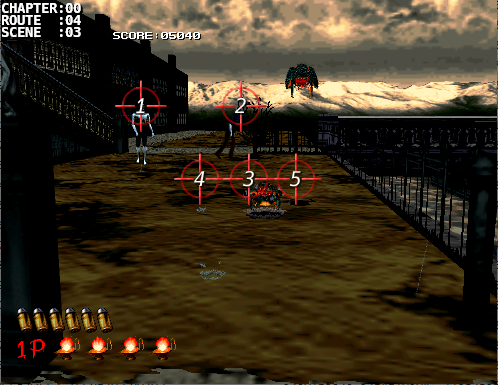 |
Scene: [00:04:03]
Difficulty: B
Number of Creatures: 5
Number of Headshots: 0/2
Scene Score:      400/  640
Running Score:  04960/05680
Bonus:

Notes:
Take your time to aim at the 2 creatures in the background.  Shortly after, the frogs will start to attack.  Middle, left then right.
|
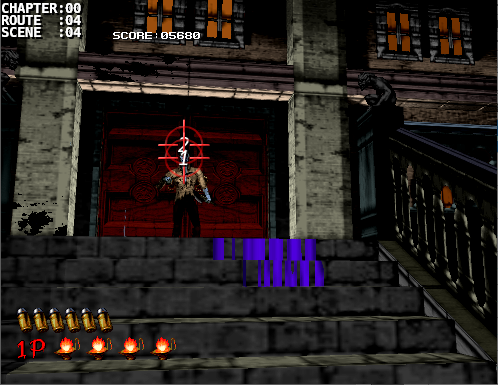 |
Scene: [00:04:04]
Difficulty: C
Number of Creatures: 1
Number of Headshots: 2/2
Scene Score:      320/  320
Running Score:  05280/06000
Bonus:

Notes:
This Cyril takes two shots.  I like to tag him while running up the stairs to save a bit of time.
|
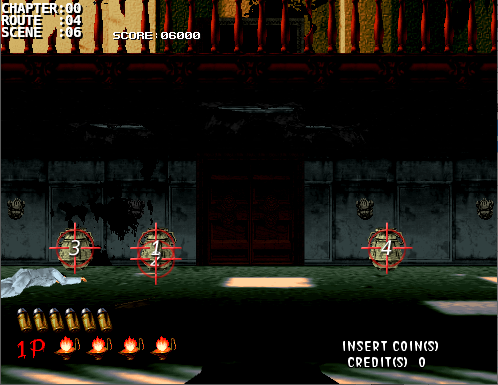 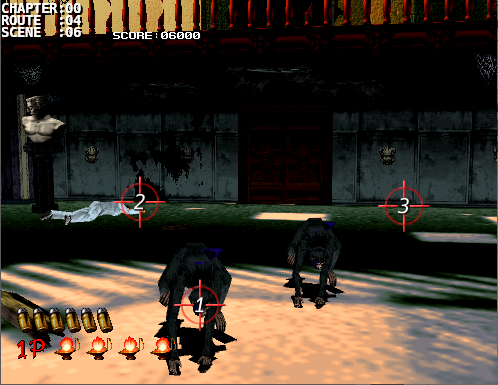 |
Scene: [00:04:06]
Difficulty: C
Number of Creatures: 1
Number of Headshots: 1/1
Scene Score:      400/  400
Running Score:  05680/06400
Bonus:

Notes:
Congratulations! You managed to infiltrate Curien's Mansion, time to start destroying stuff.

When you first enter you'll see 3 vases? pots? most likely expensive ones?  Curien hid a coin in one of them.  Try shooting the middle one first to see if it's there, if it is then grab the coin by shooting at it.  If it's not there then focus on destroying the other two and take note of which one it's in.

The camera will now pan up to the ceiling as there are 2 dark-haired Saruzou's on the chandelier.  They'll fall down as the chandelier shatters in front of you and rush you.  Shoot the left one as it gets closer to you, this will take you through the lower double door path.  Don't get distracted by the other one running away because you can't kill it, instead, use this time to grab the coin if you didn't get it earlier.
|
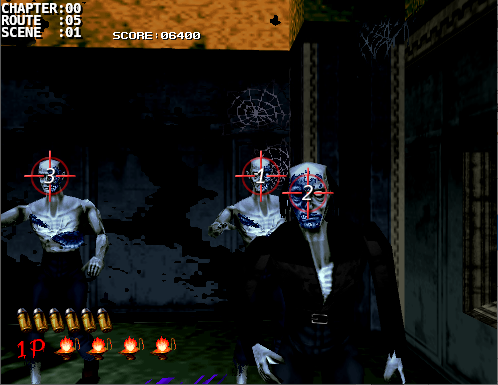 |
Scene: [00:05:01]
Difficulty: C
Number of Creatures: 3
Number of Headshots: 3/3
Scene Score:      600/  600
Running Score:  06280/07000
Bonus:

Notes:
3 simple headshots. I usually go for the back one first as the hitbox timing for this scene is weird.  There are times when you'll shoot the front right one first but it won't connect unless you wait a bit for the camera to stop.
|
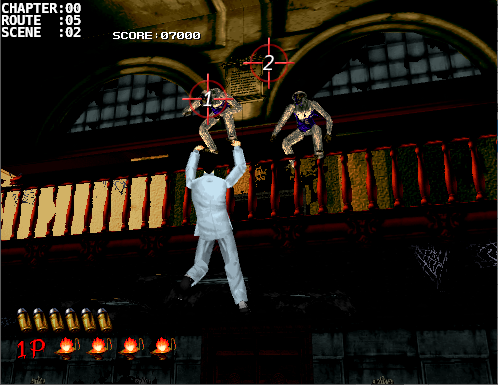 |
Scene: [00:05:02]
Difficulty: C
Number of Creatures: 2
Number of Headshots: 2/2
Scene Score:      800/  800
Running Score:  07080/07800
Bonus: 400 (Researcher)

Notes:
If you're playing as G then unfortunately this researcher will not give you bonus points for saving him (one of many scoring glitches in the game).  In any case, go ahead an save him by tagging the left light-haired Saruzou.  You can either tag the right one in the head mid-flight (if you're confident) or wait until it lands.  In either case you'll be aiming in the same place [2]
|
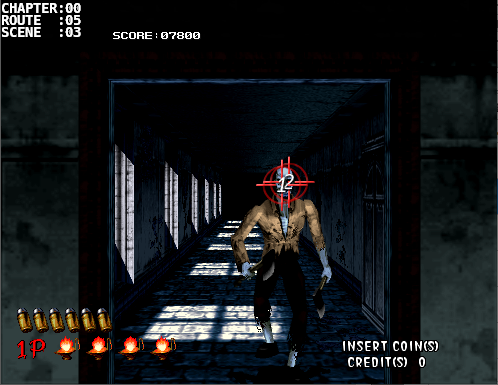 |
Scene: [00:05:03]
Difficulty: C
Number of Creatures: 1
Number of Headshots: 2/2
Scene Score:      320/  320
Running Score:  07400/08120
Bonus:

Notes:
As it starts to break through the door, aim above the hole and tag it twice as soon as it kicks the door down.
|
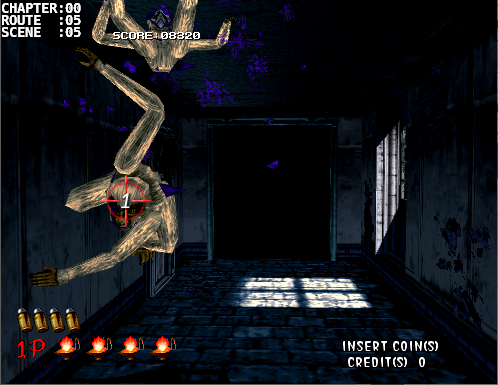 |
Scene: [00:05:05]
Difficulty: B
Number of Creatures: 2
Number of Headshots: 2/2
Scene Score:      400/  400
Running Score:  07800/08520
Bonus:

Notes:
As you rush in you'll notice that there's a hole in the floor.  There are a few rats that you can shoot if you want, no points though.  You'll then turn around and 2 Saruzou will come crashing in from the window to the right.  The best way to deal with a pair of creatures with random attack patterns like these is to shoot one once and allow the other to continue their movement so that their attacks are offset a bit and they won't attack you simultaneously from opposite directions.  You'll notice that I take this approach a lot in the later stages.  So shoot one just after it lands and take your best aim at their head as they jump around.  1 shot will back them off so take it one shot at a time to maximize your chances at a headshot.
|
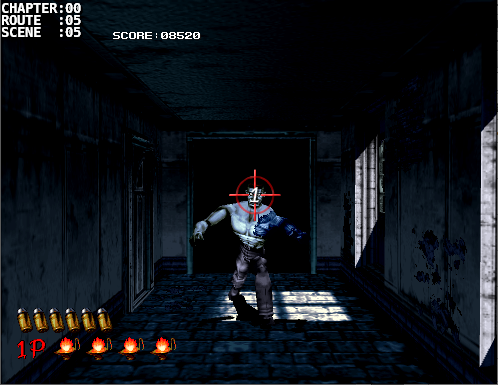 |
Scene: [00:05:05]
Difficulty: C
Number of Creatures: 1
Number of Headshots: 1/1
Scene Score:       20/   20
Running Score:  07820/08540
Bonus:

Notes:
This is the only scene where you'll take intentional damage.  You'll lose a life and 100 points but you'll access a route with the highest scoring potential.  But before you allow it to attack you, take one shot at its head to get an easy 120 points, just make sure you don't kill it.
|
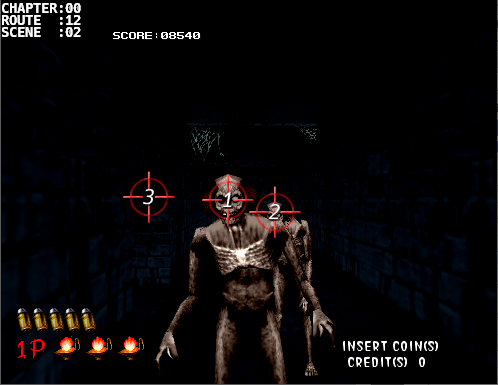 |
Scene: [00:12:02]
Difficulty: C
Number of Creatures: 3
Number of Headshots: 3/3
Scene Score:      600/  600
Running Score:  08420/09140
Bonus:

Notes:
Simple one-shotters.  After you take down the first two another one will emerge from the opening to the left.
|
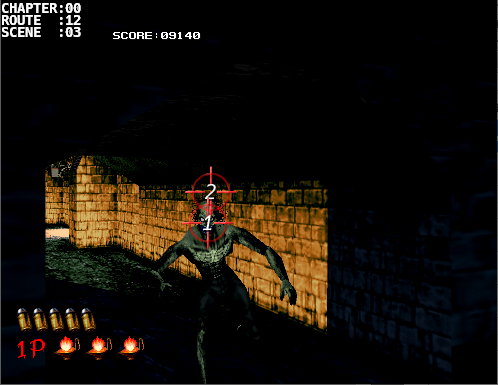 |
Scene: [00:12:03]
Difficulty: B
Number of Creatures: 1
Number of Headshots: 2/2
Scene Score:      320/  320
Running Score:  08740/09460
Bonus:

Notes:
This guy (Bourbon) can cause problems if you don't kill him fast enough.  It takes two headshots but unfortunately it will also go down if you tag it once in the head and then again anywhere else in the upper extremities thus missing an easy 120 points.
|
 |
Scene: [00:12:04]
Difficulty: C
Number of Creatures: 2
Number of Headshots: 0/0
Scene Score:      160/  160
Running Score:  08900/09620
Bonus:

Notes:
Nothing fancy.  Just two little stragglers.
|
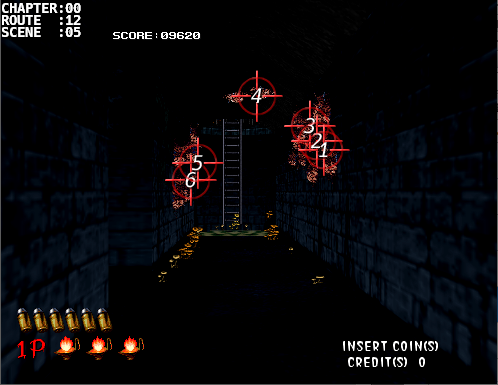 |
Scene: [00:12:05]
Difficulty: B
Number of Creatures: 6
Number of Headshots: 0/0
Scene Score:      480/  480
Running Score:  09380/10100
Bonus:

Notes:
6 creatures, 6 shots.  Left to Right or Right to Left.  Just remember that there are 3 on the right and 2 on the left.
|
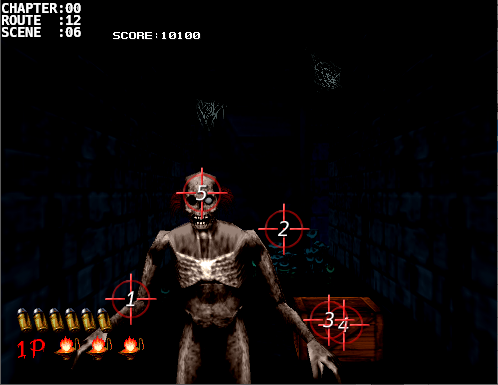 |
Scene: [00:12:06]
Difficulty: C
Number of Creatures: 1
Number of Headshots: 1/1
Scene Score:      200/  200
Running Score:  09580/10300
Bonus: Life Up

Notes:
There's a life up in the crate to the right but there's a Kageo that wants to attack you.  There are times when it'll attack with a right hand slash (your left) or a double axe handle.  My methodical approach is to:
1) Shoot off the Kageo's right arm as soon as your enter the scene.
2a) If it tries to attack with a right hand slash it won't connect because it's arm is gone.
2b) If it tries to double axe handle you then shoot off the left arm and the attack won't connect.
3) While the Kageo just stands there idling use this time to shoot the create and pick up the life up hidden within it.
4) Finish it off with a headshot.
If you're the type that just likes to rush through the scene then take the headshot first then empty your clip at the crate to pick up the life up before the camera moves on.
|
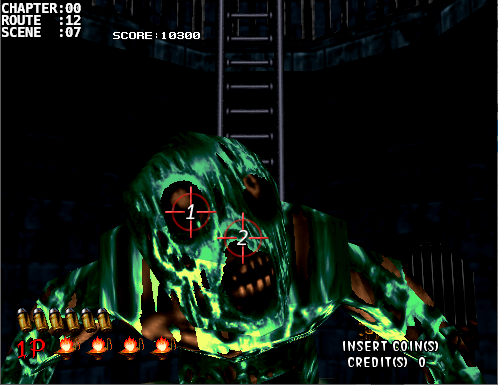 |
Scene: [00:12:07]
Difficulty: C
Number of Creatures: 1
Number of Headshots: 2/2
Scene Score:      320/  320
Running Score:  09900/10620
Bonus:

Notes:
Another Ebitan will try to jump scare you from the murky waters.  Let it land and tag it with 2 headshots.
|
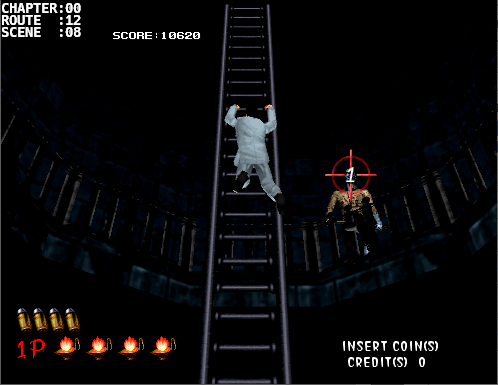 |
Scene: [00:12:08]
Difficulty: C
Number of Creatures: 1
Number of Headshots: 1/1
Scene Score:      600/  600
Running Score:  10500/11220
Bonus: 400 (Researcher)

Notes:
The camera will pan up and you'll see a researcher climbing up the ladder but more importantly there'll be a Cyril to the right of him that'll throw a hatchet at you if you're not quick enough.  One shot to the head will send it over the railing.  If you miss though you run the risk of trying to shoot down the hatchet while it flies inline between you and the researcher.
|
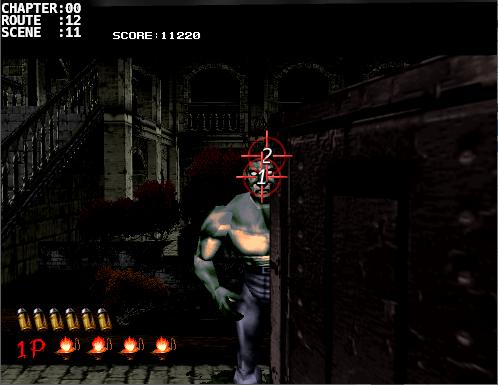 |
Scene: [00:12:11]
Difficulty: C
Number of Creatures: 1
Number of Headshots: 2/2
Scene Score:      320/  320
Running Score:  10820/11540
Bonus:

Notes:
After the cutscene climbing up the ladder, a steel door will open.  Fire off a shot just as it opens then wait a bit to let it recover after being blasted in the face then blast it again with one more shot.
|
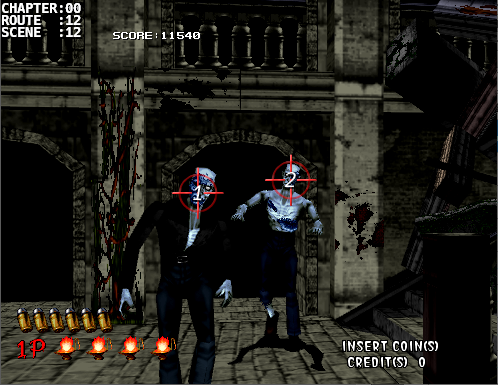 |
Scene: [00:12:12]
Difficulty: C
Number of Creatures: 2
Number of Headshots: 2/2
Scene Score:      400/  400
Running Score:  11220/11940
Bonus:

Notes:
2 easy shots.  It might as well be free.
|
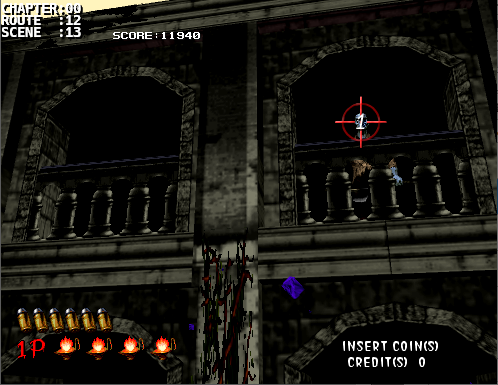 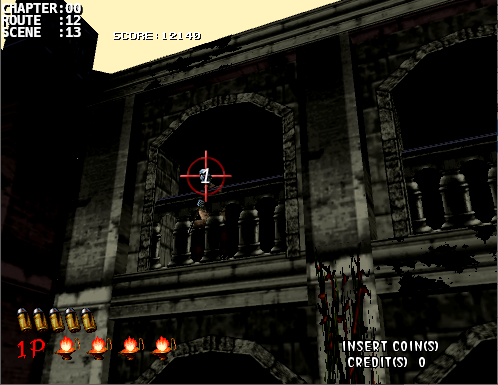 |
Scene: [00:12:13]
Difficulty: C
Number of Creatures: 2
Number of Headshots: 2/2
Scene Score:      400/  400
Running Score:  11620/12340
Bonus:

Notes:
This can get a bit out of hand if you don't tag the first one because it'll start throwing hatchets and you'll be too occupied to notice the next one to the left that'll start throwing hatchets too.  So get the first one and then the second one when the camera pans to the left.
|
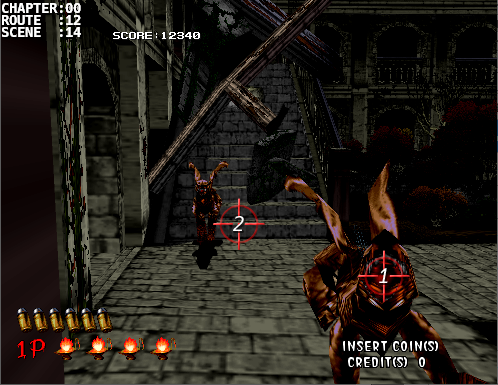 |
Scene: [00:12:14]
Difficulty: C
Number of Creatures: 2
Number of Headshots: 2/2
Scene Score:      400/  400
Running Score:  12020/12740
Bonus:

Notes:
Same old Kenfis strat.  Wait until it lunges at you and shoot it in the mouth.  First one is to the right and then the second will be in the middle.
|
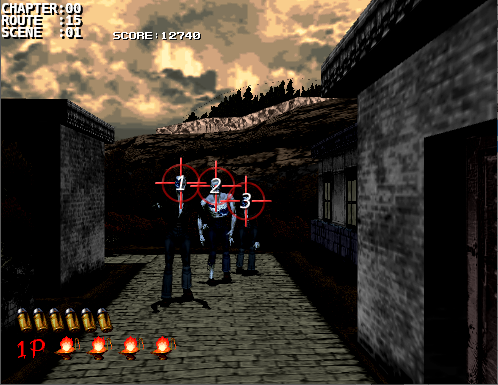 |
Scene: [00:15:01]
Difficulty: C
Number of Creatures: 3
Number of Headshots: 3/3
Scene Score:      600/  600
Running Score:  12620/13340
Bonus:

Notes:
3 more "free" shots.  Sometimes these creatures will be hunched over during this sequence so aim a bit lower than normal if that is the case.
|
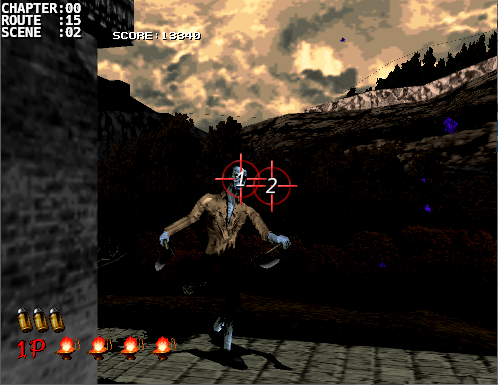 |
Scene: [00:15:02]
Difficulty: C
Number of Creatures: 1
Number of Headshots: 2/2
Scene Score:      320/  320
Running Score:  12940/13660
Bonus:

Notes:
You can move through this scene quickly if you tag this Cyril twice while on the move.  The camera won't even stop if you managed to do so.
|
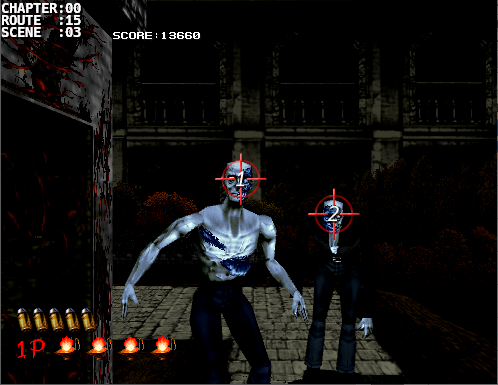 |
Scene: [00:15:03]
Difficulty: C
Number of Creatures: 2
Number of Headshots: 2/2
Scene Score:      400/  400
Running Score:  13340/14060
Bonus:

Notes:
2 more freebies.
|
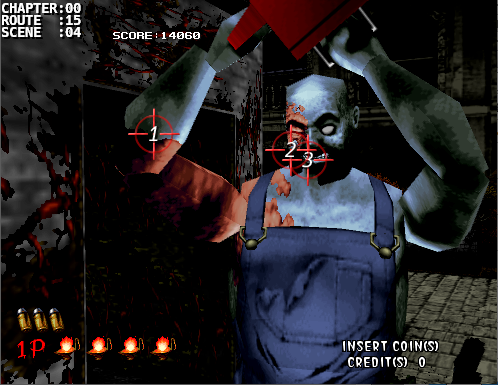 |
Scene: [00:15:04]
Difficulty: C
Number of Creatures: 1
Number of Headshots: 2/2
Scene Score:      320/  320
Running Score:  13660/14380
Bonus:

Notes:
First encounter with Samson.  It might look intimidating at first but the strat is really easy.  As it pulls its arms up to attack shoot its right arm (your left) and its attack will miss because its arm is gone.  Take your two shots and move on.  This will be the basic strat for most of the Samsons (rAHH right Arm, Head, Head).
|
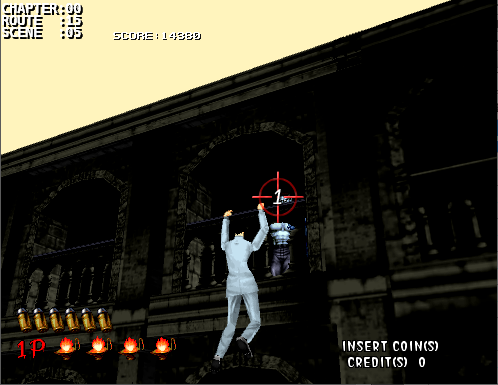 |
Scene: [00:15:05]
Difficulty: A
Number of Creatures: 1
Number of Headshots: 1/1
Scene Score:      600/  600
Running Score:  14260/14980
Bonus: 400 (Researcher)

Notes:
This is tough if your aim isn't precise.  As the researcher is hanging off of the ledge a Simon will approacher her.  You need to tag it just as it becomes visible from behind the archway.
|
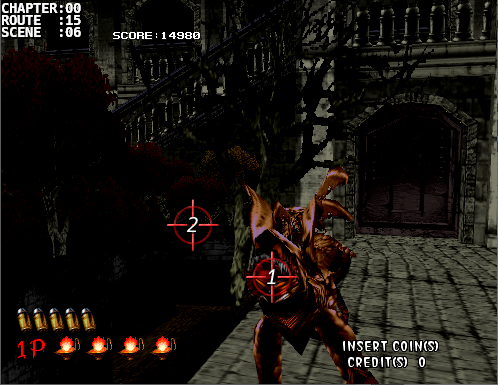 |
Scene: [00:15:06]
Difficulty: C
Number of Creatures: 2
Number of Headshots: 2/2
Scene Score:      400/  400
Running Score:  14660/15380
Bonus:

Notes:
Same Kenfis routine.  Just note the crosshair locations.  The first one will be at [1] while the second one could lunge at either [1] or [2].
|
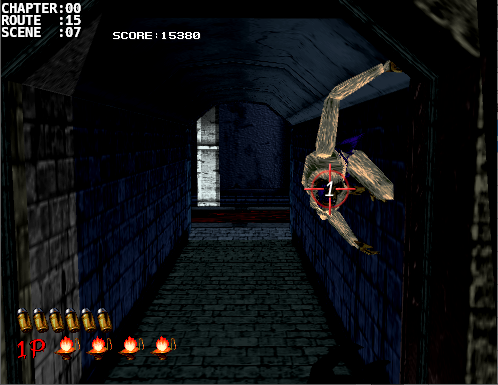 |
Scene: [00:15:07]
Difficulty: B
Number of Creatures: 1
Number of Headshots: 1/1
Scene Score:      200/  200
Running Score:  14860/15580
Bonus:

Notes:
A light-haired Saruzou will be awaiting behind the next door and may lunge at you right away.  My approach is to aim to the right side of the entry door and expect that it will lunge at you from there.  If you happen to notice it come from the left then quickly shift your aim and shoot it.  Sometimes, though, it'll just be standing there in the middle of the entryway.
|
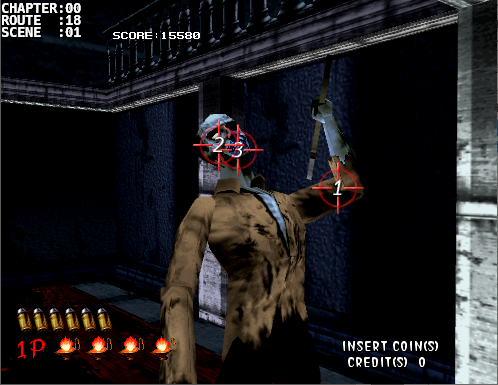 |
Scene: [00:18:01]
Difficulty: C
Number of Creatures: 1
Number of Headshots: 2/2
Scene Score:      320/  320
Running Score:  15180/15900
Bonus:

Notes:
Approach this Cyril like you would Samson.  Take note that it might attack with either its left or right hand.
|
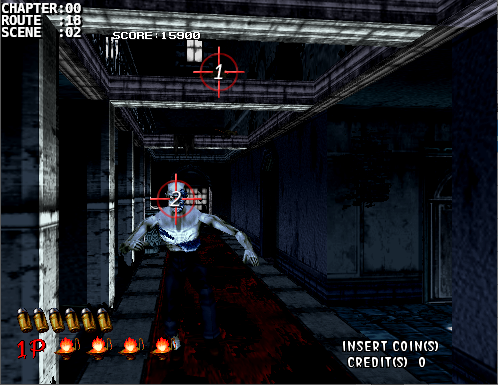 |
Scene: [00:18:02]
Difficulty: C
Number of Creatures: 1
Number of Headshots: 1/1
Scene Score:      200/  200
Running Score:  15380/16100
Bonus:

Notes:
Shoot the rat because, why not? (Totally optional) The next creature will come from the left.  Easy headshot.
|
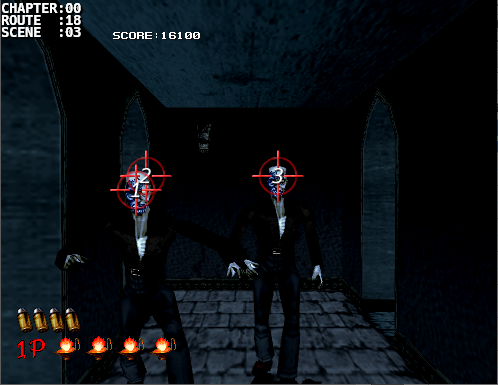 |
Scene: [00:18:03]
Difficulty: C
Number of Creatures: 2
Number of Headshots: 3/3
Scene Score:      520/  520
Running Score:  15900/16620
Bonus:

Notes:
This scene goes quick.  The creature from the right takes a single shot while the left one takes 2.
|
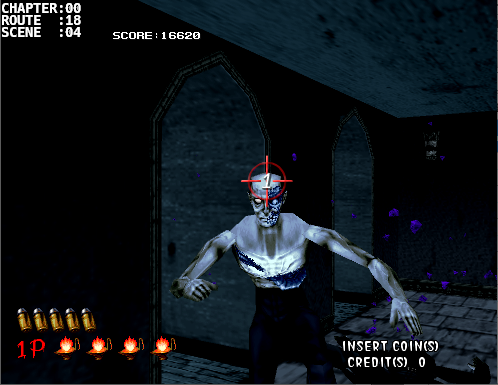 |
Scene: [00:18:04]
Difficulty: C
Number of Creatures: 1
Number of Headshots: 1/1
Scene Score:      200/  200
Running Score:  16100/16820
Bonus:

Notes:
Another one will come from the hallway to the left.  A single headshot will take it down.
|
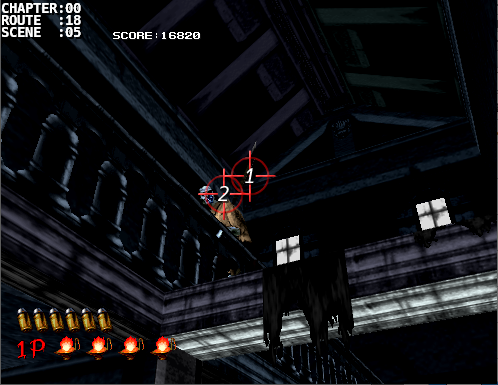 |
Scene: [00:18:05]
Difficulty: C
Number of Creatures: 1
Number of Headshots: 1/1
Scene Score:      200/  200
Running Score:  16300/17020
Bonus:

Notes:
When the camera pans up the Cyril will throw a hatchet directly at you.  Take note of which hand it uses and shoot down the hatchet first then go for the headshot.
|
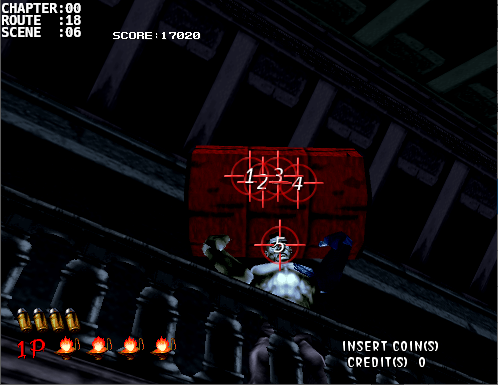 |
Scene: [00:18:06]
Difficulty: C
Number of Creatures: 1
Number of Headshots: 1/1
Scene Score:      200/  200
Running Score:  16500/17220
Bonus:

Notes:
I like to shoot down the oil drum first (which takes 4 shots) then go for the headshot.  If you're the impatient type then you can go for the headshot straight away.
|
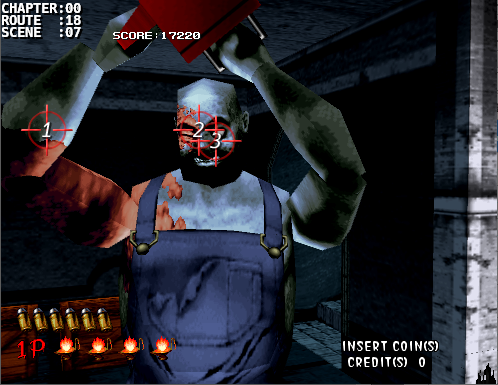 |
Scene: [00:18:07]
Difficulty: C
Number of Creatures: 1
Number of Headshots: 2/2
Scene Score:      320/  320
Running Score:  16820/17540
Bonus:

Notes:
Samson. rAHH
|
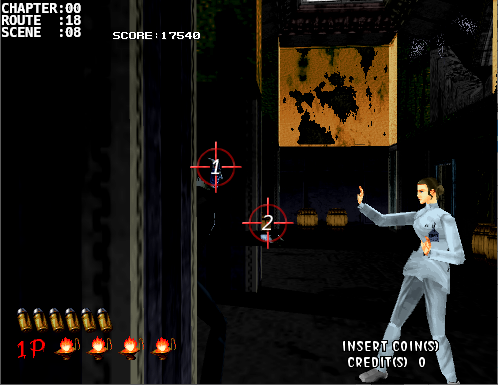 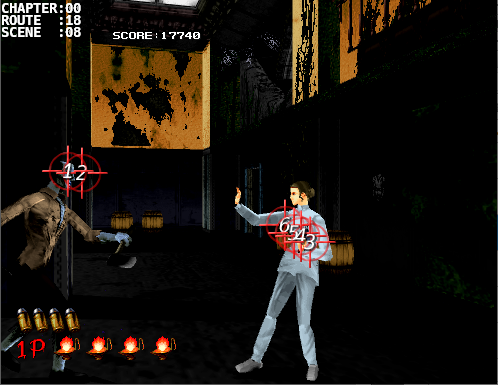 |
Scene: [00:18:08]
Difficulty: C
Number of Creatures: 2
Number of Headshots: 3/3
Scene Score:      920/  920
Running Score:  17740/18460
Bonus: 400 (Researcher) +
       Life Up

Notes:
A few things need to happen in this scene.  The first take down the creature that appears behind the column to the left.  Next shoot the wood barrel behind the far column as Dr Curien decided to hide another coin in here (or you can do it vice-versa).  You won't be able to get it yet but shooting down the barrel now will give you a clear shot later.


The screen will then pan to the right and another creature will appear to the left.  This one will take 2 shots.  When the reseacher comes up to you and "gives you something" start shooting at her, I mean the wooden barrels behind her to uncover another life up.  Actually, I wouldn't bother with this life up unless I'm under 3 lives because it doesn't benefit me score wise and will be at max lives starting the second chapter anyway.
|
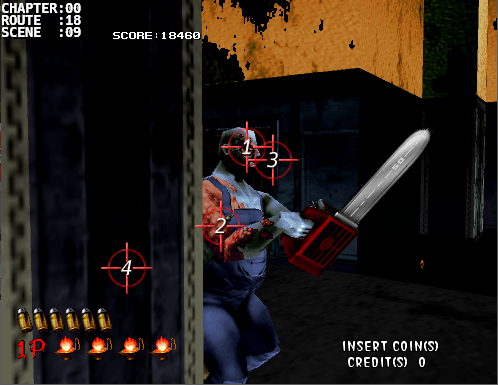 |
Scene: [00:18:09]
Difficulty: C
Number of Creatures: 1
Number of Headshots: 2/2
Scene Score:      520/  520
Running Score:  18260/18980
Bonus:

Notes:
Samson but a different approach.  Headshot, pause, right arm, pause, headshot (HrAH).  After you defeat Samson the coin that we uncovered should be in plain sight so grab your 200 points and move on.
|
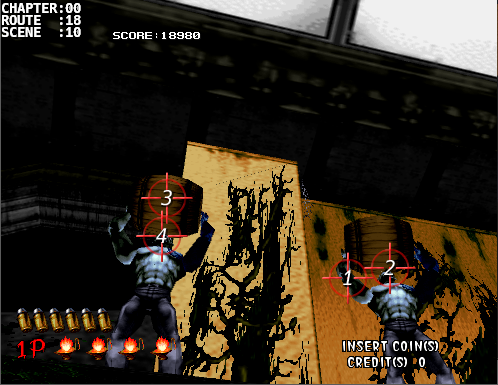 |
Scene: [00:18:10]
Difficulty: S/C
Number of Creatures: 2
Number of Headshots: 0/2
Scene Score:        0/  400
Running Score:  18260/19380
Bonus:

Notes:
This scene actually isn't that difficult, the difficult task is snagging both headshot points as the scene will move on whether or not you defeat these guys and will not reward you any points if you take too long, hence the S difficulty.  The scene itself only deserves a C rating if you're not going for the headshots.

The best approach is to shoot the right arm of the right Simon, then tag him with a headshot.  Next shoot down the wooden barrel that is probably flying at you from the one on the left, then tag him quickly before the scene moves on.  If done correctly you should be awarded points for both of them.

Many thanks to ConversusVans for this strat.
|
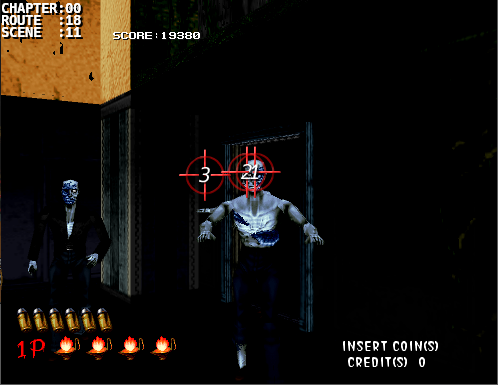 |
Scene: [00:18:11]
Difficulty: C
Number of Creatures: 3
Number of Headshots: 3/3
Scene Score:      600/  600
Running Score:  18860/19980
Bonus:

Notes:
3 more freebies.  If you take two shots at front middle one you can tag the one directly behind it in one go.  Then wait for the camera to pan to the 3rd one and get your easy points.
|
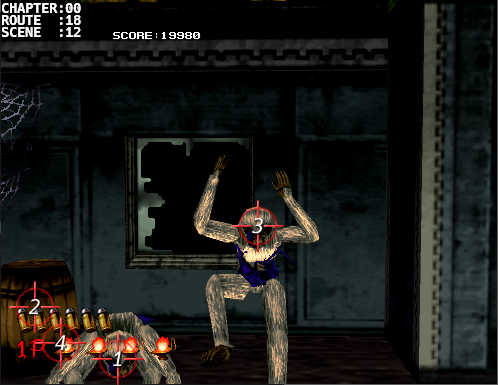 |
Scene: [00:18:12]
Difficulty: C
Number of Creatures: 2
Number of Headshots: 2/2
Scene Score:      600/  600
Running Score:  19460/20580
Bonus:

Notes:
There's a coin the wooden barrel to the left but a pair of light-haired Saruzou will jump through the window pane. Shoot the left one once to offset their attack pattern then shoot the wood barrel.  Now the one to the right will most likely be in the air and in your face.  Take it down and then the other once to the left (if you didn't get the headshot on the first shot) and grab Dr. Curien's hidden coin once again.
|
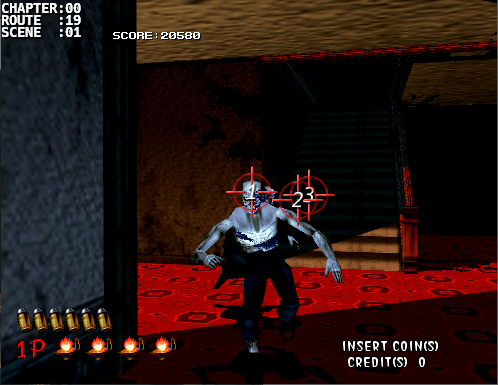 |
Scene: [00:19:01]
Difficulty: C
Number of Creatures: 2
Number of Headshots: 3/3
Scene Score:      520/  520
Running Score:  19980/21100
Bonus:

Notes:
Fairly easy.  The first one takes 1 and the second one takes 2.
|
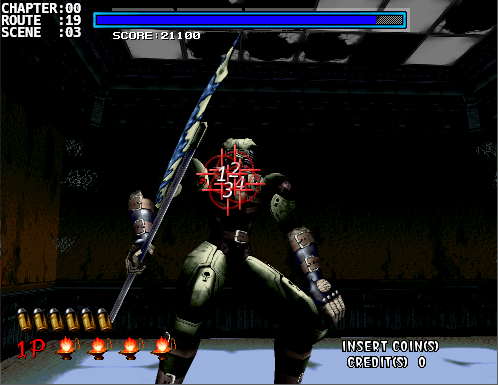 |
Scene: [00:19:03]
Difficulty: B
Number of Creatures: 1
Number of Headshots: 0
Scene Score:
Running Score:
Bonus:

Notes:
Time to work on that aim and timing; 13 bullets is all you really need if you want to show off.  Chariot's first phase takes 4 shots to his weak point.  If you time it right you can always get a clear shot off before it starts swinging its bardiche again.
|
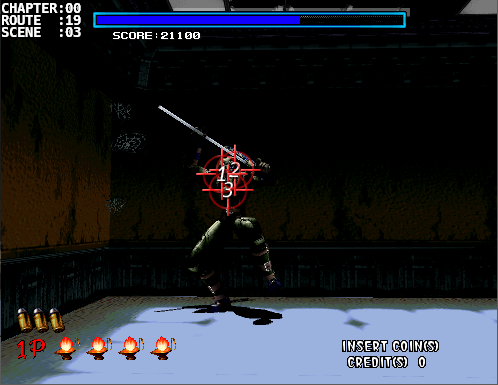 |
Scene: [00:19:03]
Difficulty: B
Number of Creatures: 1
Number of Headshots: 0
Scene Score:
Running Score:
Bonus:

Notes:
Chariot's second phase is no different than the first phase with the exception that it only takes 3 shots to his weak point.
|
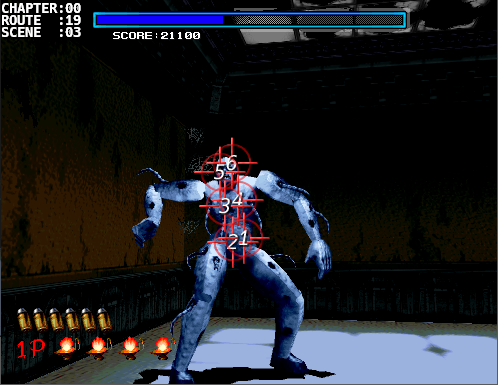 |
Scene: [00:19:03]
Difficulty: C
Number of Creatures: 1
Number of Headshots: 0/0
Scene Score:     1500/ 1500
Running Score:  21480/22600
Bonus: 1500 (Defeating Chariot)

Notes:
In this last phase it should only take 6 bullets to take it down.  Take the first two shots at the abdomen (as this is the hardest area to shoot at while it's moving) then two to the chest and finally two in the head.  Take your time in between shots otherwise it won't connect especially if you manage to get a critical shot.  If you happen to shoot any other limb then it'll take more than 6 shots to defeat it.
|
 |
Scene:
Difficulty:
Number of Creatures:
Number of Headshots:
Scene Score:
Running Score:  21480/22600
Bonus: LIFE BONUS x 2

Notes:
Good job.  You made it to the end of the first chapter.  At this point you should have your lives maxed out and can now start earning bonus points for life ups.  If your score is over 21000 then you're in good shape to reach 100,000 points.  During my 110k run I was able to reach 22020.  The highest I've ever scored was 22400 back in 2003 but this was on a machine that started with 4 lives and 5 Max so I was able to grab an extra Max Lives Bonus which you normally can't do on standard settings so technically it was a 22100 score.

Now onto the second chapter.
The Second ChapterRevenge |
Stage Gallery
House of the Dead Scarlet Dawn
Developer: Sega Interactive
Platforms: Arcade
Release: 2018
House of the Dead Scarlet Dawn is an upcoming light gun shooter with state of the art horror running on the Unreal 4 Engine 4 with a theater style arcade cabinet with motion sensors, nationwide ranking, trophy function, and Master Mode with the use of Aime cards.
Continue reading

Sega Golden Gun
Developer: Sega Shanghai Studio
Platforms: Arcade
Release: 2011
Golden Gun is Sega’s latest light gun shooter which utilizes the use of golden gun where players have to defeat the army of the undead and phantoms. The game also features a unique gameplay system where players can “Co-op shot” a enemy to score more points, choose multiple paths, and upgrade weapons & shields with points. This game has quite a few references to The House of the Dead series. In fact, a lot of references to the series. You’ll notice as soon as you play the game, you might bump into a couple of familiar creatures and scenes. Pretty safe to say that it maybe a spin-off. Continue reading
The House of the Dead 4
Developer: Sega WOW Overworks
Platforms: Arcade, PS3
Release: 2005 (Arcade) 2012 (PS3)
The House of the Dead 4 is the fourth installment of the series. The game runs on Sega’s Lindbergh arcade hardware that delivers motions picture quality sound and graphics. The hardware’s power allows more zombies than ever before to fill the screen with such intricate detail the player will be in a world he has never experienced before. Weaponary has changed once again in this installment with the use of a lightweight sub-machine gun with a new feature to allow reloading ammunition and escaping enemy grasps by “simply shaking the gun” Continue reading
The House of the Dead III
Developer: Sega WOW Entertainment
Platforms: Arcade, Xbox, PC, Wii (2&3 Return), PS3
Release: 2003
The House of the Dead III is another light gun shooter developed by Sega WOW (formally AM1) for the Chihiro arcade hardware which has the same architectures from Microsoft’s Xbox hardware. The game departs from the first two games. Instead of using light gun pistols, players must use shotguns to do away with zombies and reload by pumping it. The branching system is different from the previous games as well. The player is given options for navigating through the game prior to the start of most stages, ultimately going through the same areas with different results dependent on the order chosen. Rescue Events replaces civilians and players must rescue each other from the grasp of the evil creatures. An extra life will be awarded to the player if they are successful of saving their partner from harm. Continue reading
The House of the Dead 2
Developer: Sega AM1
Platforms: Arcade, Dreamcast, PC, Xbox (Unlockable in III), Wii (2&3 Return)
Release: 1998 (Arcade) 2000 (Dreamcast)
The House of the Dead 2 is a light gun shooter and the sequel to the original House of the Dead game developed by Sega AM1 for the Naomi arcade hardware. Similar to the previous players must shoot the creatures and save as many innocent people as you can. Unlike the previous game, players can now reload the gun automatically by aiming outside the screen without pulling the trigger. It also incorporates a branching path system that allows players to take a variety of different routes leading to the same point in the game’s story. The story takes place in Venice, Italy on February 26, 2000 after the Curien Mansion incident. AMS agents, James Taylor and Gary Stewart, are sent to investigate the strange events in the city and put an end to this new case. Friends… the door of fate shall open. Continue reading