Creature Files: The House of the Dead

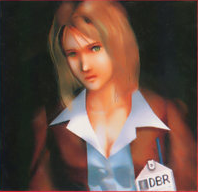
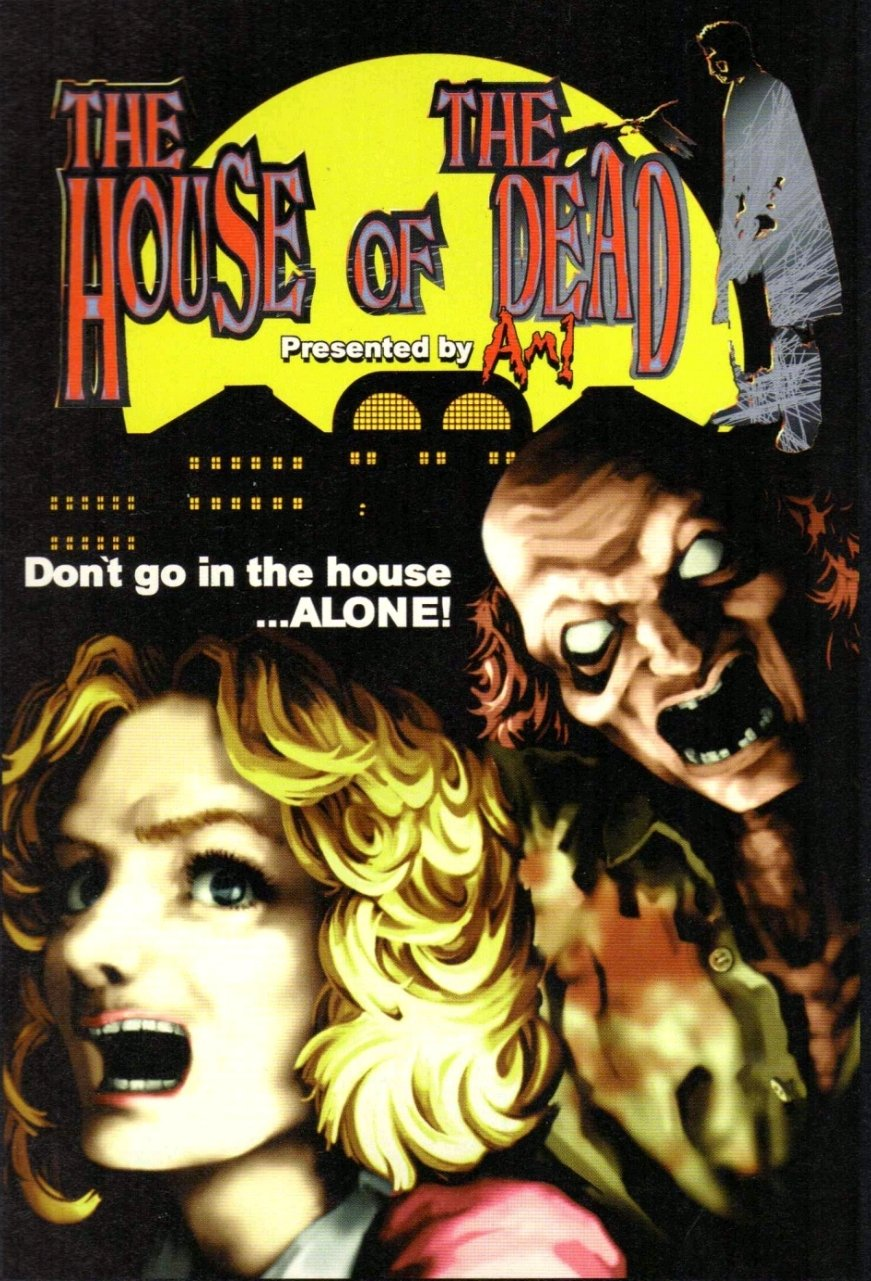
Curien’s mad experiements are on the loose throughout the entire mansion grounds that you will encounter in the first game of the series. Not only they are created to kill, they also have names as well.

“Yes!… these are the kinds of breakthrough results that are possible when experiments are carried out scientifically, without undue mushy sentiment for the human test subjects or other ridiculous ethical qualms…” (journal entry) ~ Dr. Curien

Sam (TYPE A-1)
The most orthodox zombie. You will encounter him at various locations.
Well in a group because they are infested, and if you let your guard down, may also be enclosed. Their appearance is not only one type. The main method of attack is to bite.
Curien’s Notes: The Sam series is where it all got started. The rotting-zombie stagger, the dangling intestines, the lovely cyanotic blue – in some way I consider it to be my masterpiece. That’s why I made so many of them. I’ve given them free run of the DBR grounds, and am sure they’ll greet you with great hospitality in the best Curien tradition.

Nail (TYPE A-2)
His damage pattern is as same as Sam, but he can move more quickly. He is often suddenly appear from the shadows. In many cases, he strike while rush, or bite you. You will see him at every stage except the final stage.

Cyril (TYPE A-3)
His weapon is the hatchets of two in both hands. His damage pattern is as same as Sam. He strikes with a hatchet or throws it from a distance. You can shot it down. He goes away after throwing own hatchets.

Kageo (TYPE B-1)
Zombie whom the skin has mummified. The character design is modeled on a Japanese. Main method of attack is to bite or strike. He beat on the left hand or right hand or both hands.(at random) His motion is slow.
Curien’s Notes: After my experience with those gloppy Ebitans, I decided to try out something a little drier for a change. So I cooked up this Kageo series, loosely based on a Japanese model I ran across in a trade journal. They seem to favor humid spots, to keep from drying out, and they like to attack by biting. But then, who among us doesn’t?

Bourbon (TYPE B-2)
He looks green because his whole body is wrapped in moss. He is often suddenly emerge from behind a pillar. Dank place is liked by them. His stamina is more than Kageo. The main method of attack is strike with both hands. In some cases, it’s better for you to shot the hand than the head.

Ebitan a (TYPE B-3)
His whole body is corrupt, the skin is sore. He can live in water. Therefore the advance of corruption of his body is early. Main method of attack is to bite. He rush to the player, or jump from the water.
Curien’s Notes: I don’t know exactly what happened here – I was really just puttering around the lab, seeing what I could come up with, and the Ebitan series is the result. I like to consider it a learning experience, not a mistake. Granted, they’re hideously ugly and they melt – but they have some flaws as well. For one thing, I can’t keep them out of the swimming pool.

Ebitan b (TYPE B-4)
He lost the lower half of the body because his body is rotten than Ebitan_a. He is hanging on the ceiling of the passage. Or slash you with a knife from above. He has the ability to defend own face from your attack with a knife.

Robert (TYPE D-4)
Zombie like Simon. But his left side of body is covered with iron armor that repel bullet. Because also half of the head is protected by iron, it is difficult to aim at the head. You can’t damage parts that are protected. The main method of attack is strike.

Simon (TYPE D-1)
Zombie who has high durability because made from trained body. His feature is the bare muscles. Maybe he destroyed the furnitures of Curien Mansion. Main method of attack is strike.
Curien’s Notes: Hey kids – now you can make your own Simon series zombie at home! PUREE 280 lbs. of canned ham, 4 quarts of recombinant DNA and a pinch of Doc Curien’s ™ animating powder. JOLT with 2.5, gigawatts to a gluey consistency. COOL in a mold, 6-8 hours, until gelled. GARNISH with teeth and fingernails to taste.

Gilmore (TYPE D-2)
Zombie with a mighty hammer. He is atrociously, and his physical strength is quite high. Hammer is always thrown from his right-hand side by both hands. You should aim at his hand or head.

Harris (TYPE D-3)
Human type zombie with an iron ball in one hand. He swinging an iron ball and hurls it. You can’t shoot down thrown iron ball. That is , if you can’t attack before he throw the ball, you must damage. He will rush to you after throwing the ball.

Samson (TYPE C-1)
Chainsaw-wielding zombie. He has the highest strength. His right hand does not damage. Therefore you can’t shoot his right hand to fend off an attack using a chainsaw. It may be desirable shoot the head.

Bentley (TYPE C-2)
Fat zombie very similar to Samson. Attack patterns are rushing to player, throwing a barrel, or throwing a drum. (After throwing a barrel or drum, he rush.) You have to fire high because he is the rush type and has a high strength.

Burner (TYPE C-3)
An improved version of Samson. He has a flamethrower. The main attack is to slash you with flame like a sword. His right hand does not damage as same as Samson. Therefore it’s better to aim for the head. He appears only in the third stage.

Rubin (TYPE E-1)
Zombie armed with iron nails in his hands. He can move quickly because he is smaller than other human type zombies. He scratches you on iron claws after he rolls the forward or backward. In many cases, he appears along with Drake. The moment of landing is a good chance to aim his head.

Drake (TYPE E-2)
He throws small knives. His looks is very similar to Rubin, and appears along with Rubin. Knives is in his hands. You can shoot thrown knife down. When he lost both knives, hurl himself at you.

Moody (TYPE E-3)
He throws iron nails with right hand. He looks like a cyborg rather than a zombie. Motion pattern is similar to Rubin or Drake, but he has many attack pattern.(climb wall and throw his weapon. etc…) You can shoot down thrown weapon.

Parlor (TYPE E-4)
His stamina is lower than Moody, but the volume per one shot that you can work damage on him is limited. So it may difficult for you to kill him. Main attack pattern is to throw knives that is similar to Drake’s attack. But his weapons are the laser knives. He can throw it infinitely. Basically, two the enemies appear at the same time. Position of thrown knife is higher than Moody’s.

Kenfis (TYPE F-1)
This zombie looks like a dog with wings, but can’t fly. Main attack pattern is to bite. It is difficult to take aim because he approaches while bouncing from side to side. They have several different body color or stamina. The stamina data is the average value.

Saruzou (TYPE F-2)
This zombie was made from a improved macaque (Japanese monkey). He approaches while jumping and turning to scratch you. You will be at the mercy of his diverse and fast motion. They have several different body color or stamina as same as Kenfis. The stamina data is the average value.

Devilon (TYPE F-4)
This zombie was made from a bat. He is usually hanging from the ceiling. And if he found human beings, pounce on them. Main attack pattern is to rush. His attack will raging in the boss battle of the second stage.

Bueel (TYPE F-3)
This zombie was made from a giant frog. Therefore it inhabits only watersides. It will pounce on you to bite. You should be careful when you are in waterside because it may appear suddenly from the water.

Murrer (TYPE G-1)
Snake-like Zombie. Do you think it’s a caterpillar? No, it’s a snake. It will meander, and suddenly pounce you. In many cases, you will see more than two them in one scene.(from 2 to 5) Its head is lost when you shot it.

Name (TYPE G-2)
This zombie was made from a slug. Main attack pattern is to spring at you after coming close. In another case, it spits mucus while clinging to a wall. It exists only in the first stage.

Thalang (TYPE G-3)
This zombie was made from a spider. It likes the smell of blood and machine oil. It will bang into you full force from any location, such as floor or ceiling. You will struggle to shoot it because it often move to the edge of the screen.

Special Thanks to Japanese HOTD fan 104_100111 for the tranlastion.

AMS Agent Profile: Rikiya Busujima


Rikiya Busujima

Age: 32
Height: 185cm
Weight: 68kg
Rikiya is a Japanese member of the “AMS.” He met up with the other
two whilst investigating the source of a mysterious evil. Rikiya’s
mastery of hand to hand combat is so great that he is more dangerous
with his fists than with a gun. Stick and Linda both understand
Japanese, so they can communicate together.

Appearances: Zombie Revenge

AMS Agent Profile: Stick Breitling


Stick Breitling

Age: 27
Height: 181cm
Weight: 71kg
Both of Stick’s parents were scientists, members of GOD-the team involved with the UDS project. Stick’s mother died when he was 6 and his father disappeared shortly after. He has not heard from his father since. Stick is as good with a gun as he is with hand to hand combat.

Appearances: Zombie Revenge

Sega of Japan releases Flick of the Dead for the iOS

Text or Die
TEXT OR DIE! Sega has just release the Flick of the Dead for iOS in Japan. The game itself is a remake to the Typing of the Dead series. According to Siliconera, “Instead of a keyboard, players type words as if they were texting with a regular phone. Of course, you’ll play Flick of thee Dead key on a more advanced device. Sega added over 25,000 words, a boss rush and a drill mode to Flick of the Dead. You may have to pay extra for those features, though.”

If you live in Japan, you can buy it on iOS app store.

Source: STORM! from SegaBits and Siliconera

Characters: Sophie Richards

Sophie Richards


Height: 5’8″
Weight: highly classified
Hair: blonde
Eye: green-gray
Sex: female
Age: 28
D.O.B 7/21/1969
Affiliation: DBR Corporation

The House of the Dead

Ms. Sophie Richards is employed as a researcher by DBR, and has recently been working on the top-secret BioReactor project. She is engaged to be married to Agent Thomas Rogan. She may look like just another pretty genius bio-engineer, but she’s got spirit too. And she’ll need every drop of spunk she can muster to escape Dr. Curien’s clutches. You can determine her fate depending on your performance on the Curien case.

Appearances

The House of the Dead, The House of the Dead III (mentioned as mom by Lisa)

Character Gallery

Sega announces The House of the Dead 4 Grenade Contest Winners


Sega had a contest on HotD 4 not too long ago where readers must find out how many grenades are in this picture. In case your wondering, there are a total of 16 grenades in this picture.

Congradulations to the following readers who’ve earned the prizes.
James P. in Washington – Grand Prize

John H. in Oregon – First Prize

Gilbert M. in Florida – First Prize

Edward C. in California – First Prize

Charles C. in Florida – First Prize

Enjoy The House of the Dead 4 on PSN AMS agents and don’t go inside the house alone…

Source: SEGA Blogs

Life Bonus! ~ The guide to obtain bonus items in HOTD 4

I’m out of school for 2 weeks and I’ve decided to make a guide to find as many bonus items and secret rooms to build up your score in The House of the Dead 4. Let’s begin shall we 😉

Chapter 1: Escape

After you’ve destroyed the first wave of creatures, James/Kate will look at their left. Shoot the danger panel and earn a coin. It may not appear sometimes in that one spot and may switch to the other panel in some playthroughs.

After you’ve obtain the first coin, a creature will attempt to grab you. Shake your gun and shoot to your bottom right. There should be another coin in the box container.

Before the Rubin type creatures show up in this part, shoot the danger panel on the left corner to earn a coin just in case if it doesn’t show up on the first panel.

When there are 3 waves of creatures surrounding you and the game tells you to use a grenade, don’t use it and shoot the red switch in order to take an alternate path.

Once the waves of creatures are killed off, leave at least 2 of them to save time to get a item in that box container.

Once you’ve taken the alternate path, you will encounter Zobio like creatures. Shoot the door on the left before killing them. There is a secret bonus room with 3 coins and a golden frog which will also nab you the “BONUS EXPLORER” trophy.

After getting the goodies in the bonus room, there is another danger panel with a life bonus. Be careful as a Zobio type creature will grab you. Shake him off and obtain the life bonus.

Now you have to choose a path. If you take the left path, destroy the 4 Rubin type creatures and 2 Zobio creatures should come out the slide door. Immediately shoot the danger panel the lower right and earn the top hat.

Before the cutscene where they show a HUGE amount of creatures below the building. Shoot the yellow box which contains a gold coin.

Clear off the creatures for room and shoot the yellow box to obtain a grenade bonus.

Towards the end of the chapter as you enter, shoot the danger panel on the right for a life bonus.

Afterwards, creatures should be able to come out from the slide doors. Throw a grenade on your right to enter another bonus room which contains three coins, a top hat, and a bell. Keep shooting the bell to build up the score.

Chapter 2: Lost

After killing off a group of Ebitans, you will encounter 3 frog type creatures. Behind them is a box containing a coin.

In this part, there is a secret cave.

As the group of Ebitans and Frog creatures prepare for an attack, throw the grenade to your right in order to enter the secret cave.

The cave of hope shall open.

You have an option to make a path. Choose the left one and you should be able to obtain a life bonus in either one of the boxes or barrels.

I’m not sure about this part, but there maybe a item in one of the green containers behind the Bob creatures.

Shoot this box before you encounter varies types of creatures which contains a grenade bonus.

Once you’ve encounter and destoryed them, there is a box before you climb the latter.

The box should contain a golden frog.

Before you enter the room of creatures in cages, shoot the bottom left floor to obtain items in another secret bonus room.

You can take an alternate path by shooting the lock where you encounter a swarm of Murrers.

A good scientist once said “Quick! Open the LOCK!” Once you’ve taken that path, shoot the green barrel for a life bonus.

You will encounter 3 Bob type creatures. Shoot the green barrels on your right to get a grenade bonus.

The red circle up top is the location of a coin in the box. Clear some space by shooting the yellow barrel that will destroy some creatures along the way.

Do not shoot Bob. This will be your chance to get some good head shots on these creatures to raise your score.

Your close towards the end of this chapter. You will encounter a good amount of Burners and Ebitans. This will be your chance to earn yourself the “CUT THE WIRE” trophy as long as they are on the platform.
Chapter 3: Emptiness

In the beginning of chapter 3 after destroying groups of Kageos, there are boxes as you climb the latter. Shoot quickly though as this maybe your only chance to get some bonus items.

If your unable to get it the first time, there is still hope. Shoot the boxes quickly to earn a coin before you encounter Ebitans coming from garbage disposals.

“No time to even catch my breath.” ~ Kate Green

Leave one zombie alive to give you time to earn a grenade bonus to your left in a gallon of paint.

Not done yet, there’s a golden Magician in one of those gallons to your right. Watch out for the short zombie creatures and there fierce knife attack.

During this moment of the game, a legless Kageo will pop out and drag you to a room. Do not shake your gun and let it drag you in the room. Once your in the room, kill the legless Kageo and shoot the box on your left. The box contains a golden bell.

In that same room, you will encounter a group of Kageos. Shoot the box on your right to obtain a coin.

After you’ve dealt with the barrel throwing zombies. Shoot the gallon of paint here to obtain a life bonus.

Shoot the control box to your right as you destroy the bats in your way.

The room should light up. Before you can get the goodies in the room, you must elimate the swarm of Kageos.

When selecting a branch, choose the left route. Down stairs on the far left is a trash bin containing a silver coin.

On the second part of the train, there are three containers containing a top hat.

To destroy the doors of the cul-de-sac next to the vehicle. Directly aimed at the door and earn the grenade bonus.

When your surrounded by Johnny and Sam type zombies, shoot the box behind them for a life bonus.
Chapter 4: Despair

At the start of chapter 4, shoot the Johnny creatures and the container with a golden frog inside on your right. It’s best to get it once you pass the door when upcoming creatures come from behind it.

As you can see from here.

After the cutscene where the sandman looking creatures throw a plastic model out the window, there is a red box under one of them which contains a coin.

Shoot the sandman like creatures to prevent it from closing the shutter for there are a few red boxes. Kill off the remaining wave of creatures and shoot the boxes for a grenade bonus.

Once you’ve entered the room, shoot the left side where the blue is circled around asap. Doing that will activate a secret room containing three coins and a grenade bonus.

A life bonus should show up in this part when the creatures crash through the windows.

Once your outside in the ruins of Venice, shoot the box uptop that contains a golden Magician. Keep your aim steady, that little thing is a bit fast lol.

After earning that golden Magician and destroying the lab coat zombies. There is a next wave of them coming for you. Immediately shoot the green oil drum that contains a bus. Keep shooting it down and earn yourself a huge score along with the “SHOOT THE BUS” trophy.

As the Temperance chases you through the ditch. You will see a green oil drum that my contain either a top hat or coin.

Cancel Temperance second attack for the next portion of the chase and then you should be able to find another oil drum containing a coin.

Once your inside the second story of the tower before Temperance crashes in, shoot one of the containers for a golden bell. Location varies in some playthroughs.

Once your in the third story before you finish off Temperance for good, shoot


Chapter 5: Reunion

There is a barrel near a couple of AMS and regular zombies as you drive. Shoot at your right to obtain a golden frog.

As a group of AMS and horde of creatures come after you in your car. Shoot this red barrel to earn yourself a grenade bonus.

After the grenade bonus, you will encounter sandman type creatures. Shoot the red barrel on your left for a life bonus.

This maybe tricky to get. As you drive off before entering the drive through quickly shoot the red barrel circled as above to earn a golden Magician.

After you shook off the car from making you crash, you can see 2 coins, a top hat and life bonus. Aim percisley.
Chapter 6: Hope

As you enter and eliminated the Franklin 2.0 creatures in Goldman’s new decorated room. One of these boxes contains a life bonus. Don’t forget to shoot the dragon’s mouth on the floor to enter a secret room.

Wala!

You just hit the mother load.

As for the very last room. You must not lose a single credit in order to enter this room before entering Goldman’s office.

I hope this guide helps out a lot of HOTD 4 players.

Source: Girl Doll HOTD 4 page & Minzeliang

Tunes of the Dead: I Have A Dreamcast: Venice is Dying by Grey Milk


Back in 2009, a group of fans called “I Have a Dreamcast” created a soundtrack dedicated to many Sega games that were released on the Dreamcast and performed live on stream. This song tells a story of two friends playing a game of The House of the Dead 2 describing what’s going on as they play through it such as zombies wrecking havoc in Venice, The Tower boss, and even shooting a kid. If you played The House of the Dead 2 back in 1999 on your Dreamcast, nostalgia will hit you harder than the Magician. Tell me what you think of the song?

Source: Barry the Nomad