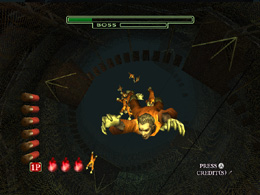
The House of the Dead III Boss Tips: The Wheel of Fate

“I am Curien… I shall destroy everything and resurrect everything…”
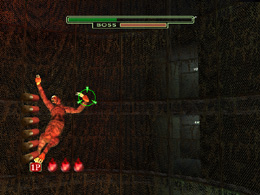
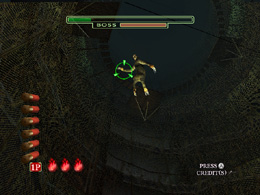
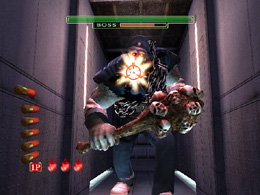
The Wheel of Fate’s weak point is the glowing white
symbol in the center of its chest. Not only is this weak
point very small, but your bullets will just ricochet off
when the Wheel of Fate has its back turned or when
its wheel gets in the way, so it’s going to be tough to
land hits.

Because the Wheel of Fate has so many different attack
patterns, you’re going to need it all in order to survive:
speed, accuracy and precision timing of your reloads.
You also have to be able to tell what attack is coming
next just by watching the Wheel of Fate’s movements,
and be prepared for that attack.

The Wheel of Fate has five attack patterns. At first, it
will switch between Attack Patterns 1, 2 and 3 at random.
When its health drops to half, though, it’ll use its light
sphere attack. When its health falls to one-quarter or
less, it releases its lightning bolt attack.

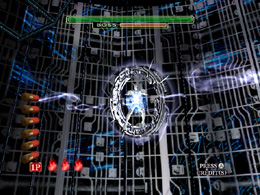
[1]Throws rings of light at you.
<
While the Wheel of Fate charges up energy, it curls itself
up and conceals its weak point, so you won’t be able to
get any shots in. Just steel yourself and get ready for your
chance to attack.

Once the Wheel of Fate starts firing its rings of light, it’s
time to start shooting. These rings will approach you from
the center, arcing left and right.

First of all, aim for the center and quickly fire all six of your
shots. Then immediately reload and take care of any rings
you missed. If you get the chance, also try to hit the Wheel
of Fate itself, which will be far back in the center.

[2]Body-slams you.
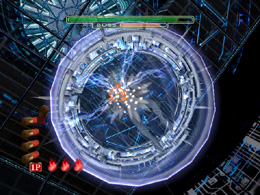
During this attack, the Wheel of Fate will approach you
directly, so it should be easy to target. But even if you
land all six shots perfectly, you still won’t be able to drive
the Wheel of Fate back.

You’ll have to alternate quickly between shooting as fast
as you can, reloading, and shooting as fast as you can again.

To avoid having to reload needlessly, wait until the Wheel
of Fate faces your way, and then get your shots in all at
once when it draws near.

[3] Flies around at high speed.
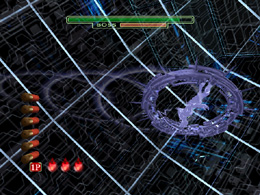
This attack will test your marksmanship. You’ll have to
try to hit the Wheel of Fate’s tiny weak point as it goes
zipping around at high speed.

The Wheel of Fate’s wheel will obstruct its weak point,
and the boss will turn its back on you sometimes, too,
so there won’t be many opportunities to get your shots in.

So that you don’t waste the precious few chances you
do get by being out of bullets, avoid shooting repeatedly,
and track the Wheel of Fate’s movements carefully with
your eyes.

If you’re having trouble tracking it while it’s moving
around so fast, you could try just targeting the times
when it pauses for an instant, but be prepared to take
some damage.

At the end of this attack, the Wheel of Fate will try to
hit you with a body slam.
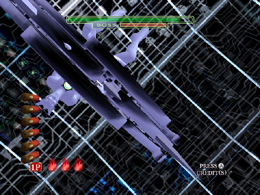
At the last instant of its approach, it’ll be at point-blank
range, so it’s a great chance to do some major damage.
So even if it gets really close, keep shooting and don’t
give up.

[4]Shoots light spheres at you.
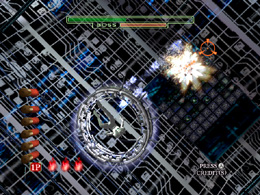
While the Wheel of Fate is busy making its light spheres,
try to get as many shots into its weak point as you can.
Reload when it starts shooting those spheres at you from
its wheel, and take care of them quickly as they come
flying toward you.

Because the light spheres move fairly slowly, you’ll probably
be tempted to get in some shots at the Wheel of Fate itself
during the intervals, but if you press your luck like that, you’ll
quickly end up taking unnecessary damage from the light spheres.

So ignore the Wheel of Fate for now, and just concentrate on
the light spheres. You can go back to targeting the Wheel of
Fate’s weak point once you’ve wiped out all of the spheres.

[5]Fires lightning bolts at you.
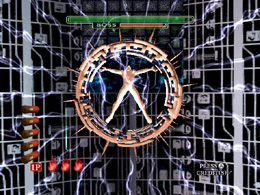
Once you get this far, you’re almost home free.
At the beginning, focus all of your attention on firing at the
Wheel of Fate’s weak point as many times as you can until it
releases its lightning bolts.

Once it does, reload just as you are turning around and start
shooting those lightning bolts down immediately.

There’ll be a lot of lightning bolts to deal with, so start shooting
in areas where they’re closely clumped together to pare down
their numbers a little. After that, take care of any lightning bolts
you missed one by one.

Sure, there’ll be a lot of lightning bolts, but they won’t be
very fast. If you stay calm and just keep shooting the ones
closest to you, you won’t have all that much trouble shooting
them all down.

Once you’ve wiped out all of the lightning bolts, you’ll turn
to face the Wheel of Fate once more. Start firing at it again
with everything you’ve got and make victory yours!

Kori’s tips: In Time Attack Mode, each shot in The Wheel of Fate’s chest during his attacks will give you +2 secs each shot.


The House of the Dead III is the #3 best selling PSN game of the month


The House of the Dead III made it as one of the top 20 best selling games on the PlayStation Network at #3 as of April. Looks like Sega is on a roll with the series in digital sales. Let’s see how The House of the Dead 4 does this month. If both games continue to sell well, we maybe able to see a arcade perfect port of the original House of the Dead and a home release for Loving Dead: The House of the Dead EX.

Special Thanks to David Gray

Japanese House of the Dead official website has been updated with release dates for HOTD 3 & 4


Sega of Japan’s official House of the Dead website has finally been updated after the release of The House of the Dead Overkill Director’s Cut (Extended Cut in US and EU) with the inclusion of The House of the Dead III and 4 for PlayStation Network which both are set for release on 4/19/12 for 1,000 yen in Japan. So AMS of Japan, pump those shotguns and reload your Uzi this month and send those evil experimental creatures back to the source.

Source: www.hod.sega.jp

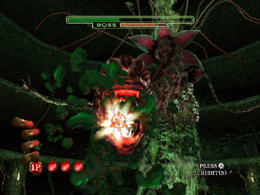
The House of the Dead III Boss Tips: The Sun (Type 8830)


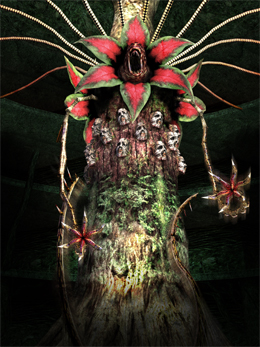
The Sun is a hideous, tree-like monster with countless faces
all over its trunk. Its weak points are its flowers, the tips of its
vines, and the tips of its roots.

You can also do a little bit of damage to the Sun by shooting the
countless faces on its trunk.
After you prevent each of the Sun’s attacks, go back to shooting
those faces non-stop.

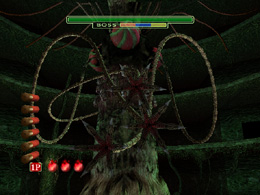
The Sun will first attack you with either its vines or its roots.
When its health drops to half or less, it’ll start attacking you by
either using pollen or by stretching out one of its heads at you.

The Sun has four attack patterns.

[1]Sends its vines to attack you.

Each of the Sun’s vines has its own health bar, and they’ll
keep attacking you without mercy unless you defeat them all.
As soon as you’ve taken care of one, aim for the next one
immediately and get to work.

And by the way, when there are only two vines, they’ll each
have more health than when there were three vines, so be
on your toes.

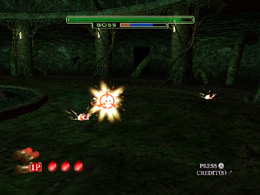
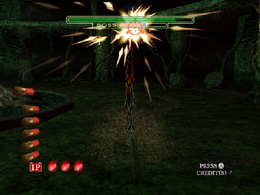
[2]Sends its roots to attack you.

Sometimes the Sun’s roots will attack you one at a time, and
sometimes they’ll come in twos.

You can inflict damage on these roots even while they’re still
underground, so make sure you shave down their health as much
as possible before they pop up.

After that, the safest thing to do is to try to time your shots
so that you’ll blow the roots away as soon as they appear
aboveground.

[3]Spits pollen at you.

During this attack, you can get a little bit of damage in
even before the flower opens, so concentrate on shooting
the flower as fast as you can before it spits pollen at you.

Once the flower spews its pollen, quickly reload and
deal with the pollen itself.

Each pollen grain can be brought down with one shot,
but because there are so many of them, and because
they scatter all over the screen, you’ll most likely
take some damage if you just fire at random.

As soon as the pollen grains spew out, and before
they have a chance to scatter, fire all six of your shots
into the upper, central part of the screen to cut down
on their numbers. After that, you can deal with each
of the pollen grains you missed one by one.

[4]Stretches out one of its heads at you.

During this attack, the Sun will stretch out one of its heads
into fairly close range, so it’s the perfect opportunity to do
some serious damage. But you won’t have much time before
the head attacks, so just keep shooting rapid-fire and try to
make it retreat.

The House of the Dead III: Behind the Scenes (Higher Quality)

Forgive me for the other video I posted a month ago. After I was done recording it with my tablet, I couldn’t hear some of the voices from my video. But, I’ve found a better quality video. You can also unlock this video by beating The House of the Dead III which is available on Playstation Network.

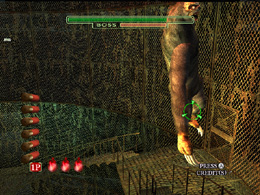
The House of the Dead III Boss Tips: The Fool (Type 0028)


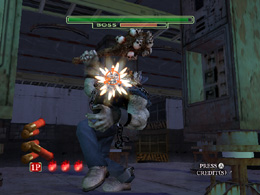
The Fool is a huge, sloth-like monster. But despite its appearance,
it can attack with surprisingly nimble movements. Its weak points
are its right hand, right foot, left hand, and left foot.
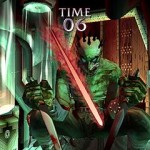
Unlike other bosses, the current weak point (one of the Fool’s
hands or feet) will be marked throughout your battle against this
boss, so you’ll be able to tell at a glance what you should be
aiming for.

But the Fool’s weak points are small, and move around quite
a bit as the boss moves. And to top it all off, unless you keep hitting
these weak points dead center, you won’t do much damage.

What you need when you go up against the Fool is accuracy and
quick marksmanship. Aim carefully at the weak point mark and never
lose your focus.

The Fool has six attack patterns.

[1]Claws at you with its right hand.

During this attack, the Fool doesn’t move all that much, so
it ought to be pretty easy to target its weak point. If it manages

to hit you at this point, you probably won’t have much luck
beating it. Just keep your cool and deal with the Fool calmly here.

[2]Claws at you with its left foot.

During this attack, the Fool’s weak point, its left foot, will
swing left and right in the area diagonally down and to the
right of the center of its body. Your field of vision will sometimes
be obstructed by the stairs, but you’ll still be able to get some
damage in even then. Just stay focused and keep shooting.

[3]Drops corpses on you.

Corpses will rain down on you from above one after another, but
if you just concentrate on firing into the center of the group
of bodies, you should make out all right. The corpses that drop
at the outer edges of your field of vision will miss you, so ignore
them and just concentrate on taking care of the ones in the center.

[4]Claws at you with its right foot.

The right foot weak point will swing from the center right to
the center left as the Fool’s hip pivots. It won’t move all that
fast, so if you keep a level head and keep shooting, that ought
to do the trick.

[5]Claws at you with its left hand.

During this attack, the Fool will climb toward you along the cage,
making big movements with both hands. Its left hand weak point
will be swinging violently, so it’ll be tough to keep your sight on it.
Just aim for either the left or the right end of the hand’s swinging
arc.

[6]Jumps at you.

During this attack, the only chance you’ll have to attack is the
tiny fraction of time when the boss is in the air and is about to
attack you. And you won’t have any time to reload during that
moment, either. On top of all that, you won’t be able to stop the
Fool’s attack unless you land all six of your shots, either. This
attack pattern is a tough one.

Reload before the Fool jumps, and place your shots carefully,
aiming a little to the left of and above the center for the first
shot, and then shifting your sight down slightly with each of
your next shots.

Kori’s tips: After the first and very last cancel attack, you can still damage the Fool and score more points.

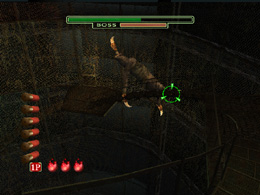
The House of the Dead III Boss Tips: Death (Type 0011)

The House of the Dead III has been out since last month. I hope you all enjoy the game with your friends and are excited to play The House of the Dead 4 on April 17th. Starting today, I will post some useful tips and tricks on how to beat the bosses in The House of the Dead III directly taken from the HOD2&3 website for the new players. Let’s start out with Death (Type 0011).


Death (Type 0011)
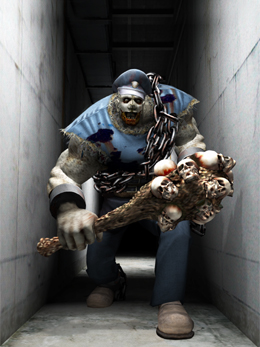
A security guard creature that protects the abandoned EFI research facility with a club made from flesh and skulls.

Encounters: Chapter 1 and West Wing (Optional next chapter)
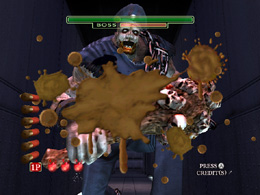
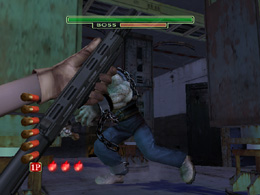
Death is a brutal guard that chases you relentlessly with a gigantic club. Shooting its big, brawny body won’t do you any good. Aim for its head. That’s its weak point.

If you don’t cause enough damage to it before it closes in,
you’ll fall victim to its giant club.

You’ll be fighting Death twice, but the basic strategies are
the same both times. You have to be careful the second time
it appears, though, because it’ll be chasing you behind obstacles,
passing in and out of view. Efficient timing of your reloads is key.

Death has two attack patterns.

[1]Charges toward you and wallops you.
Death’s weak point, the head, only sways slightly as the boss runs,
so it should be pretty easy to target.

Death leaves itself open the instant it starts running this way.
If you reload before it gets started, aim upward in advance, and
shoot as fast as you can as soon as Death starts barreling
toward you, you should be able to stop this attack without
taking any damage.

The time when you can really get some good damage in is
the moment it swings its club up to slam you. You’ll be
at point-blank range then, so you’ll be able to inflict maximum
damage.

Even if Death gets too close for comfort, try to remain calm
and just keep getting in as many shots as you can until the
very last second.

[2]Chases you behind columns and then wallops you.
When Death is running behind the columns, its head barely
moves at all, so targeting it should be a piece of cake.

But figuring out when to reload isn’t quite so easy.
That’s because you’ve got to shoot when you can see
Death between the columns, or else the columns will
block your shots and you won’t be able to score any hits.
If you reload after Death goes behind a column, it’ll be a tough battle.

The key is to start reloading before Death disappears behind
a column,

and each time it appears again, get three shots in.

Kori’s bonus tip: You can rack up points when Death’s attack (yellow) gauge is down. Similar to Judgement in HOD2, where you can shoot Kural for more points.

Who is this “Mystery Man”?


Who is this “Mystery Man” who appears in the endings of The House of the Dead III and 4. Is he the mastermind behind the events of the entire series? Some say he’s AMS Agent Harry Harris,  who was injured by Strength in The House of the Dead 2.  As you see how the way the Mystery Man walks, he limps on one leg. However, he shows signs of old age. So the rumor of him being the shady AMS Agent maybe false. Others say that he could be Papa Caesàr as he shows sign of age and was shot in the leg by one of the protagonist. Though, he was killed by the prison warden, Clement Darling towards the end of Overkill.


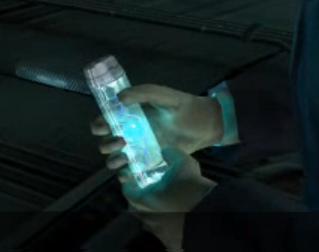
So who could he be? Why did he say human’s have no need of hope and the vital he picked up, what is its “true” purpose? Perhaps, we will find out in the next installment of The House of the Dead.

http://www.youtube.com/watch?v=oUf2aphajuU

To obtain this ending in the House of the Dead III, you must fight these bosses in the following order after Chapter 1:Sun, Death, and Fool. Your ranks must consist of more S’s and a full partner rescue.

http://www.youtube.com/watch?v=rVqNCS2q9Aw

To obtain this ending in the House of the Dead 4, your ranks at the end must consist of A’s and S’s. Your accuracy must be 70% (Perfect) and final rank overall must be Special or Top Agent.

Get your 777 luck with The House of the Dead REELS

Back in 2009, Sega created their own casino based website called “Sega Casino” where players can make bets and play slot machines based on many popular franchises by Sega, including The House of the Dead.

House of the Dead Reels is an exclusive game to Sega casino themed from their popular light gun game. I’m sure anyone who’s been to a seaside amusement arcade will be familiar with the series. It’s features are standard fare, spin in 3 scatters and you get some free spins, spin in 3 woman with the gun and you activate the Zombie gallery which is effectively a random scratch card sub game. Never the less it does what it does very well with a high degree of polish with great sounds and graphics making full use of the theme. Players are rewarded with frequent but small wins making this a highly addictive game.

Feeling lucky playing this game on Sega Casino? Unfortunately, Sega closed their casino site. But, I still have screenshots to show. Click below.


Source: http://www.casinoscompared.co.uk/slots_houseofthedead.asp

The House of the Dead III: The Cell Shaded Beta Version

In my previous blog, I’ve shown you all the beta footage of The House of the Dead III for the arcades and Xbox which featured Lisa and G fullfilling other character roles in the game before they were developed and different level layouts. And now, I want to let you all know a trivial fun fact. Did you guys know that The House of the Dead III was originally made as a cell-shaded game? Yes, it is indeed true. While developing the game for arcades and Xbox back in 2003, Sega intended to make the next installment of the series into a arcade shooter with cell-shaded graphics simliar to Sega’s other franchise, Jet Set Radio, but shelved the graphics due to its cartoony feel which strained from The House of the Dead series. Click below for screenshots of the cell-shaded and original beta.

Source: Unseen64 http://www.unseen64.net/2008/04/16/house-of-the-dead-3-cell-shading-proto/